How to Create a Gallery Wall
One aspect of design that seems to always stump my clients is how to put together a gallery wall - especially one with different sized items. So here are the two approaches I take, and additional tips on pulling it all together. And of course, like so many aspects of design, these guidelines are just that. There are always ways to break the rules that still result in a great visual.
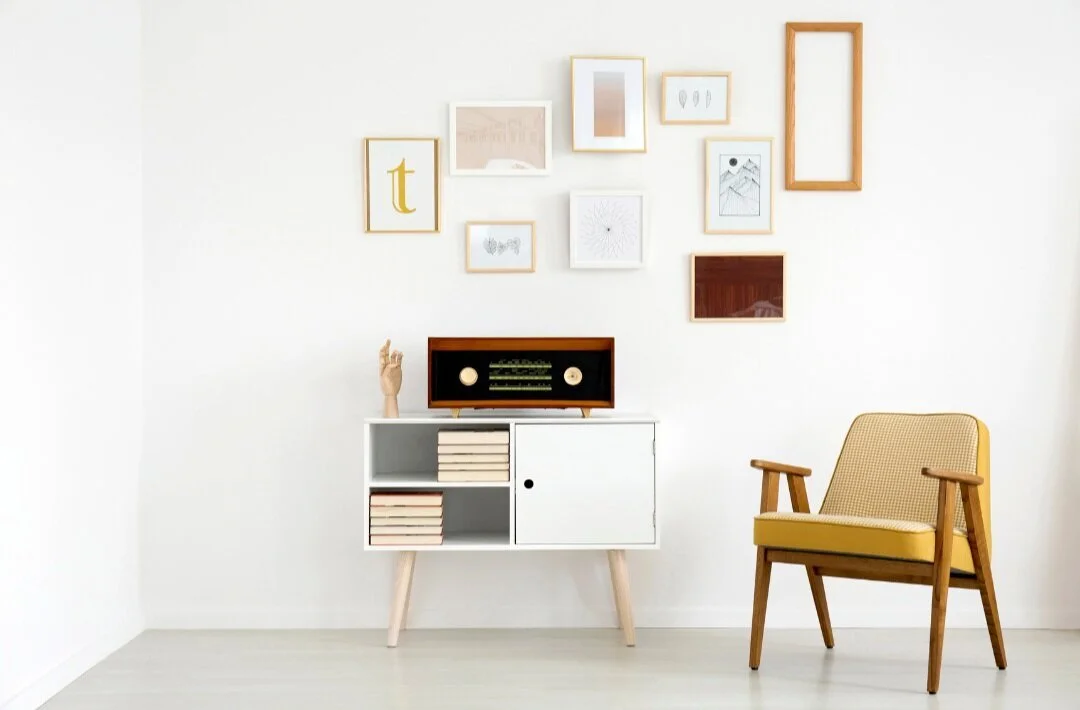
Contained Gallery Wall
This is what I call the contained gallery wall. This layout focuses on defining the outer boundaries of the gallery, and isn’t so concerned with the spacing of the individual pieces within those boundaries.

To get started with this style, you want to first give some thought and establish how much space you have to work with, and any boundaries. The contained gallery wall is an especially good choice if you have other prominent pieces such as large furniture in that space. If the gallery is hanging above a piece of furniture, you want to ensure that it is at least 2/3 as wide as the furniture below, but not larger than the furniture’s total width. If your space includes multiple pieces of furniture, you can apply this same guideline to the collective width of all pieces. For example, if you had two lounge chairs with an occasional table between, you would consider the width of the full arrangement, and create a gallery boundary greater than 2/3 of that width. Generally you can start about 4-5 inches above any pieces of furniture, and the overall height will depend on your wall height and also the scale of the other items in the room.
Tip: Once you have defined your outer boundary, I suggest marking out the space on the floor using painter’s tape. This way you can play around with the items you want to use and find a layout that works. Ensure that there are pieces touching the boundary on every side. Not every outside piece has to sit on that boundary line, but try to have at least two there on each side.
Remember that for the contained gallery wall, the spacing between the pieces doesn’t need to be uniform - but you also don’t want to leave too large of a gap between items. I’d love to give you a definitive rule here, but truly it comes down to how it feels visually. Once you get to a layout that feels balanced, take a photo of it for reference, measure out the placement of each item and draw it out on a piece of paper so you remember what goes where. When it’s time to start hanging, pick one corner to start from and work your way through the design accordingly.
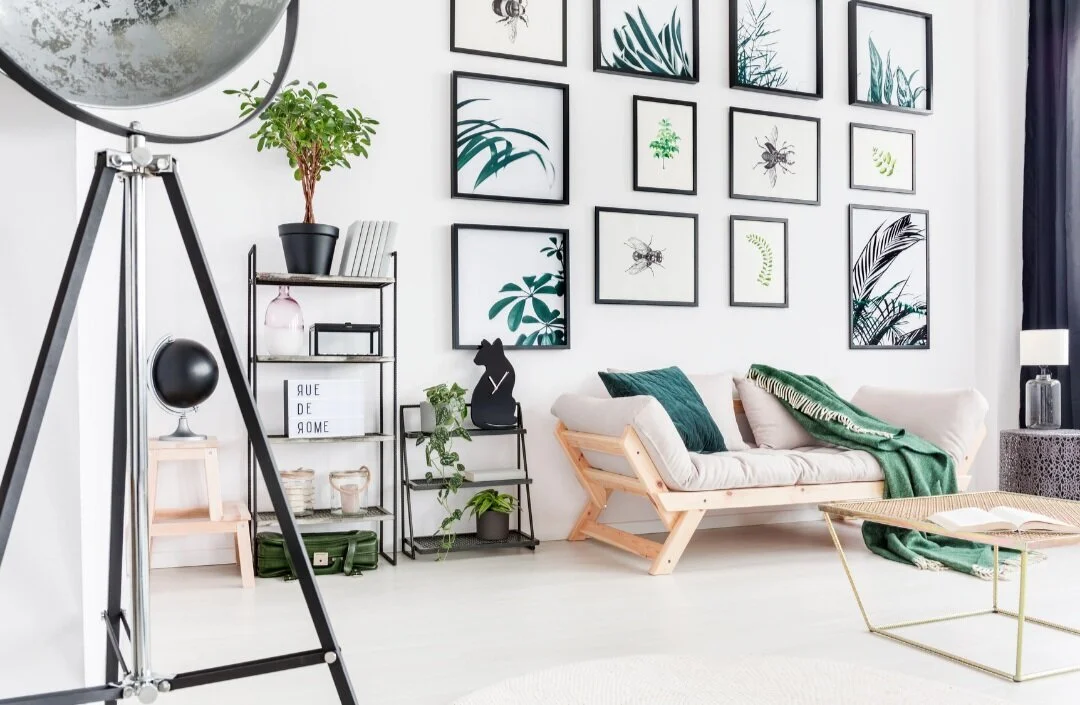
Free form Gallery Wall
Where the contained gallery wall is defined by the outer boundaries, the free form gallery wall starts with a central piece and is defined by more uniform spacing between the various pieces around it.

If you’re wondering where the centre of the gallery wall should be height-wise, aim to have 60 inches between the floor and the centre of the gallery.
To get started with the free form option, you’ll still want to know your overall boundary for your space like we did in the contained option. But instead of working from the outside in, with this option we’ll work from the inside out. Outline the boundary on the floor with painter’s tape and then choose your central piece (I usually like this to be one of the larger items but it doesn’t have to be). Then start placing the other items around it, keeping the same distance between each piece. Start with a 2-3 inch gap if you aren’t sure. Again, this can be a bit of trial and error to find just the right placement and balance. But trust how you feel. You’ll know when it feels right and when it isn’t there yet.
Once the layout is good to go, take a photo of the placement, figure out where your central piece sits on the wall and start hanging!
Got a gap?
Sometimes you’ll be figuring out the placement and keep finding that there is always a gap, no matter what you try. This is normal and is the perfect opportunity to source out another piece to fit in that space! Figure out what size of item would work, make a note of it in your phone, and then when you’re out and about you’ll know what to look for.
Also - don’t think that you’re limited to framed items only. Get creative and include other objects. Maybe it’s a fun plate, a cool coat hook, or other wall decor.
Starting from nothing?
If you don’t already have pieces and frames that you want to use, take the time to figure out the placement and what sizes are ideal before you go shopping. You can always get your crafty side going and grab some paper, scissors and tape to create the standard frame sizes for use in your planning. There are ways to do this digitally as well, if that’s more your thing.
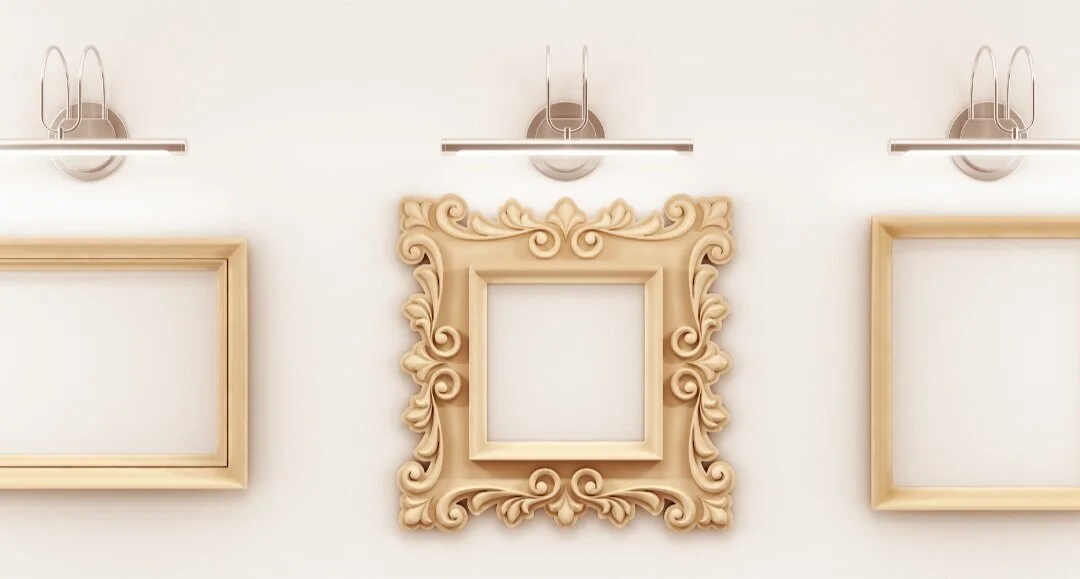
Do I need all the frames to match?
Nope - you don’t. However, I do recommend sticking to some commonalities. This could mean all the same frames for a more classic look. But if you want something a bit more eclectic, you could choose frames that are all different shapes / textures but the same colour. It also works if all of your images in the frames are similar but the frames are varied. Just remember that the more variation in the items, the harder it may be to find that balance when you put it all together.
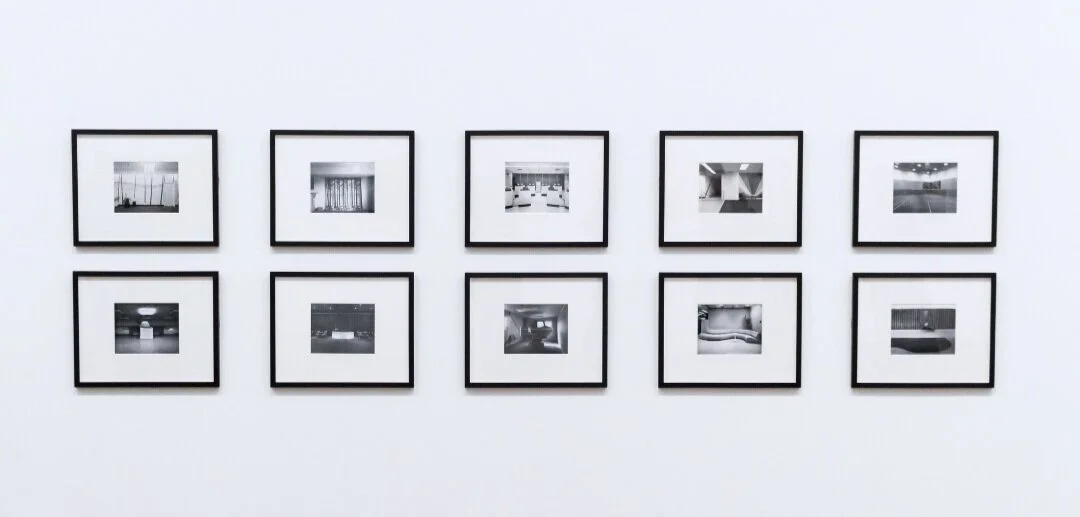
Or keep it simple
While the focus of this post is on gallery walls that feature items of different looks and sizes, you always have the option of keeping it simple and classic, arranging a set of the same frames, all spaced similarly. If this is the look you want, be prepared to have your measuring tape and level handy! And keep in mind the same guidelines around placement height and overall width of the gallery.
If you’re still feeling a bit overwhelmed with your gallery wall, we’re here to help. We offer Gallery Wall E-Design services where we’ll give you everything you need to pull your gallery wall together based on the items and space you have available.