DIY Moss Art
If you’re wanting to add some greenery to a space but natural light is lacking, one creative option is to create your own moss art. It’s a simple DIY that requires just a few supplies and as little as 30 min to complete. This was something I chose to do in my main floor bathroom. The wall already has a lot of visual interest with the Hygge and West Underwater World wallpaper, so I didn’t want anything that was going to compete. The space is more vertical than horizontal, so I used an IKEA frame I had sitting around that would work well with that wall. I did a quick search on Amazon for some moss in a colour I liked (I wanted mine to be a solid colour look), ordered it, and once it arrived, sat down with my frame and a hot glue gun and got to work.

Please note that this post contains affiliate links and I may earn a small commission from qualifying purchases.
Size out your location and choose your frame(s)
The first step is to figure out where you want to put your moss art and what size you want to fill. This may mean that you need one larger frame or a few small to medium sized frames.
Think about the overall look you have for the space or the look you desire. A great way to add some character without breaking the bank is to visit your local goodwill shop or an antiques market and take a look for some interesting and unique frames. Just make sure they come with a backing on them. If the colour isn’t what you’re going for, but you love the size and design, don’t forget that a quick spray paint can make all the difference!
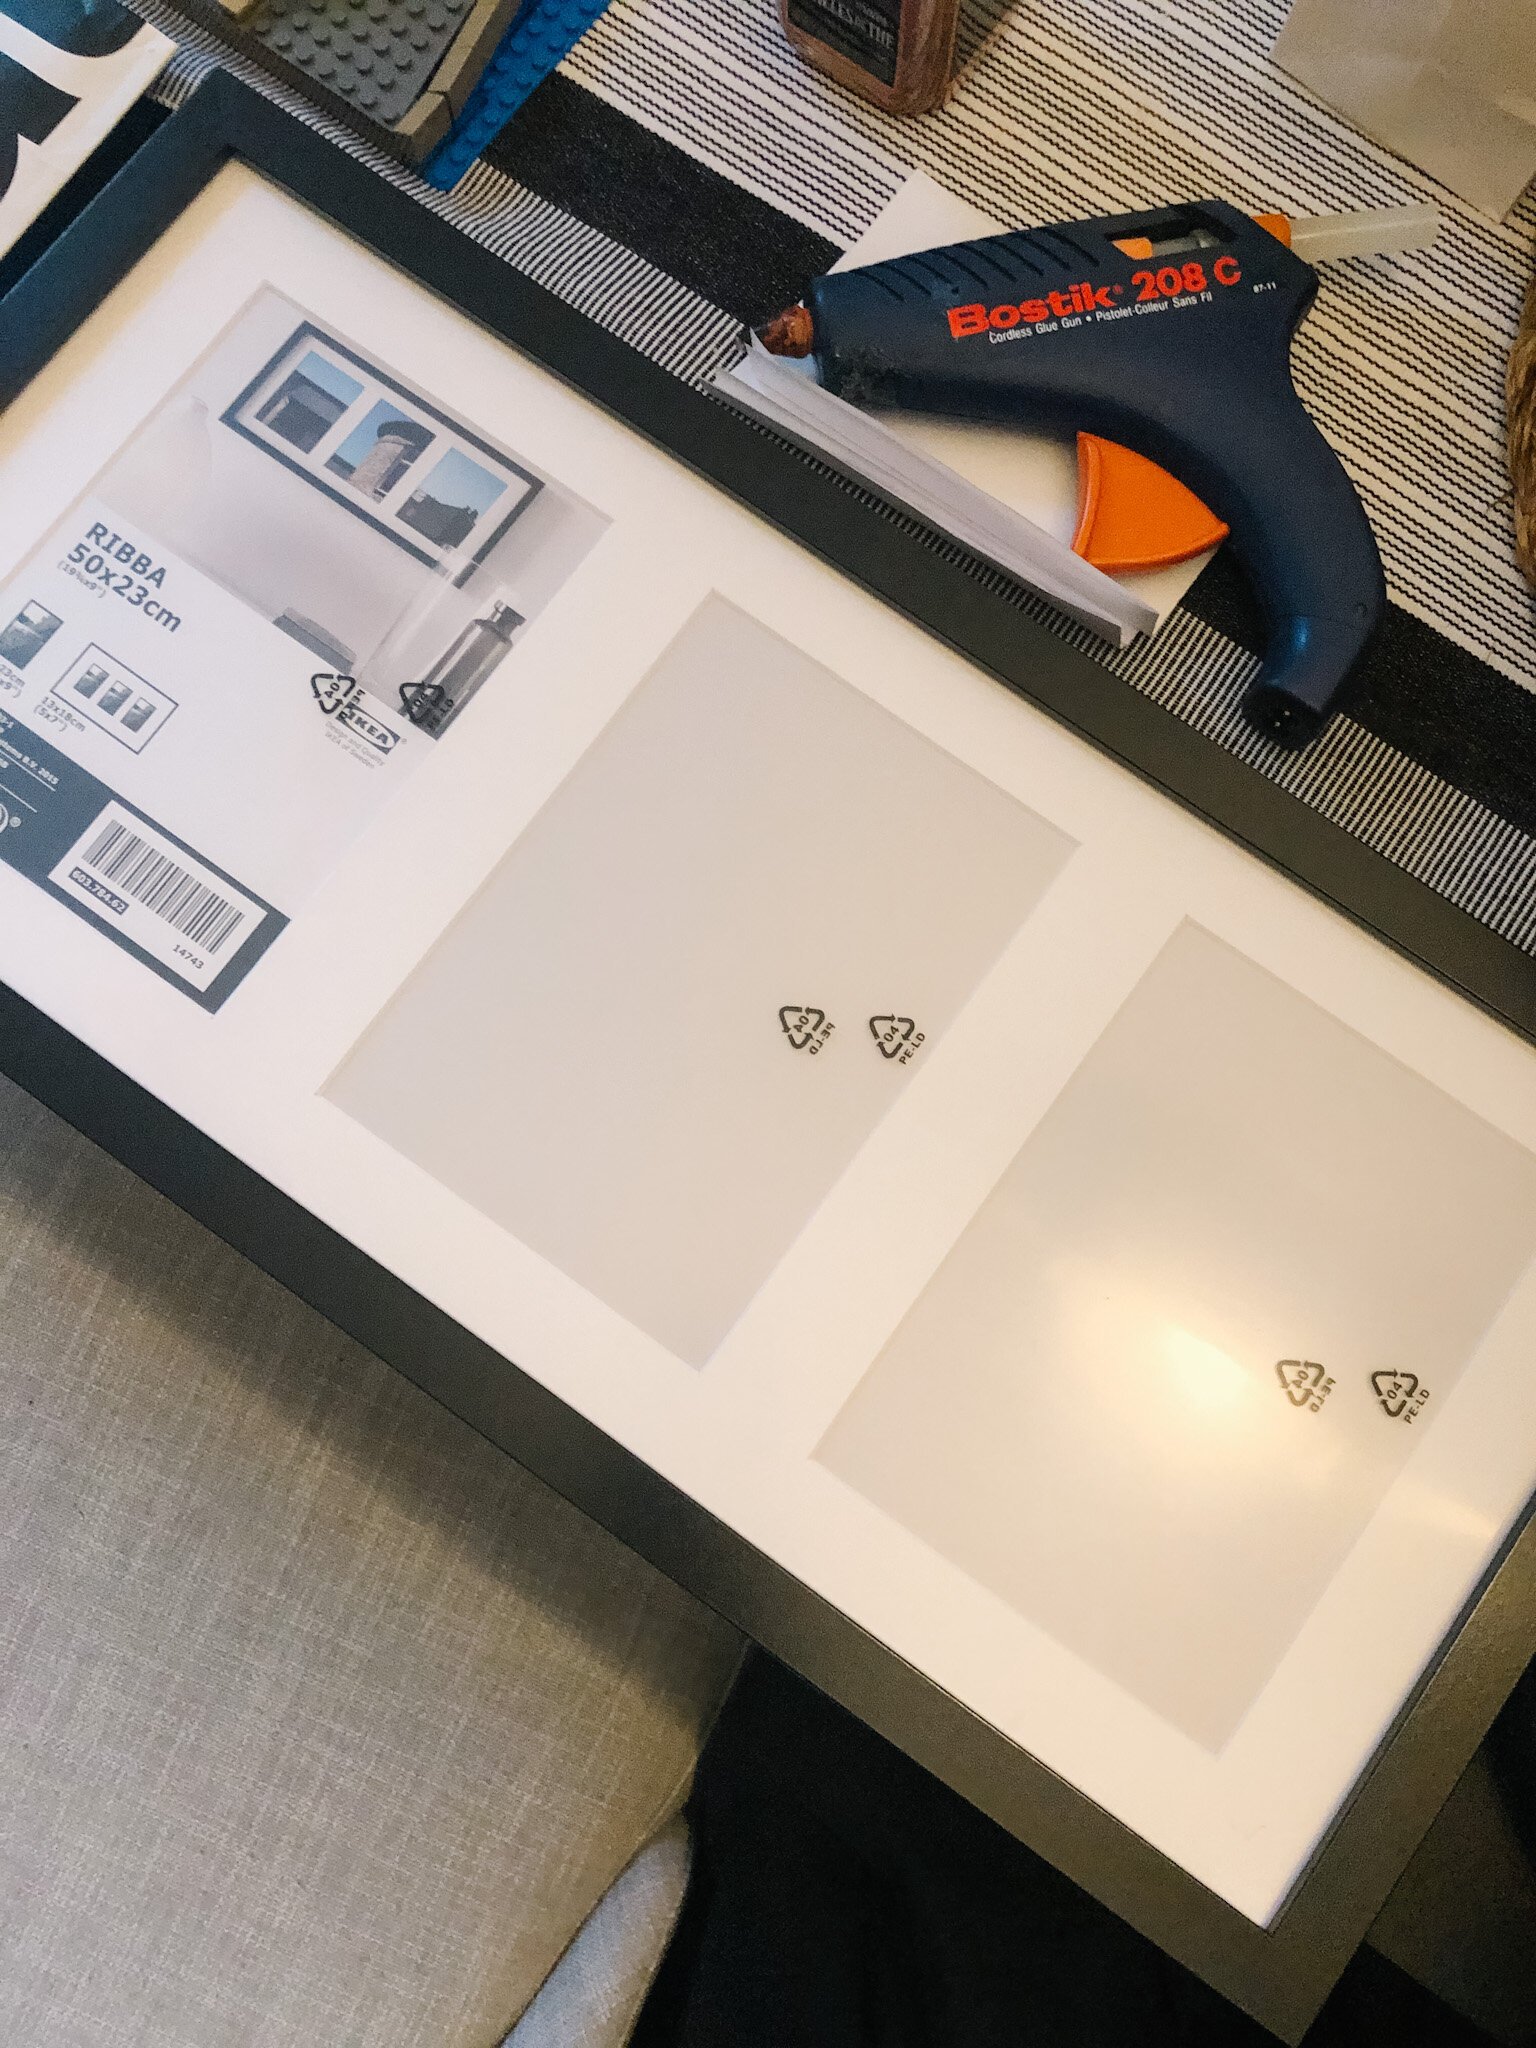
If you’d rather purchase something off the shelf, you can head to IKEA or take a look online at Amazon or even Etsy. The IKEA RIBBA frames are a great option if you want a minimal, clean look.

A classic wood frame for a clean, modern look

Collage frame for a more unique look

A shadowbox frame for extra depth

A matching multi-pack for a gallery wall look

Window frame style for a rustic look (you’ll need a backing)

A decorative frame for a more collected / unique look
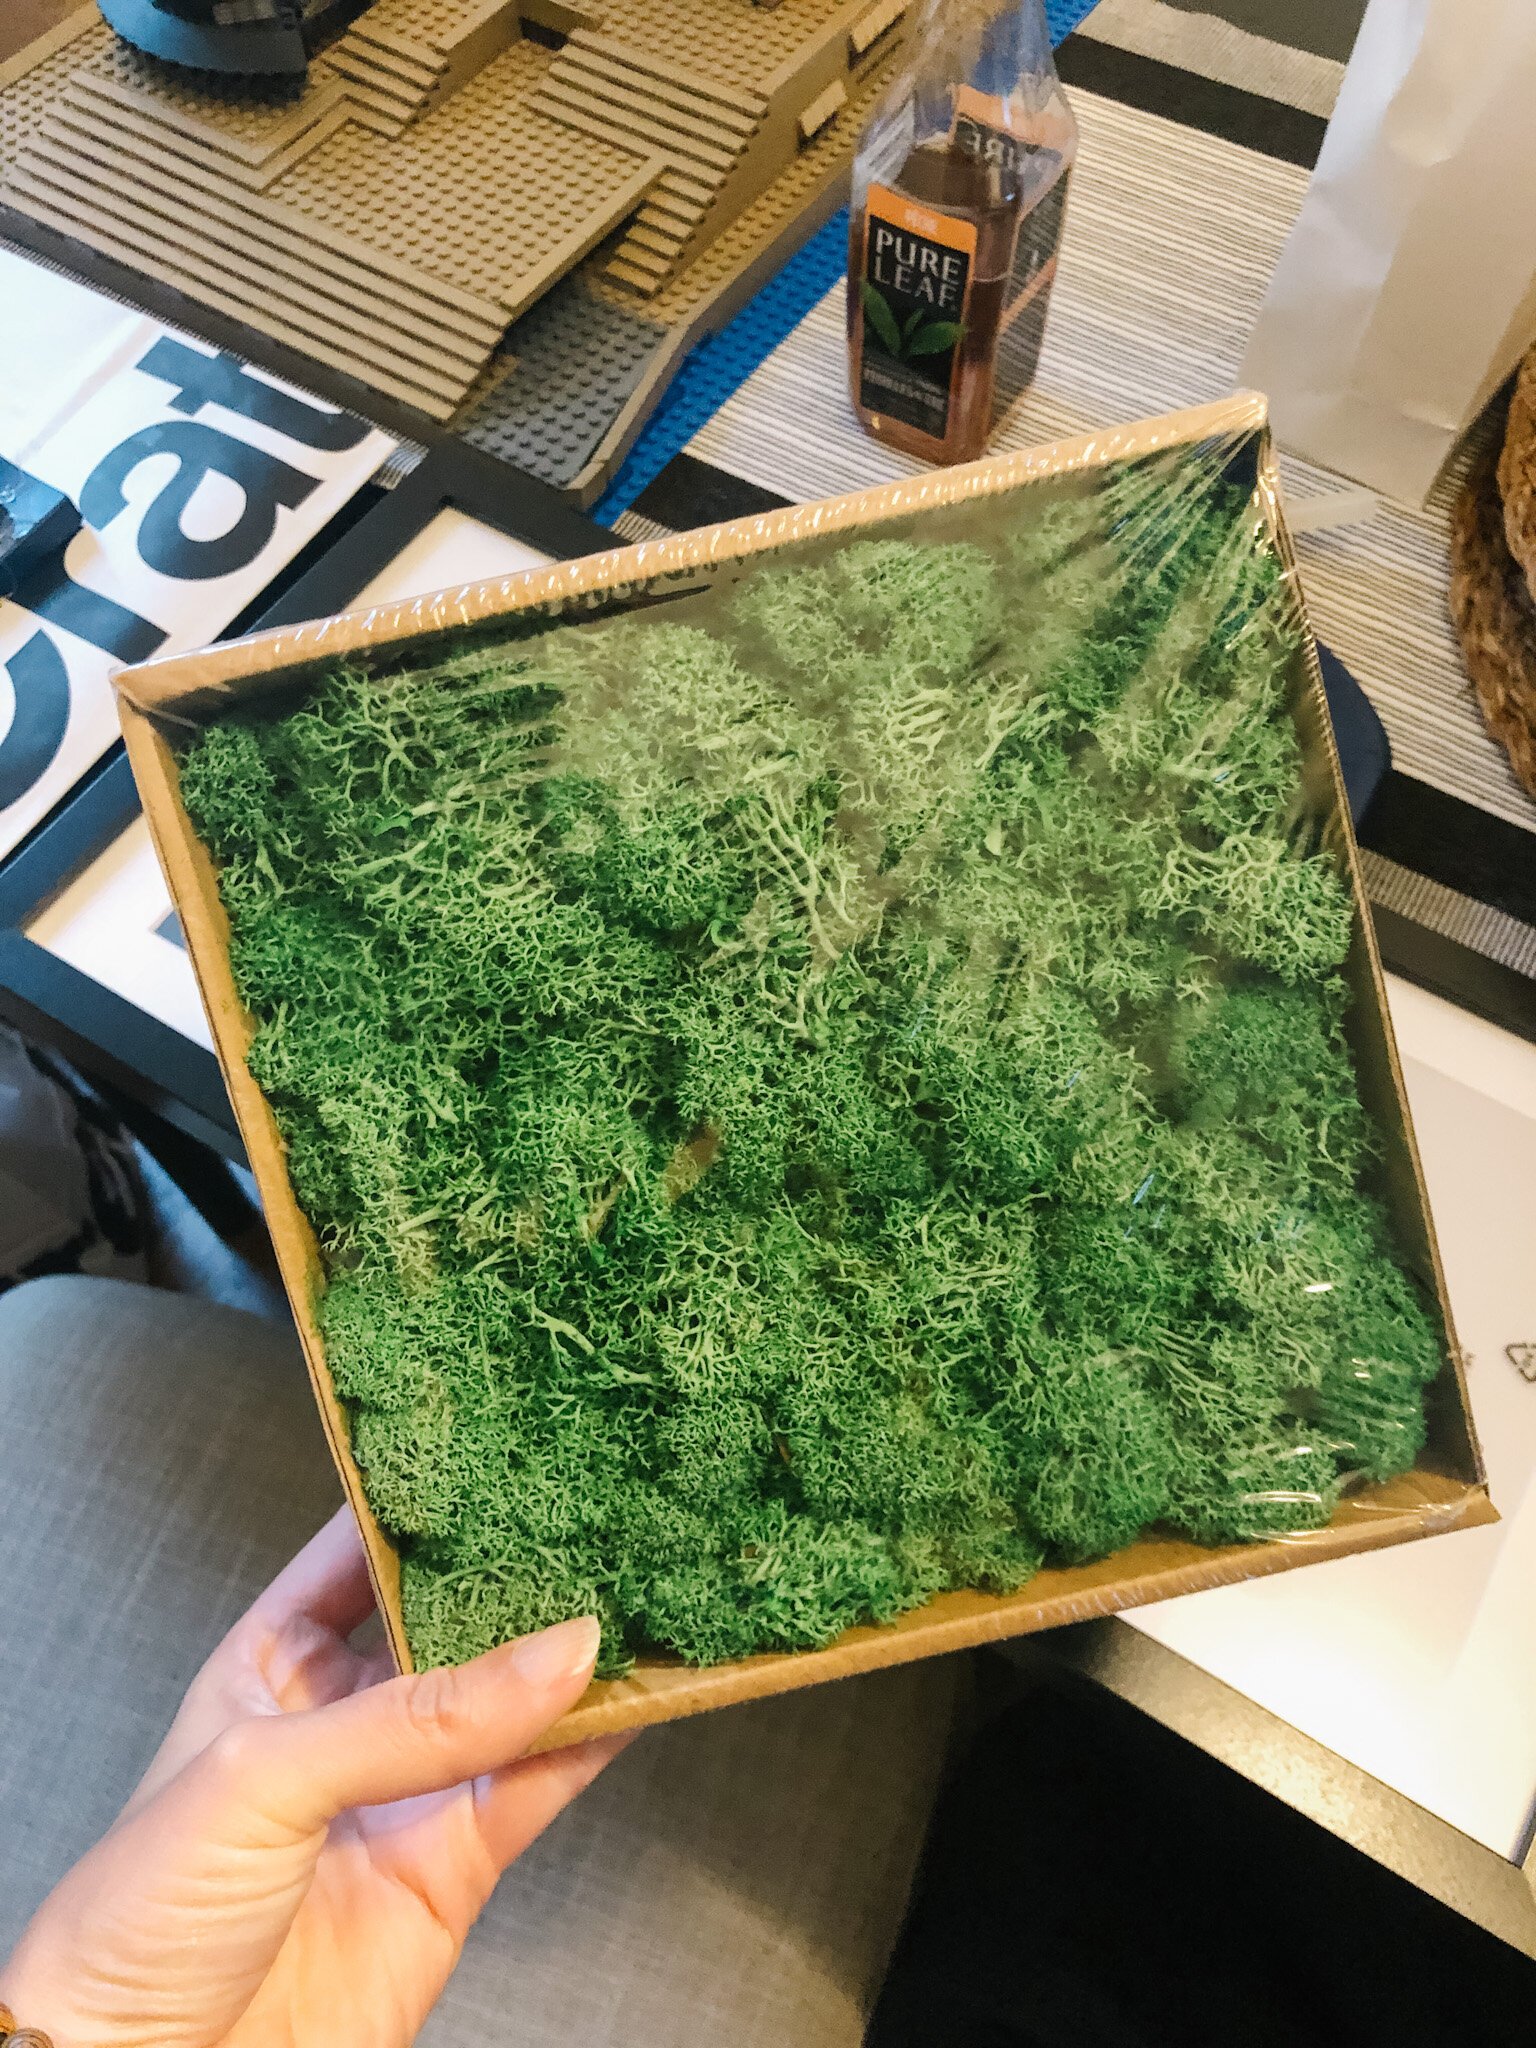
Pick your moss
Once you’ve selected the frame (or frames), it’s time to choose your moss. There are a lot of options to choose from in terms of colour and even texture. While I definitely lean towards the more natural looking reindeer moss, you can totally have some fun with it!

Standard reindeer moss

Get creative with colours

Larger boxes for larger projects

More natural variation of colours
Gather your supplies
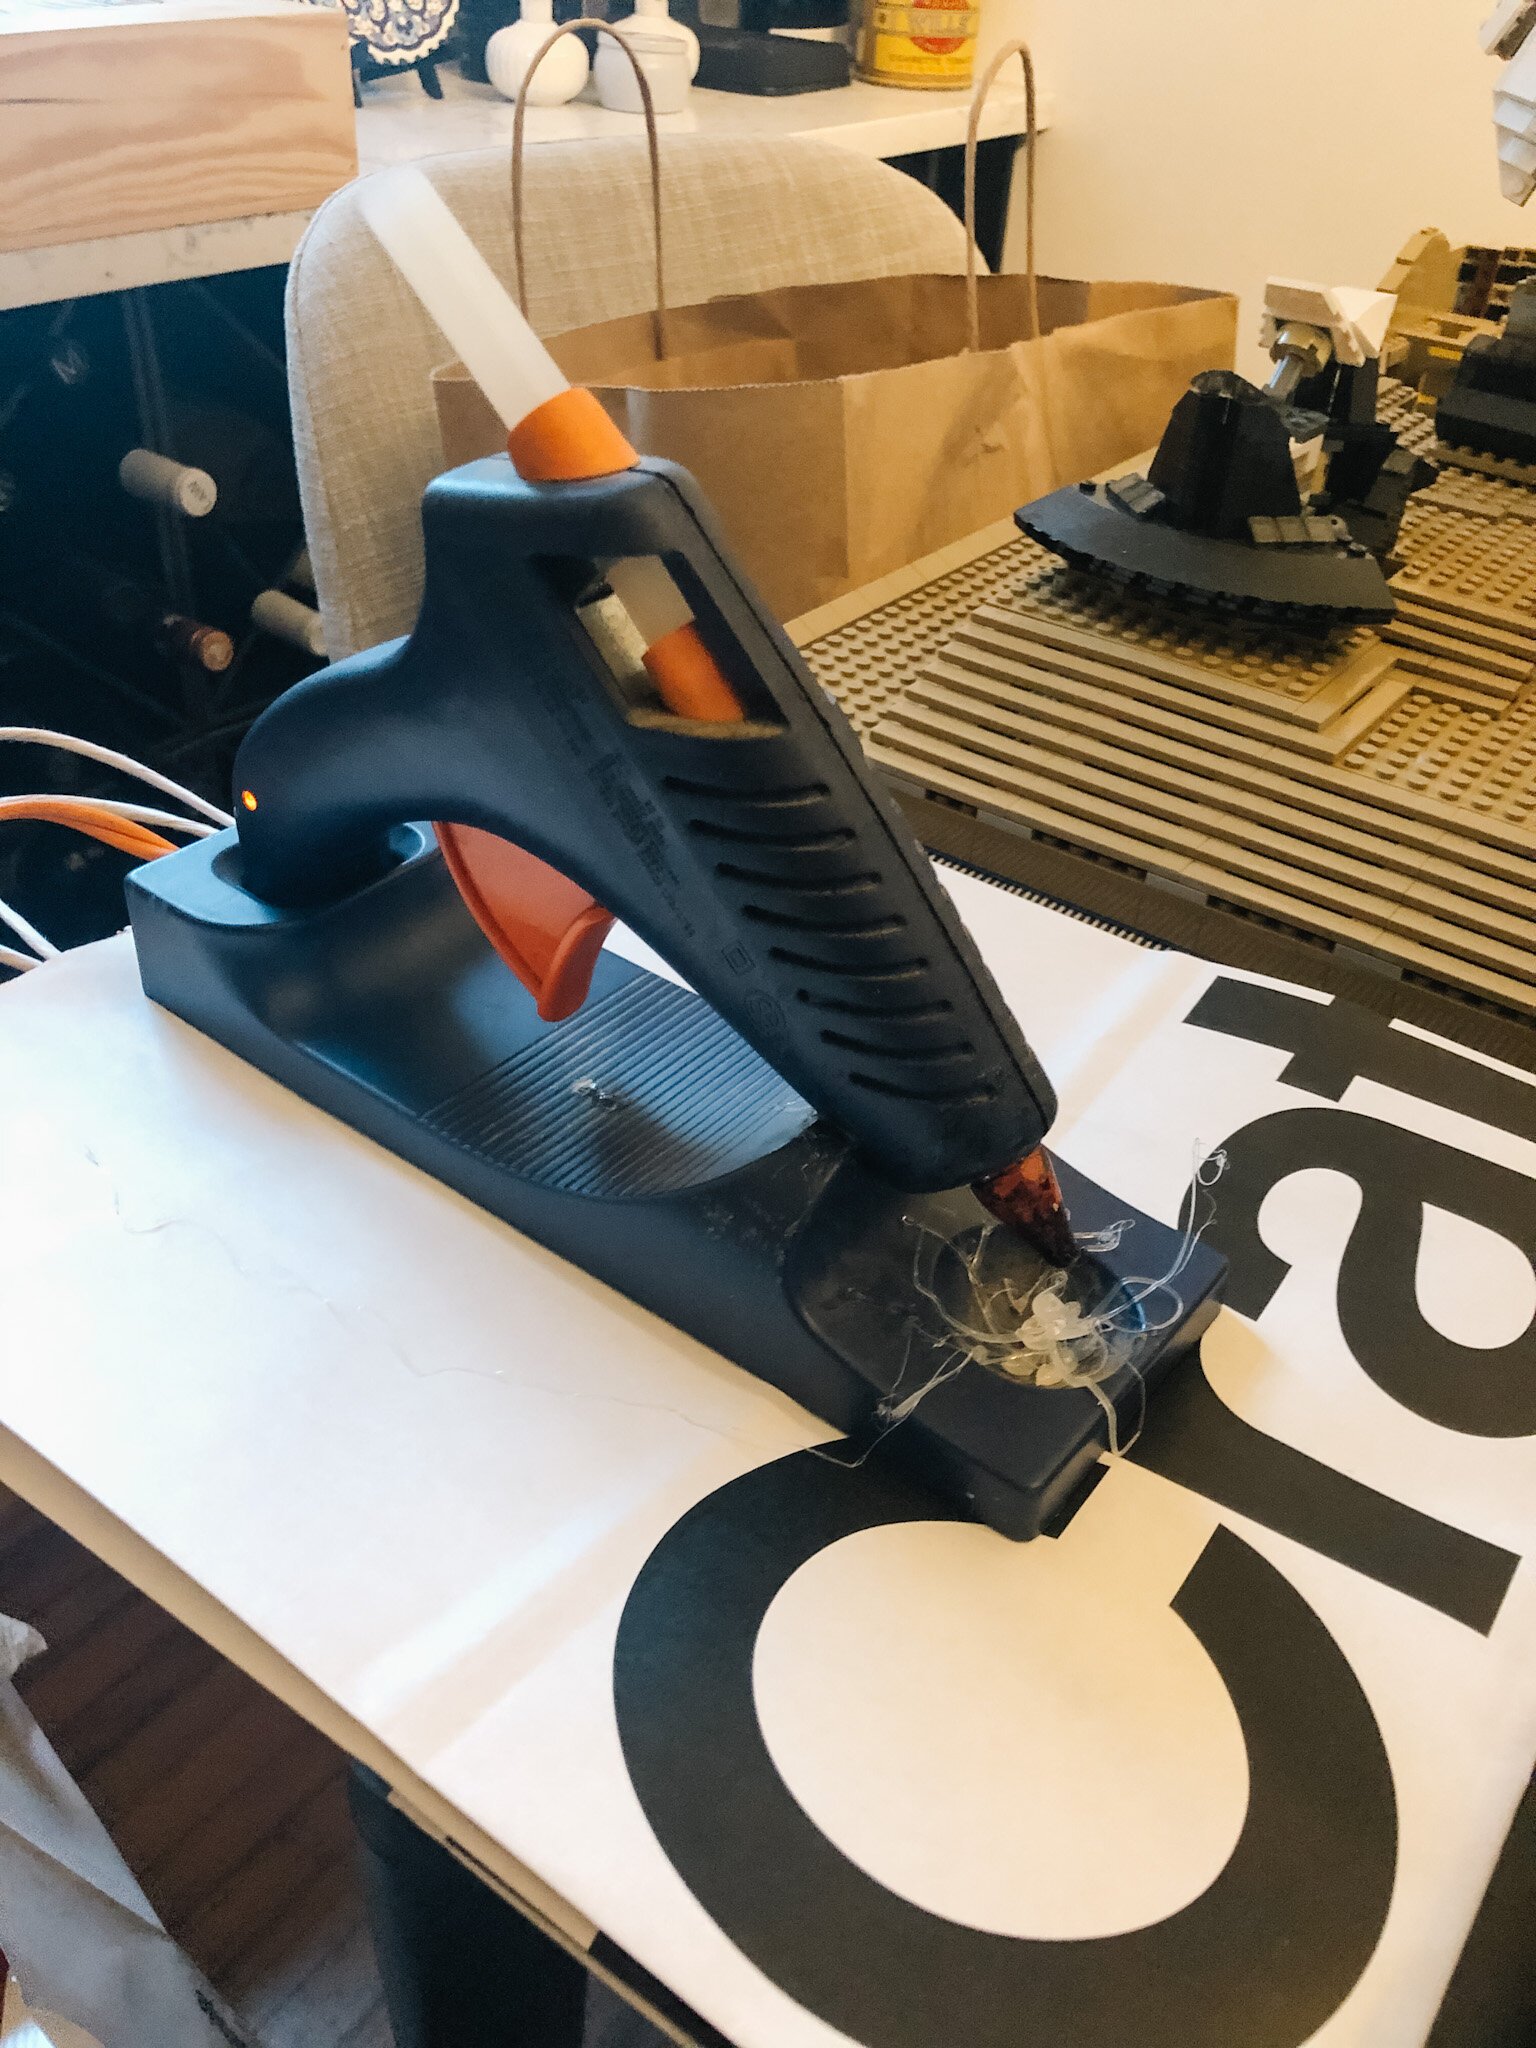
You’ll need some space to work, and a hot glue gun. If you don’t already own one, here’s a nice cordless option (I prefer cordless so there is just less items in the way of your workspace) that also includes some glue sticks. There are lots of other options, colours and brands as well.
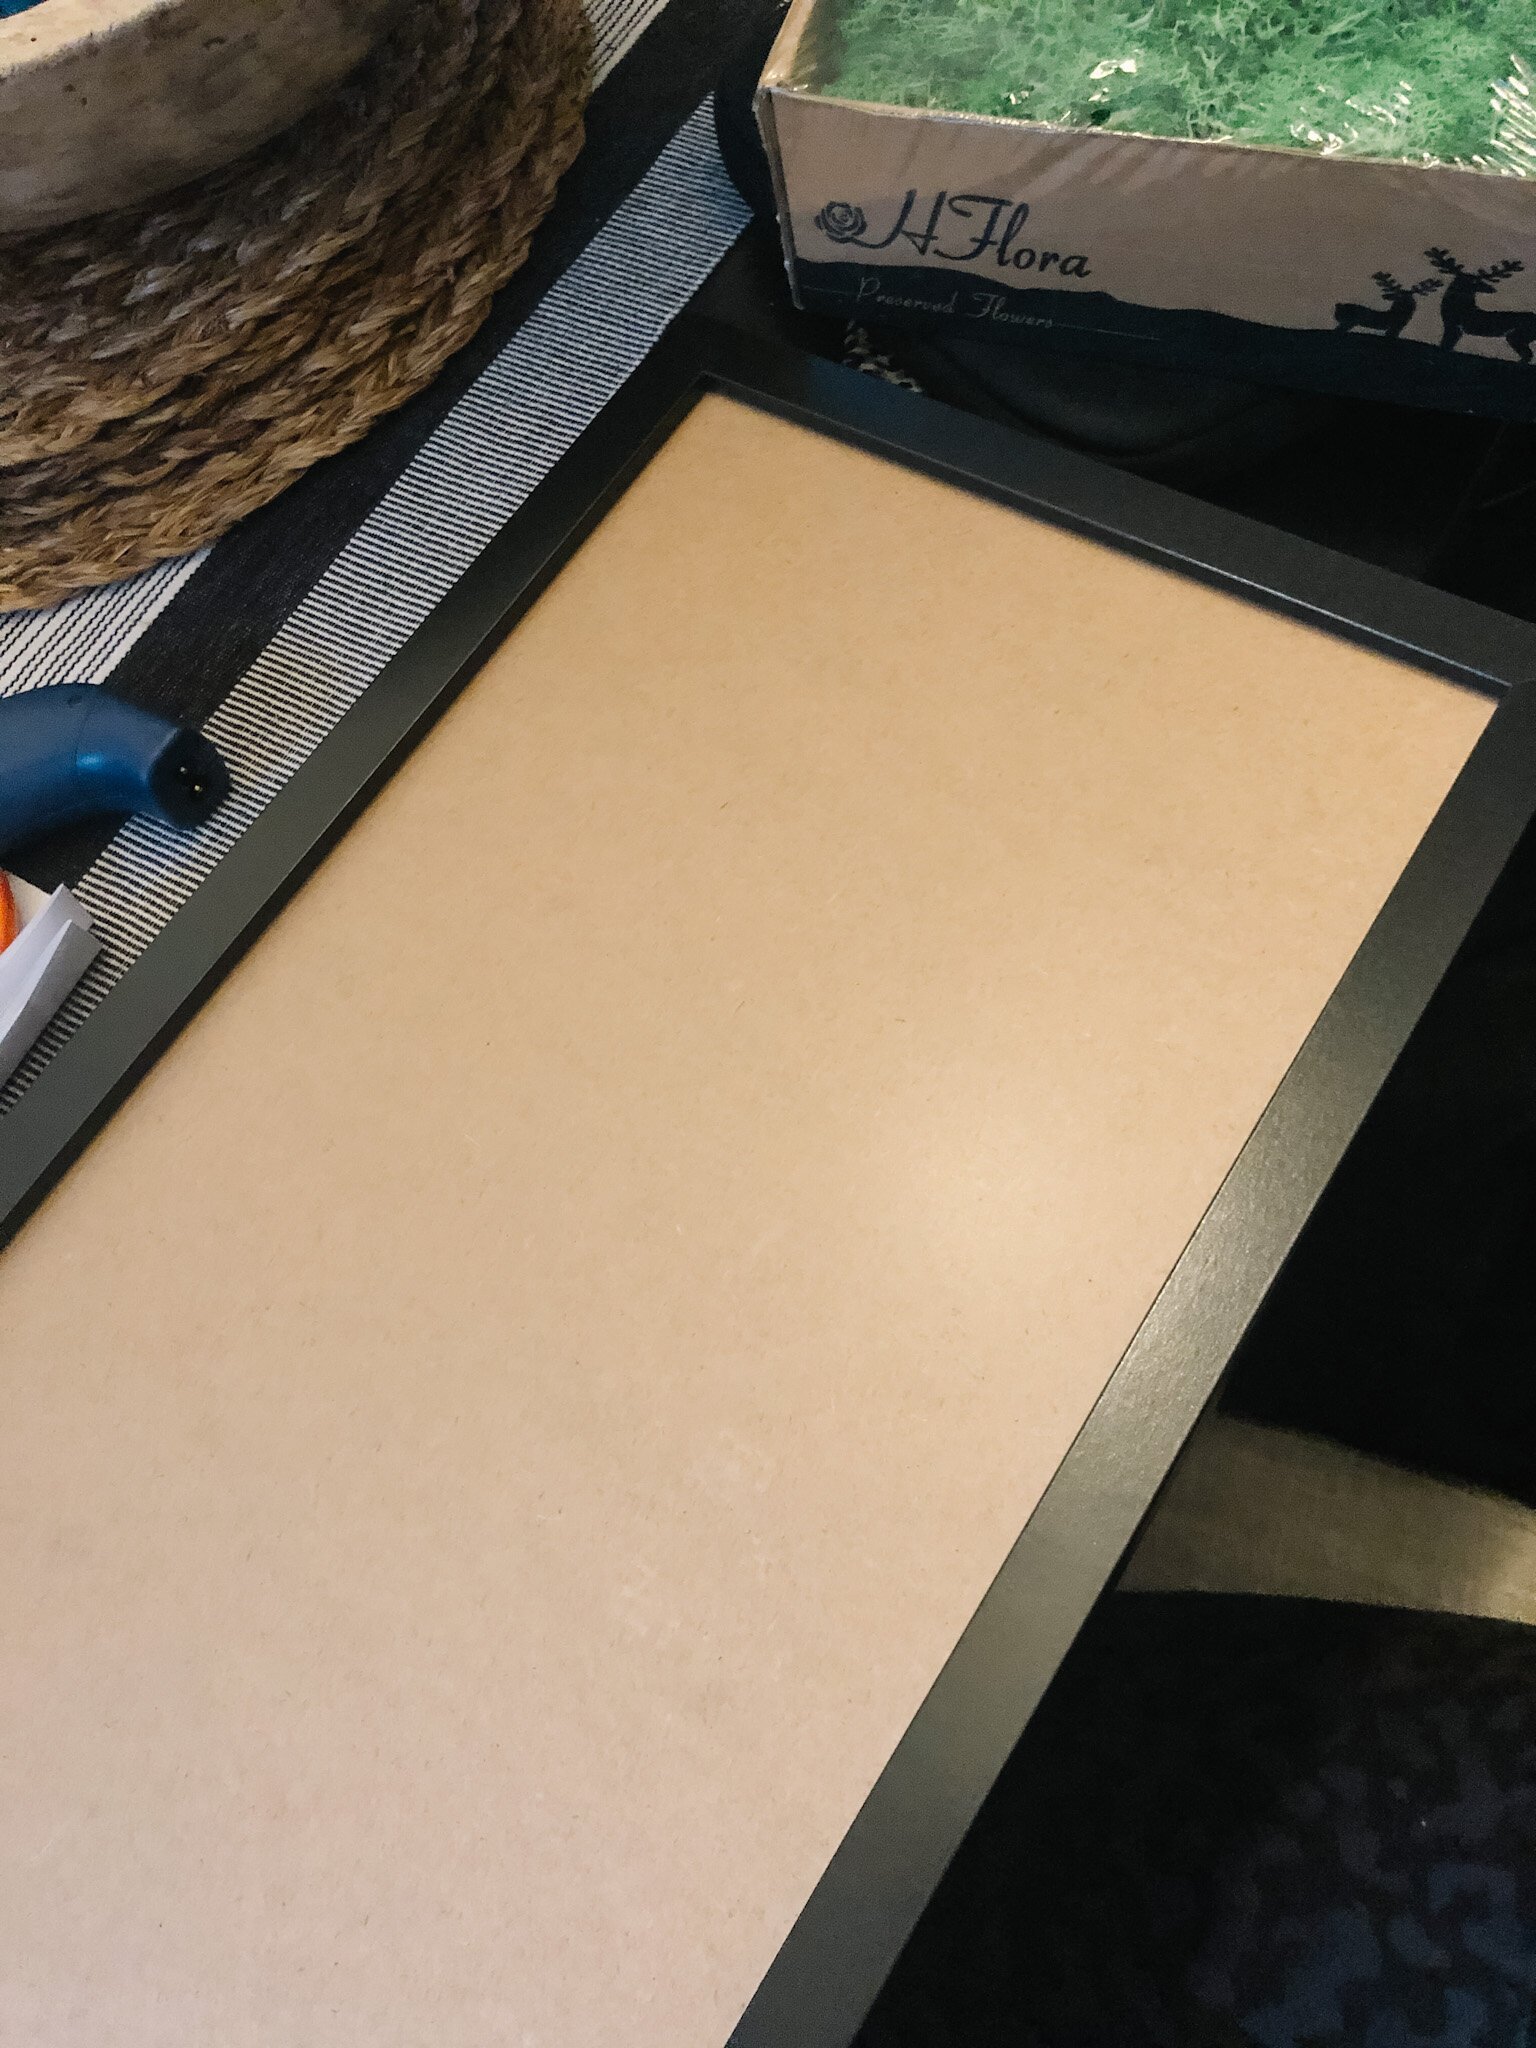
If the frame you purchased doesn’t have a backing, you’ll need to create one that is sturdy enough to hold the weight of the moss and the glue for the size of the frame.
For my project, I removed the plexiglass and the decorative paper from the frame and then placed the exposed backing back into the frame. Get your glue gun heated up and…
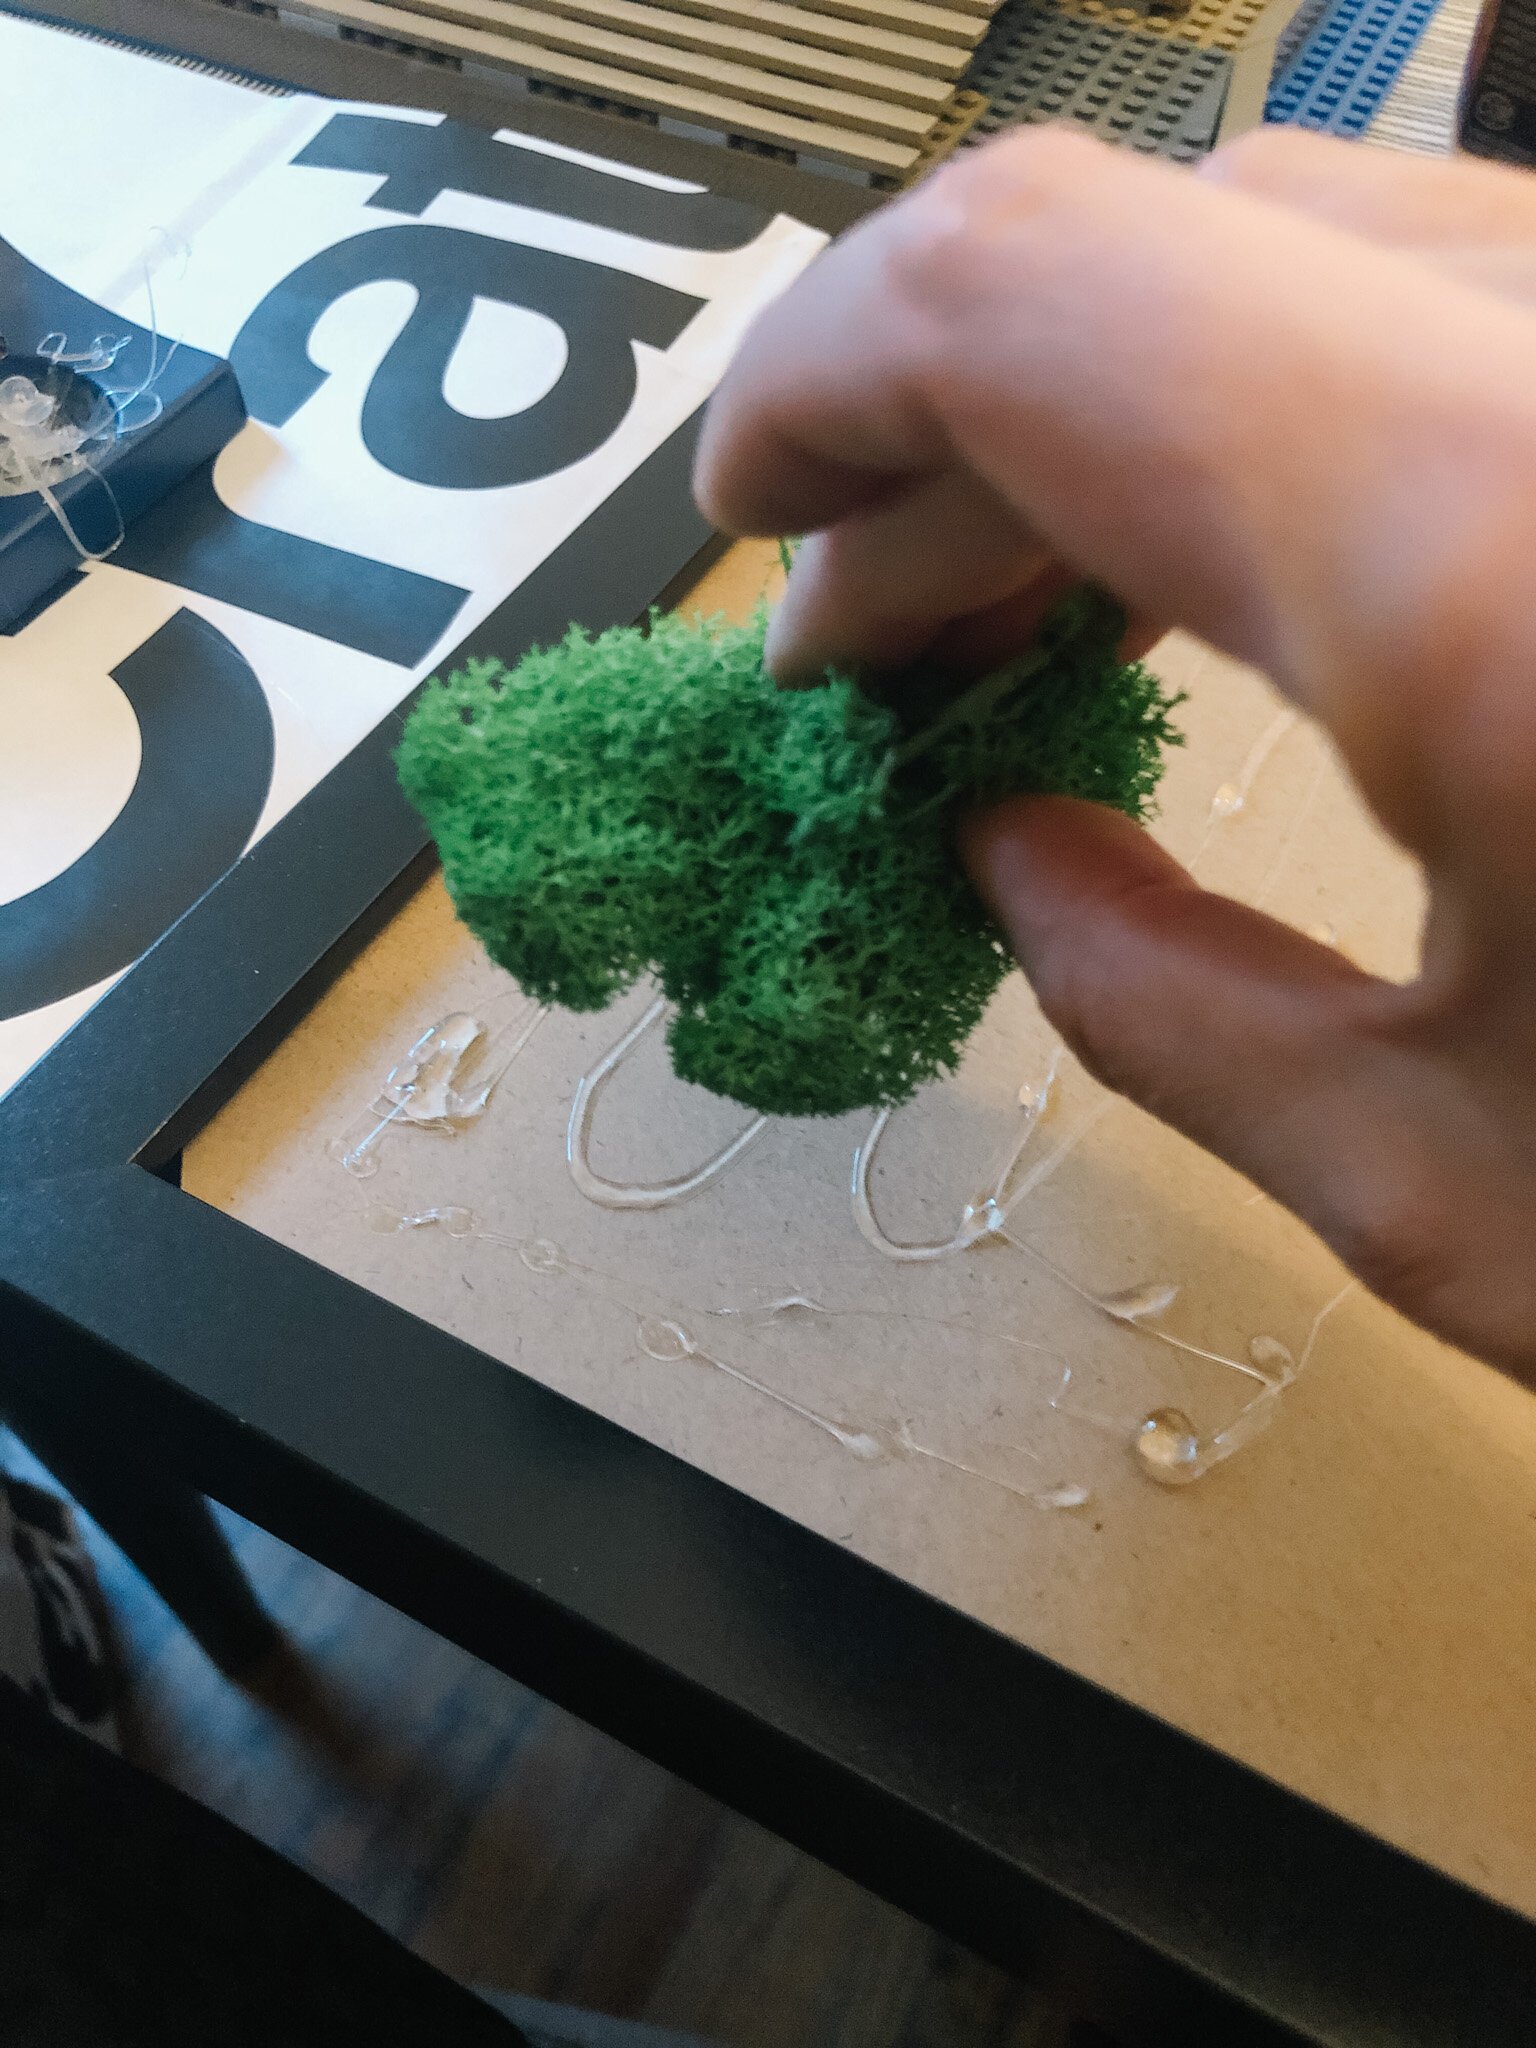
Get started
Just pick a spot in the frame and start gluing. Place some of the hot glue in a small spot, stick on the moss, and repeat. The glue cools quickly so you won’t want to put too much on and have it harden before you can get your moss stuck on. I made the mistake of doing more than about a square inch of glue and just had to redo it because it cooled too fast.
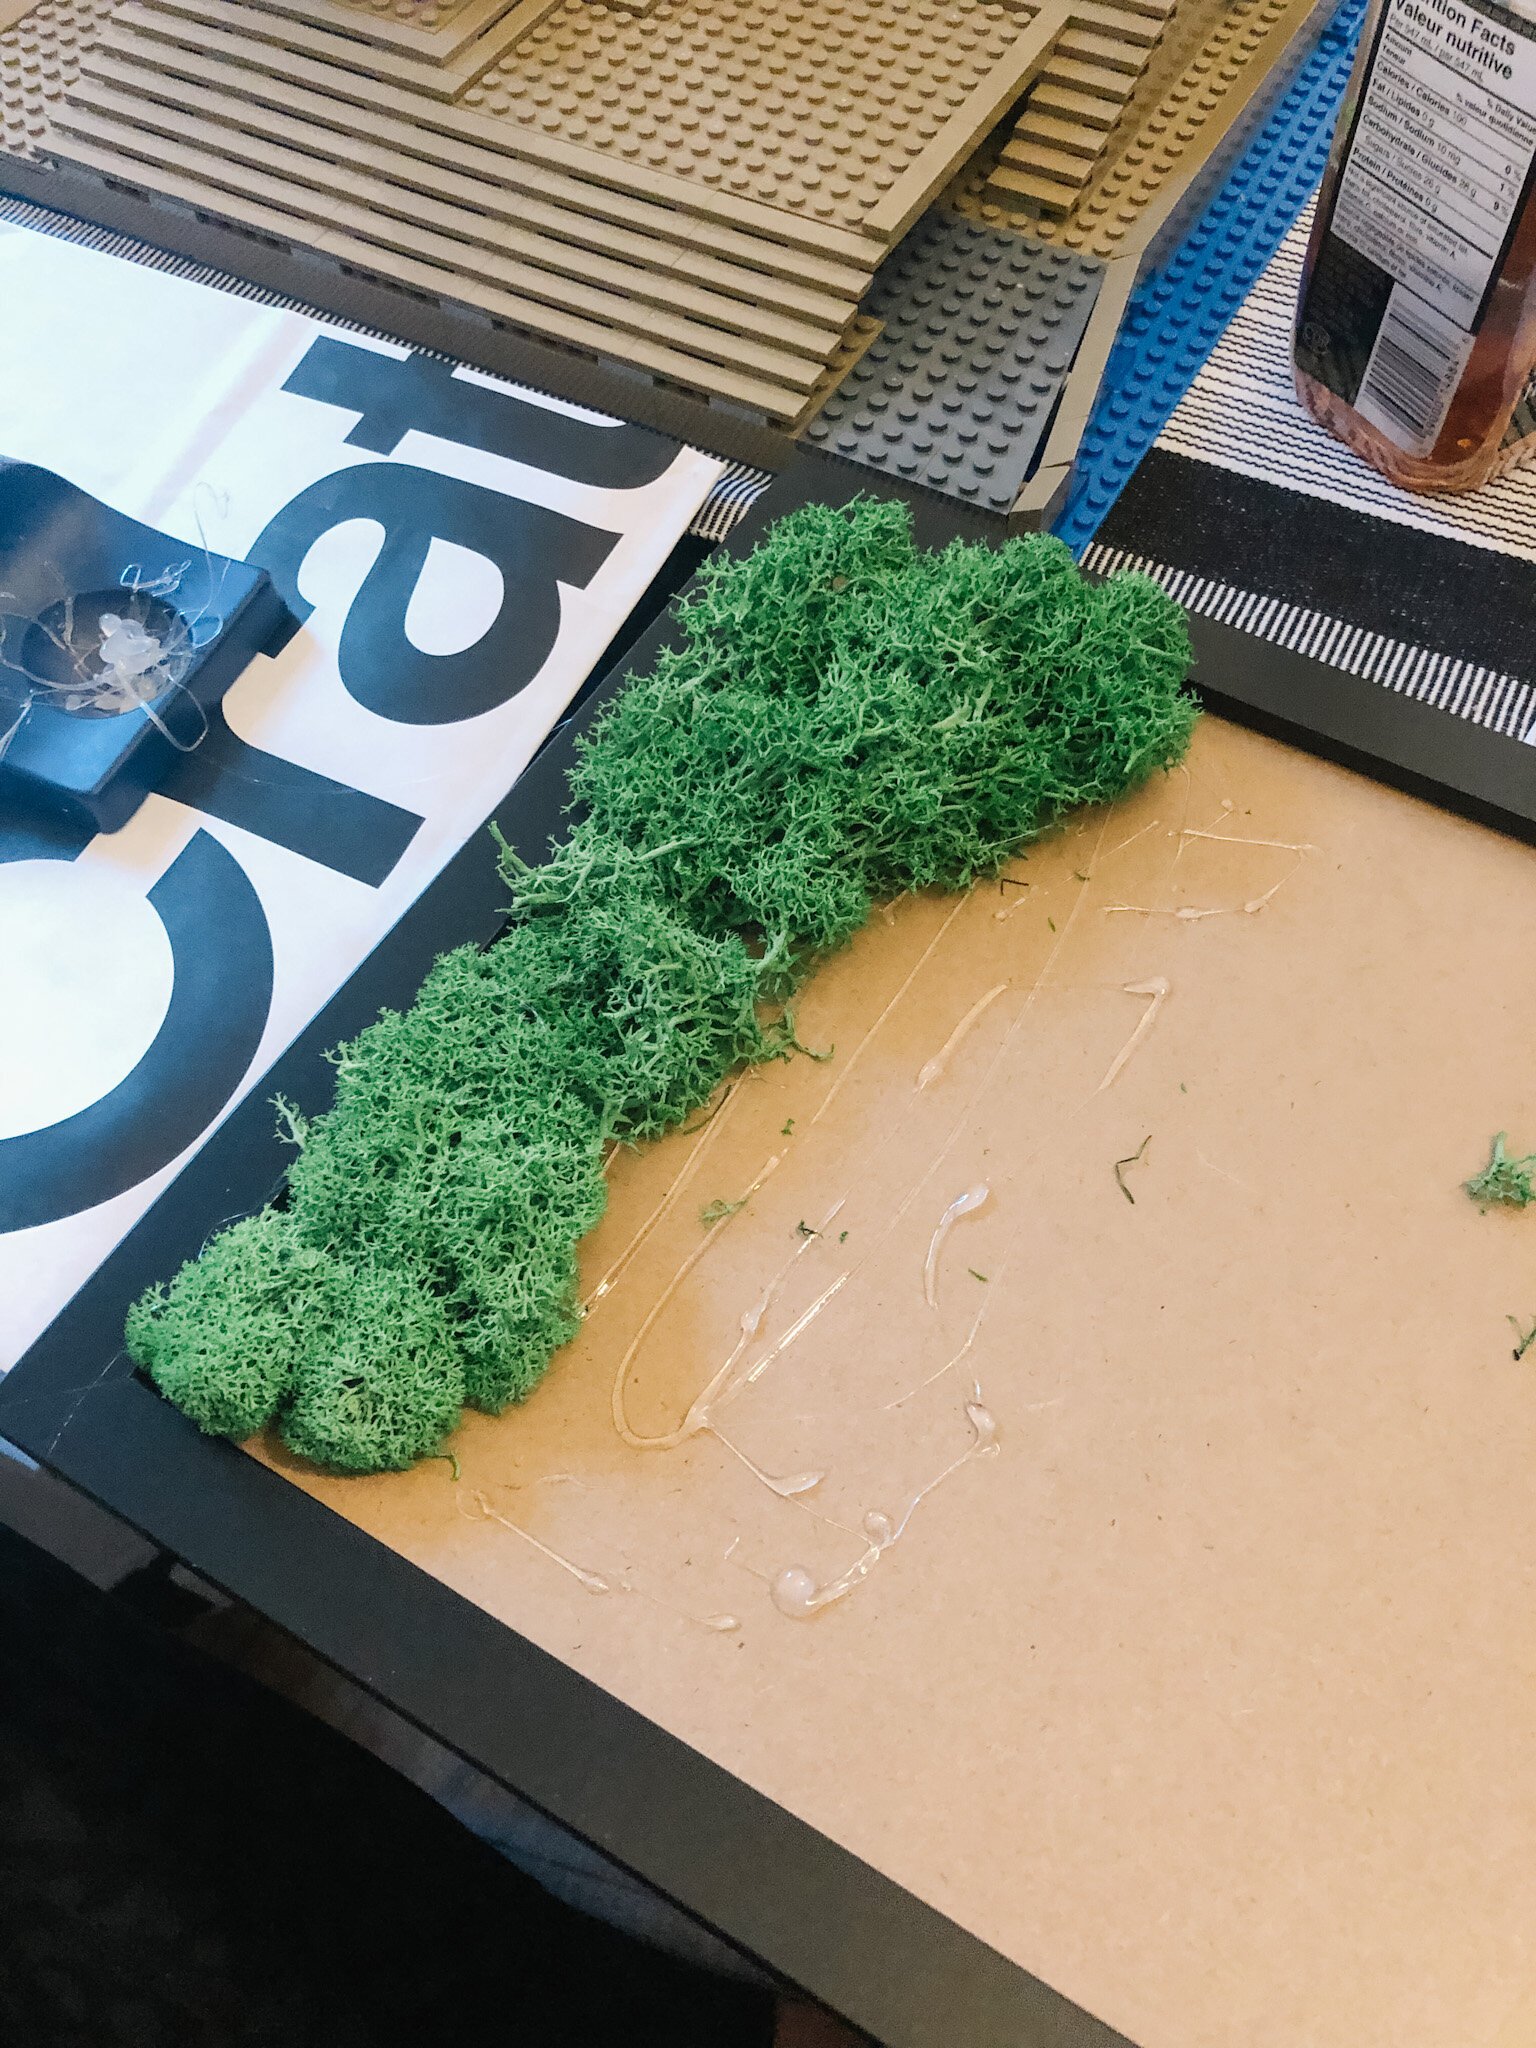
Around the edges of the frame, you may need to tuck the moss in and under a bit so that you don’t see any gaps. This is especially important at the top of the frame where gravity is going to try to pull the moss down.
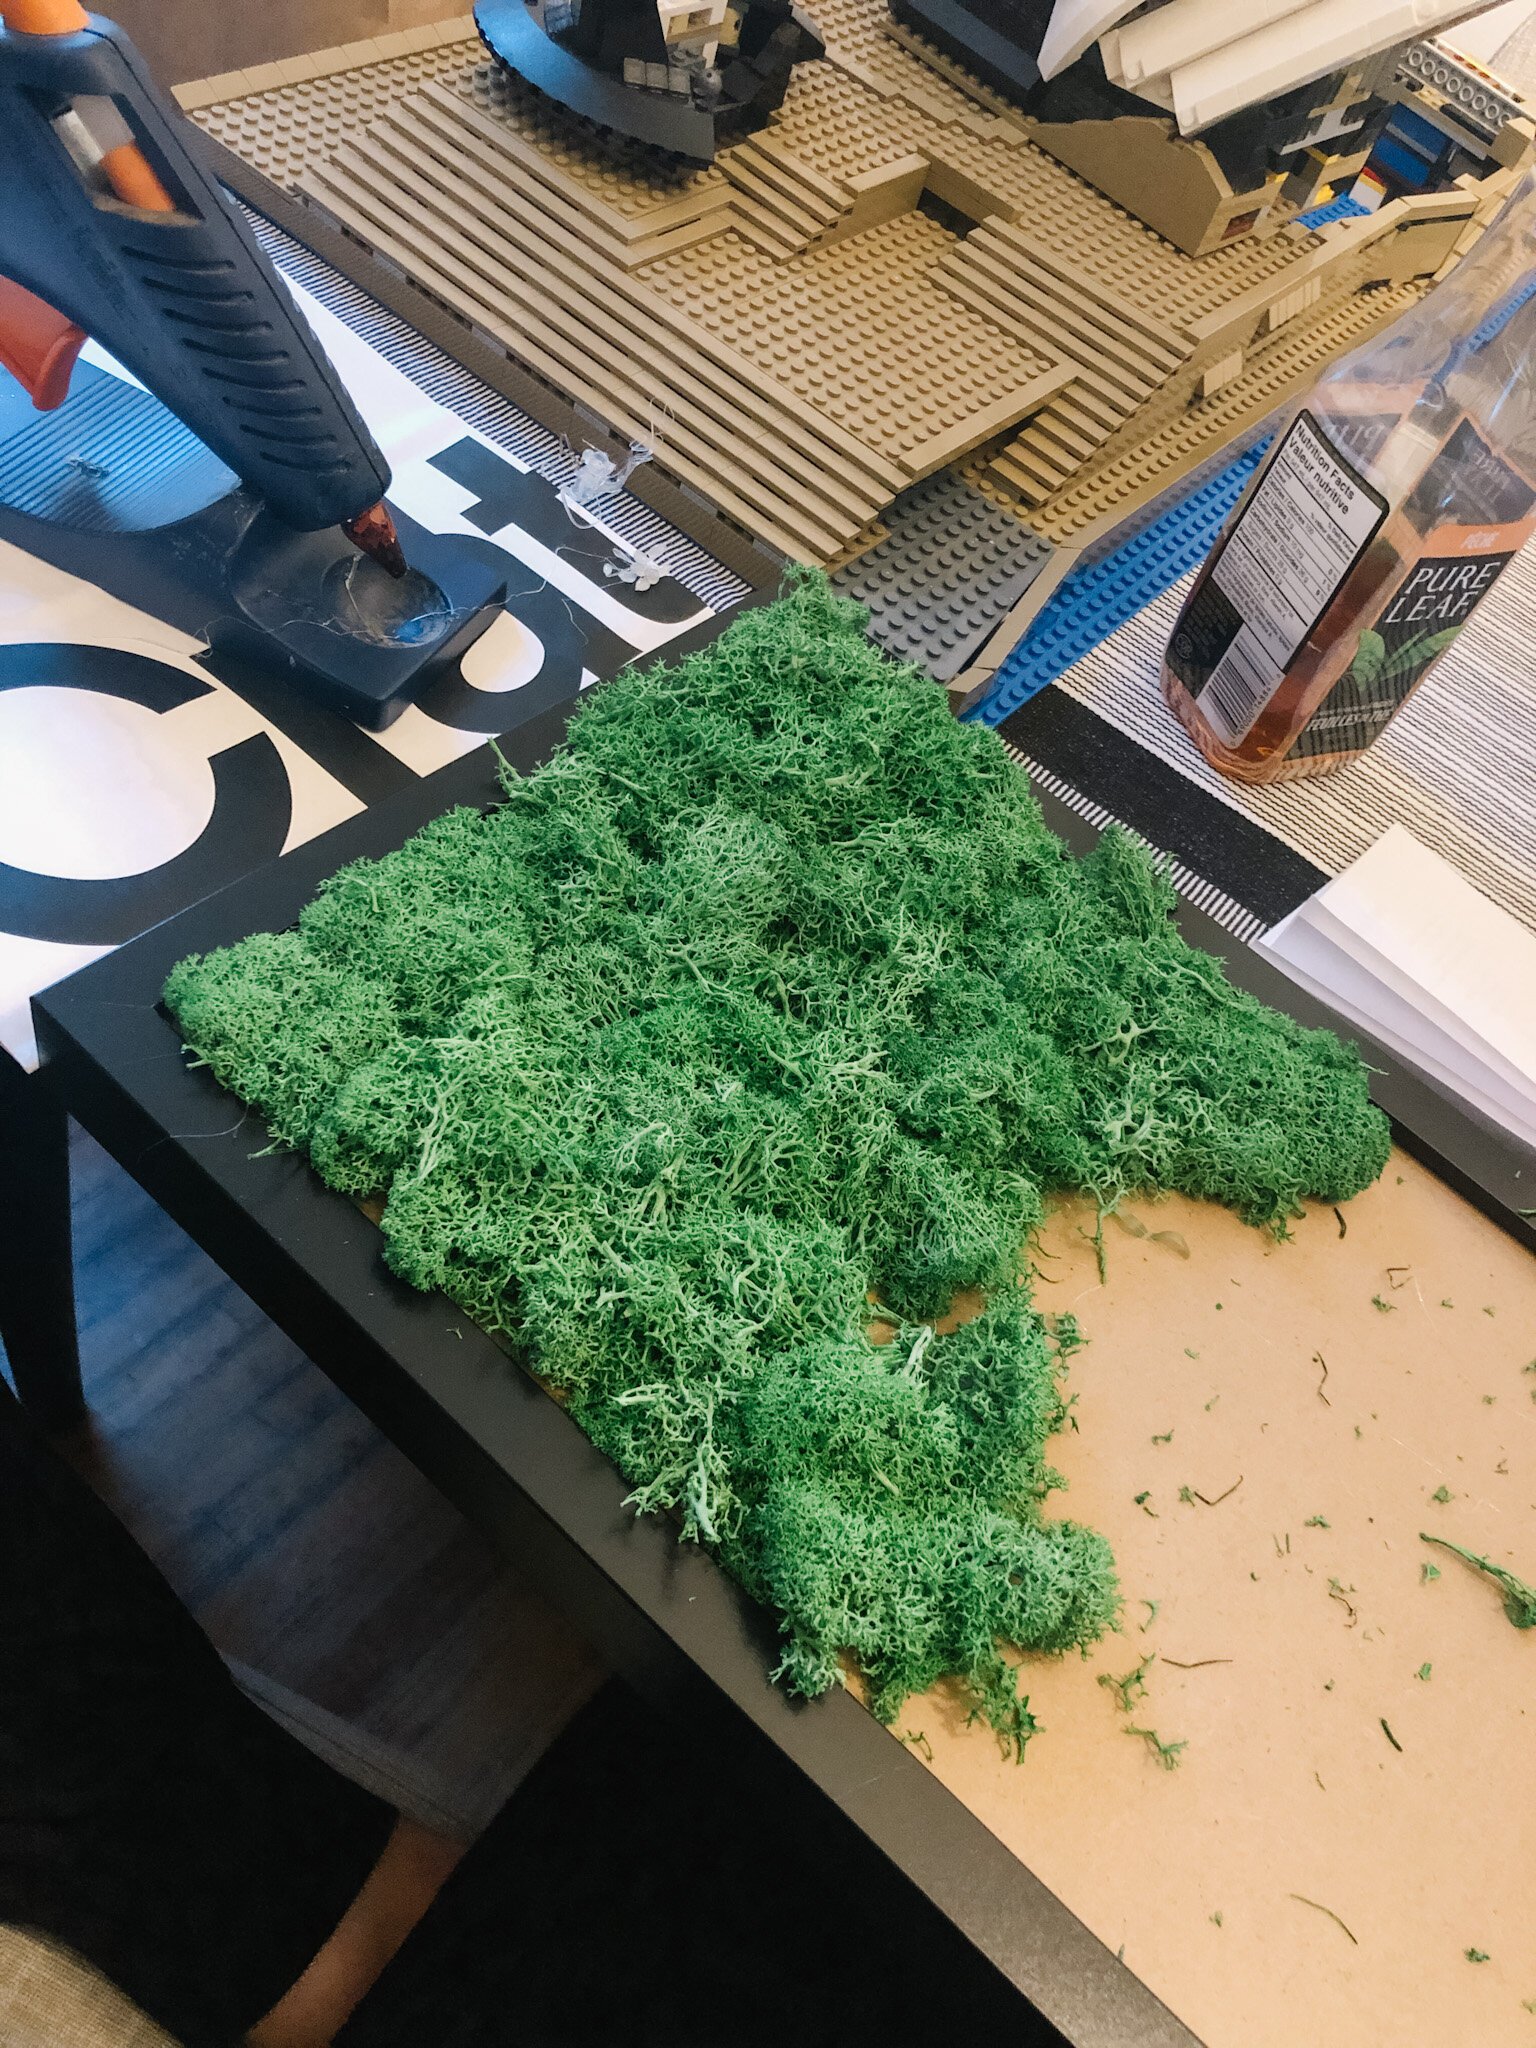
Once it’s complete, give it another look over and ensure that there aren’t any spots where the backing is showing. If a spot seems a bit sparse, don’t be afraid to stick on some more moss. You may also find that some of the moss pieces need some extra gluing down.

Hang it up!
Once you’re done, it’s time to hang it on the wall. You’ll need to choose the mounting method based on your wall and the frame’s hanger. I love using 3M Command Hooks and Velcro Strips where possible to avoid damage to your walls. Monkey hooks are another favourite for easy installation, they are great for heavier installations and don’t require any tools.

Of course - I want to see what you create for your own DIY Moss Art! Be sure to tag me on instagram @kierstindesigns