How to Restore Your Welcome Mat Lettering
I love a good saying on a welcome mat. The day I saw this one, many years ago, I knew it was exactly what I needed on our front step. As you may already be aware, my favourite feeling is cozy and it’s also how I want everyone to feel when they enter my home. So this was just perfect.
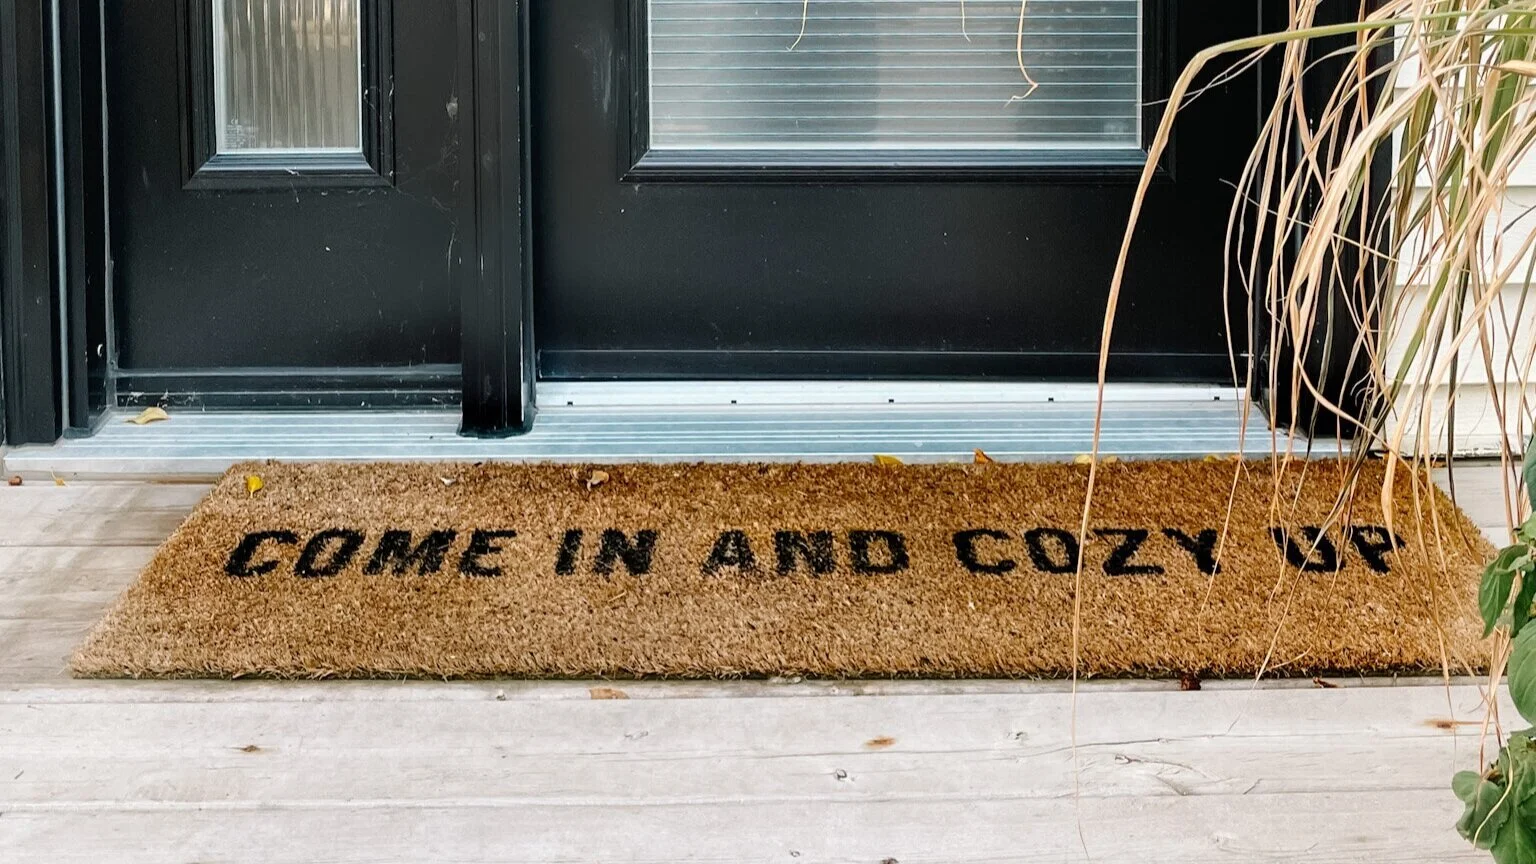
After 3+ years of being stepped on and enduring the Edmonton climate, my coir welcome mat was showing signs of wear. The actual mat itself was still in decent condition but it’s obviously no fun to have a mat with the message half worn off.
I looked into replacing it, which cost around $50. But it really bothered me to think that I’d end up getting rid of a mat that was still in great working condition, just because it didn’t look as good as it once did. I’d seen others create their own sayings on coir mats on Pinterest, so it seemed only logical that I could bring my existing saying back to life too.
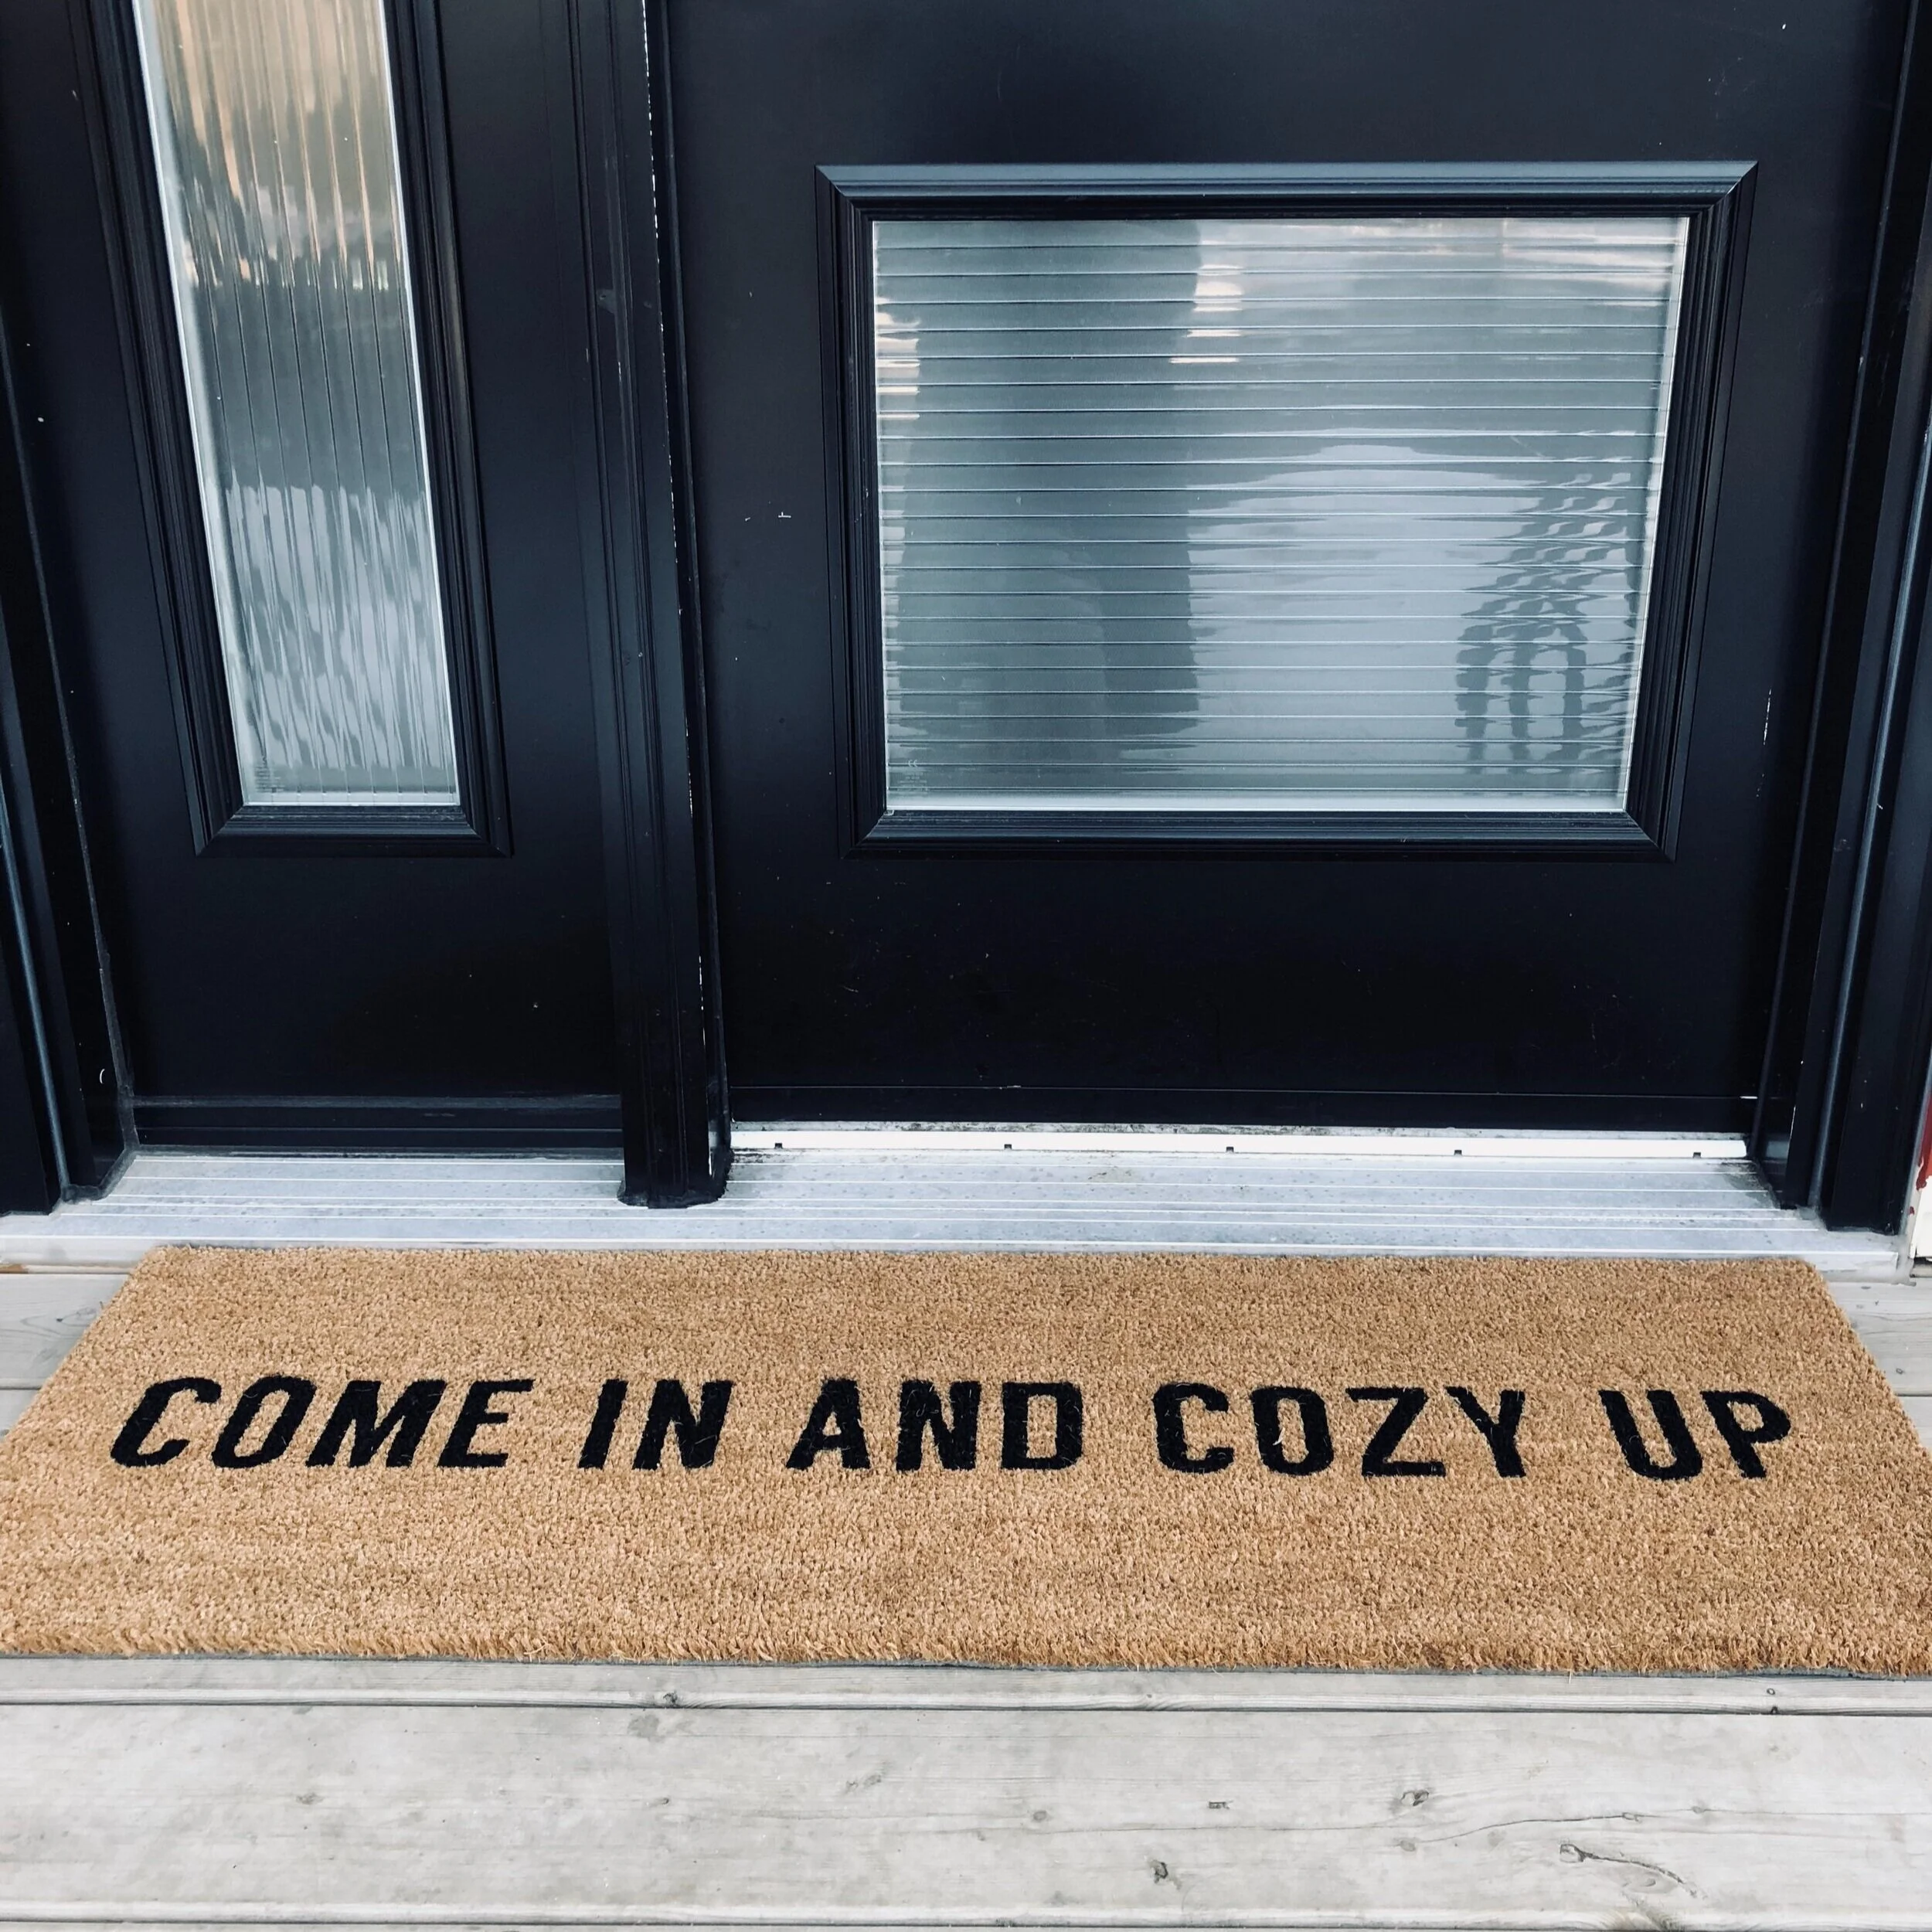
The welcome mat, the day it was purchased.
What you’ll need
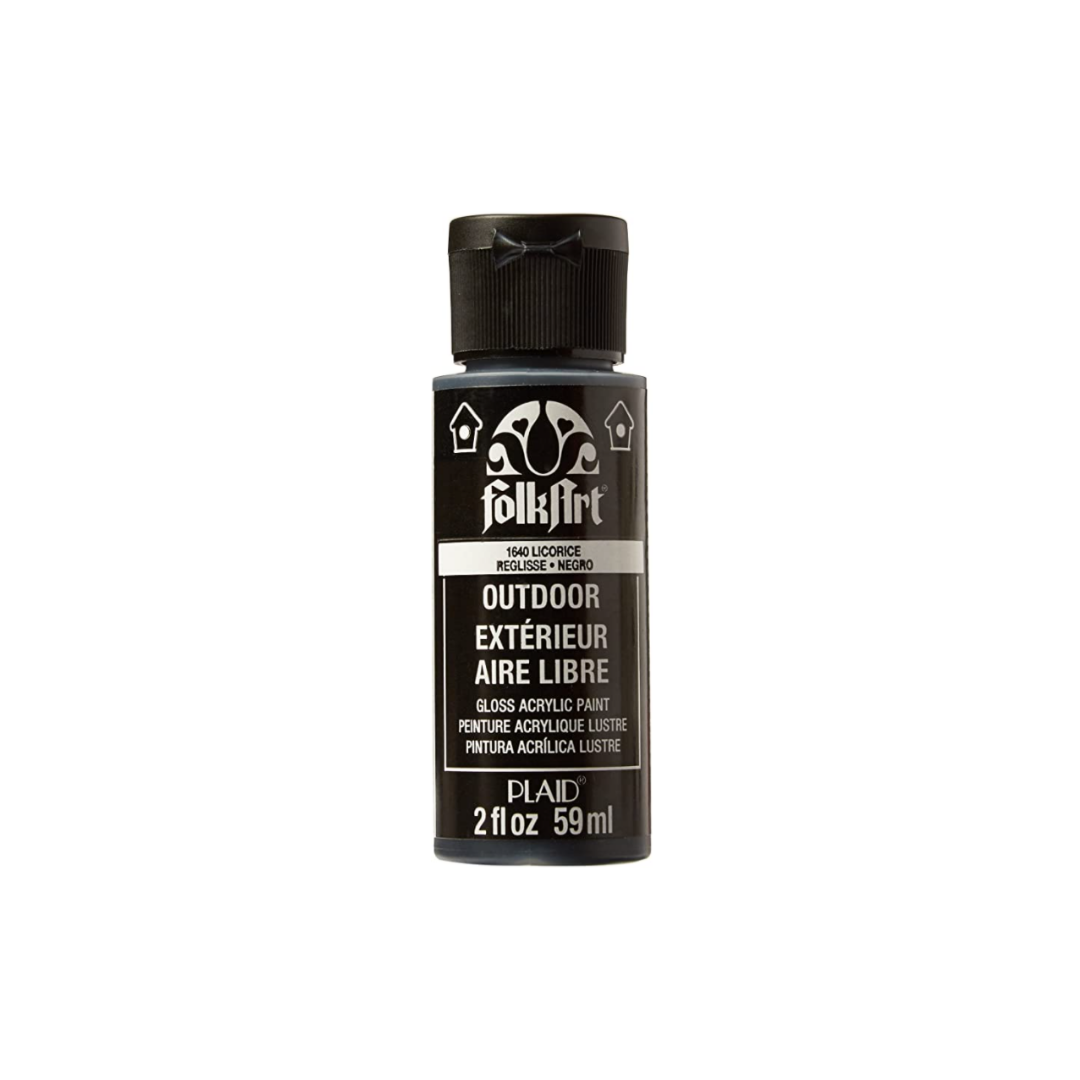
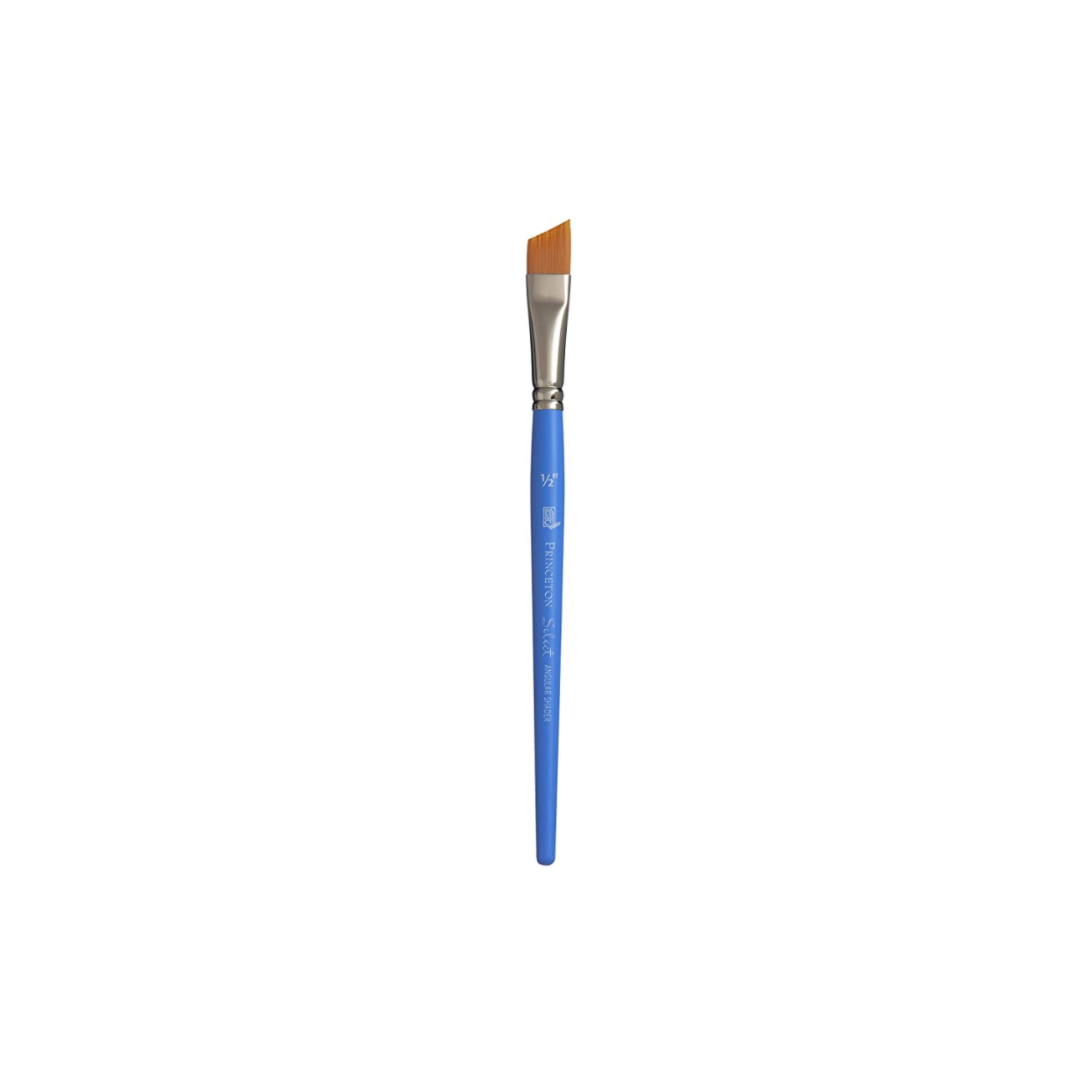
A bit of research later, I learned that I needed an outdoor acrylic paint to make it happen. I decided to go with the FolkArt Outdoor Acrylic Paint in 1640 Licorice. (Quick note: the bottle says it’s glossy but it definitely has a satin finish when dry, which looks great on the mat.) I already own quite a few paint brushes, so I chose a smaller brush with angled bristles as I knew it would give me the most control while I painted. (This 1/2-inch Angular Shader Brush is a close equivalent to my own.)
Before you start
I gave the mat a good shake outside and then brought it inside where it sat for a few days before I set to work on it, in order to fully dry out. Right before I got started, I also gave it a good vacuum to get any additional dirt out of the coir. Then I found a spot that gave me enough room to work, and got to it!
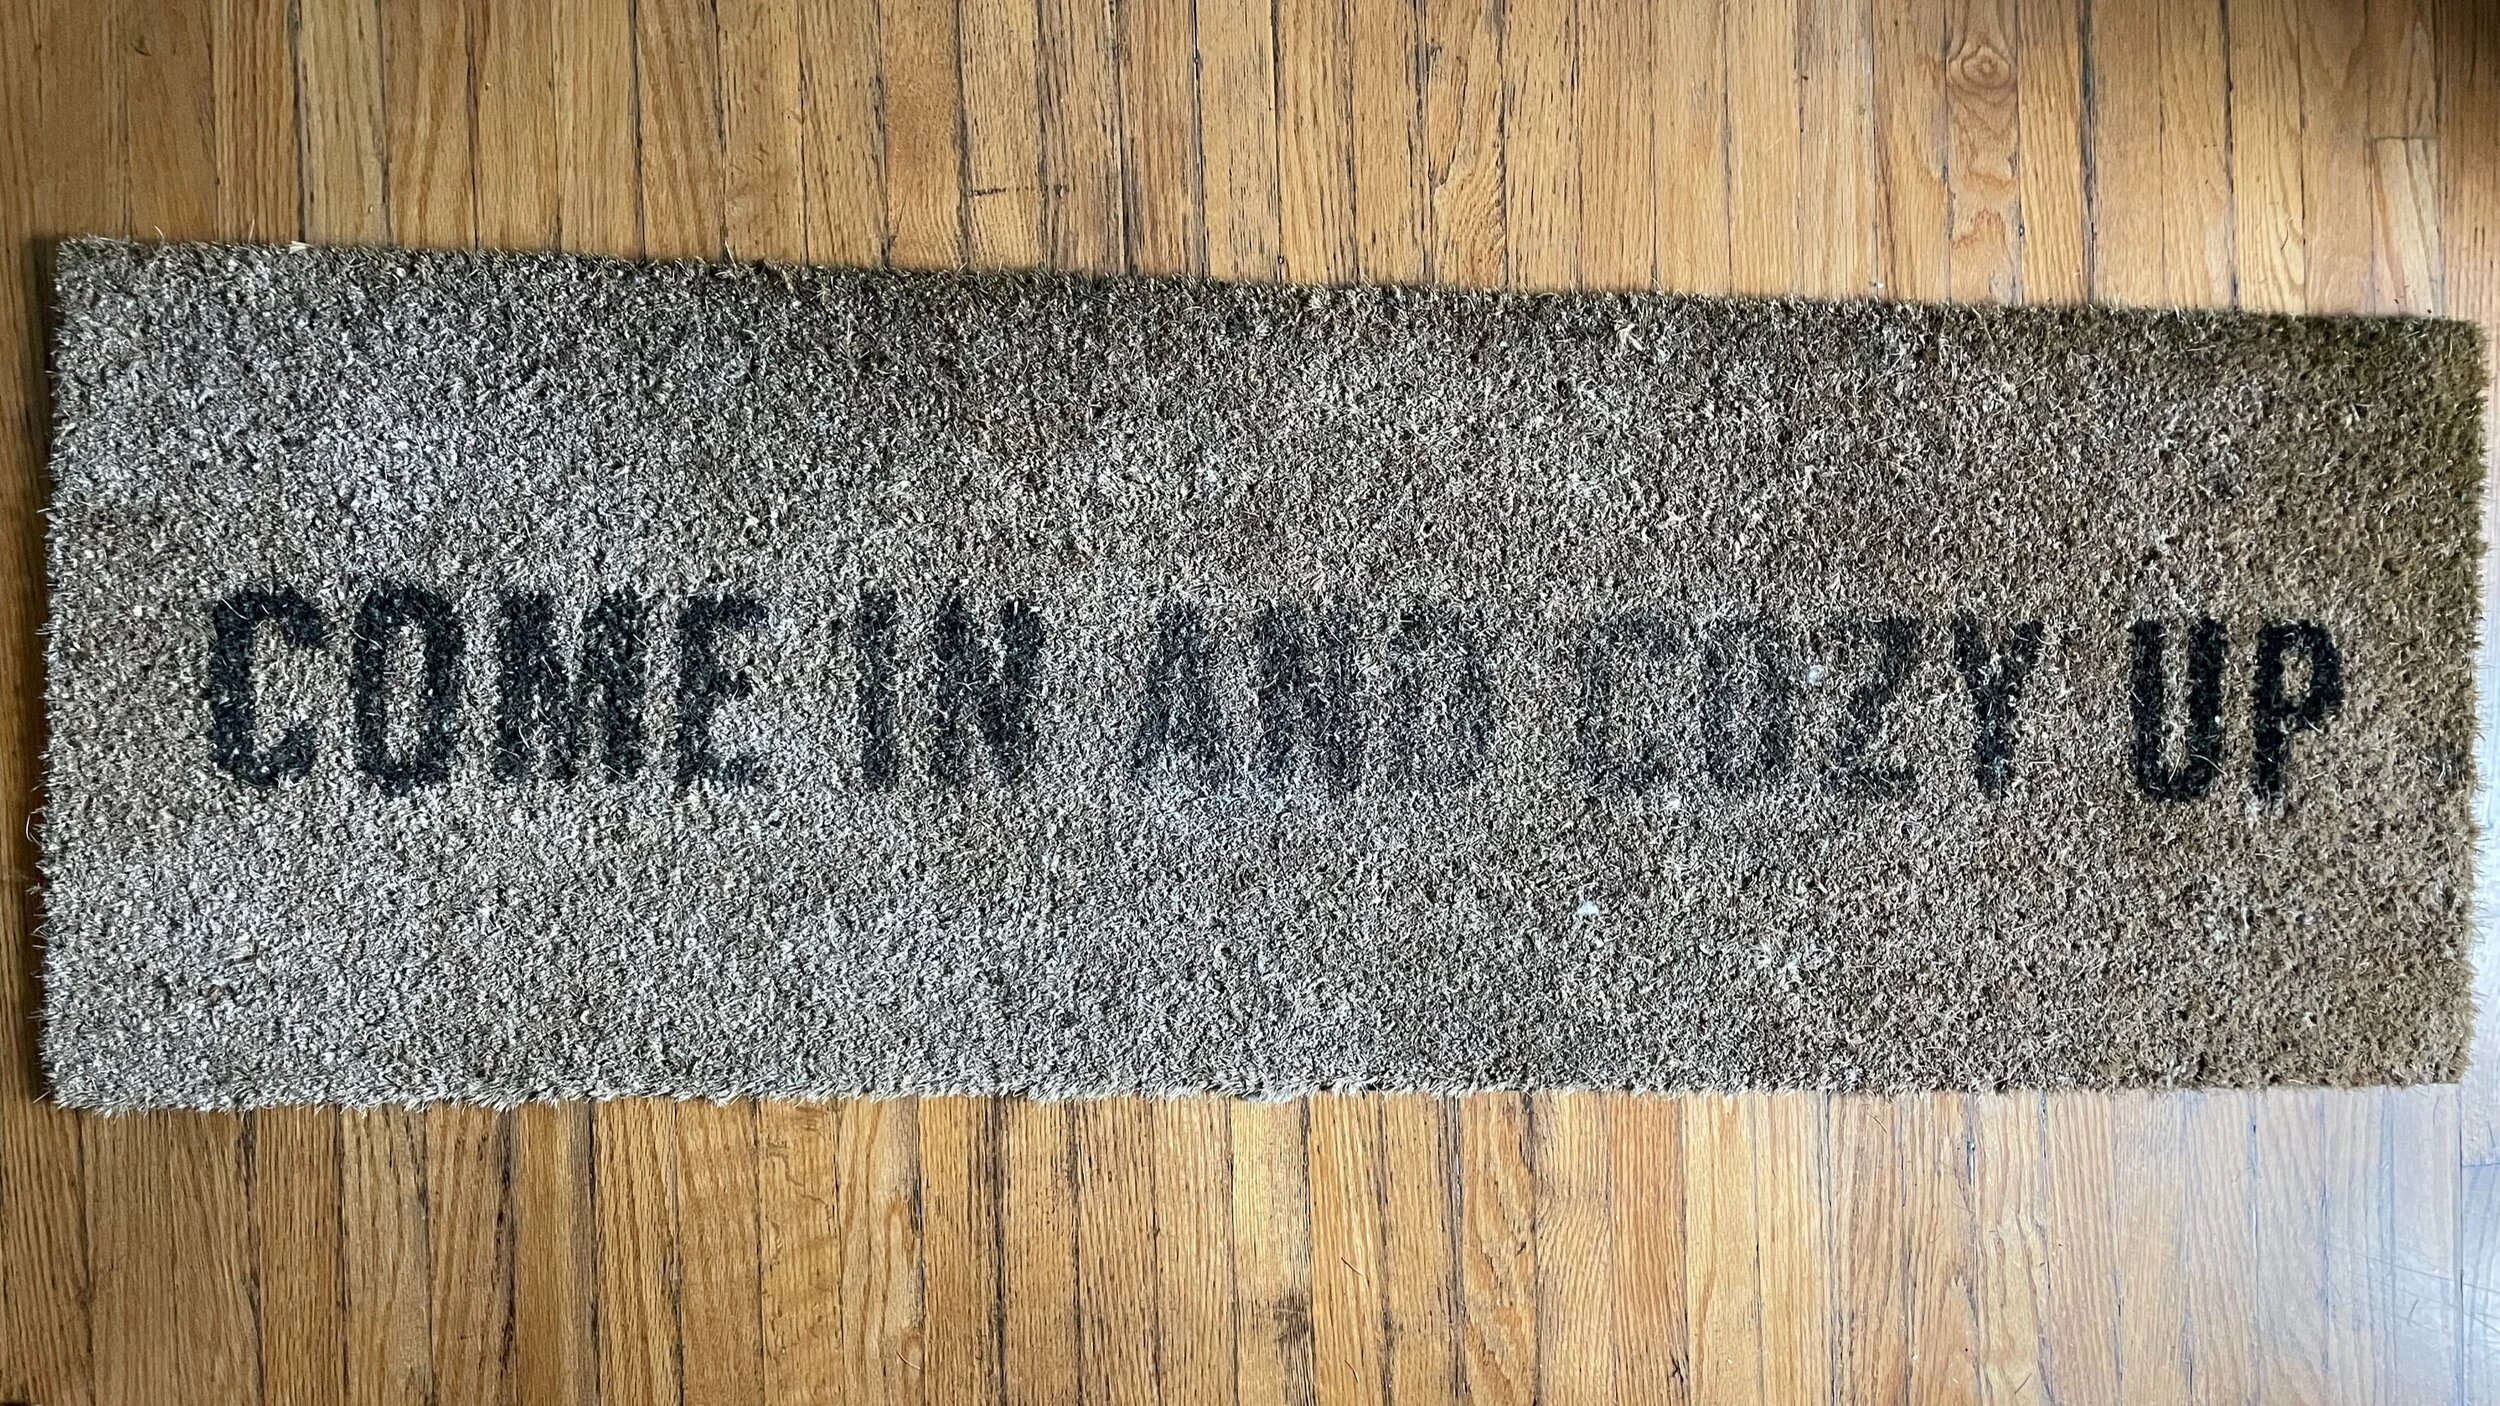
Just over 3 years later and ready for restoration!
Let the painting begin
I decided to do the painting freehand as that’s just my preference. It also seemed like a lot of work to try to find any templates of my exact font and size of letters. I decided to start in the middle so that I would have at least one darker letter on each side of where I was working to reference to.
Using a scrap of cardboard as my paint palette, I squeezed out a small amount of paint and then slowly began outlining the first letter before filling it in with more paint.
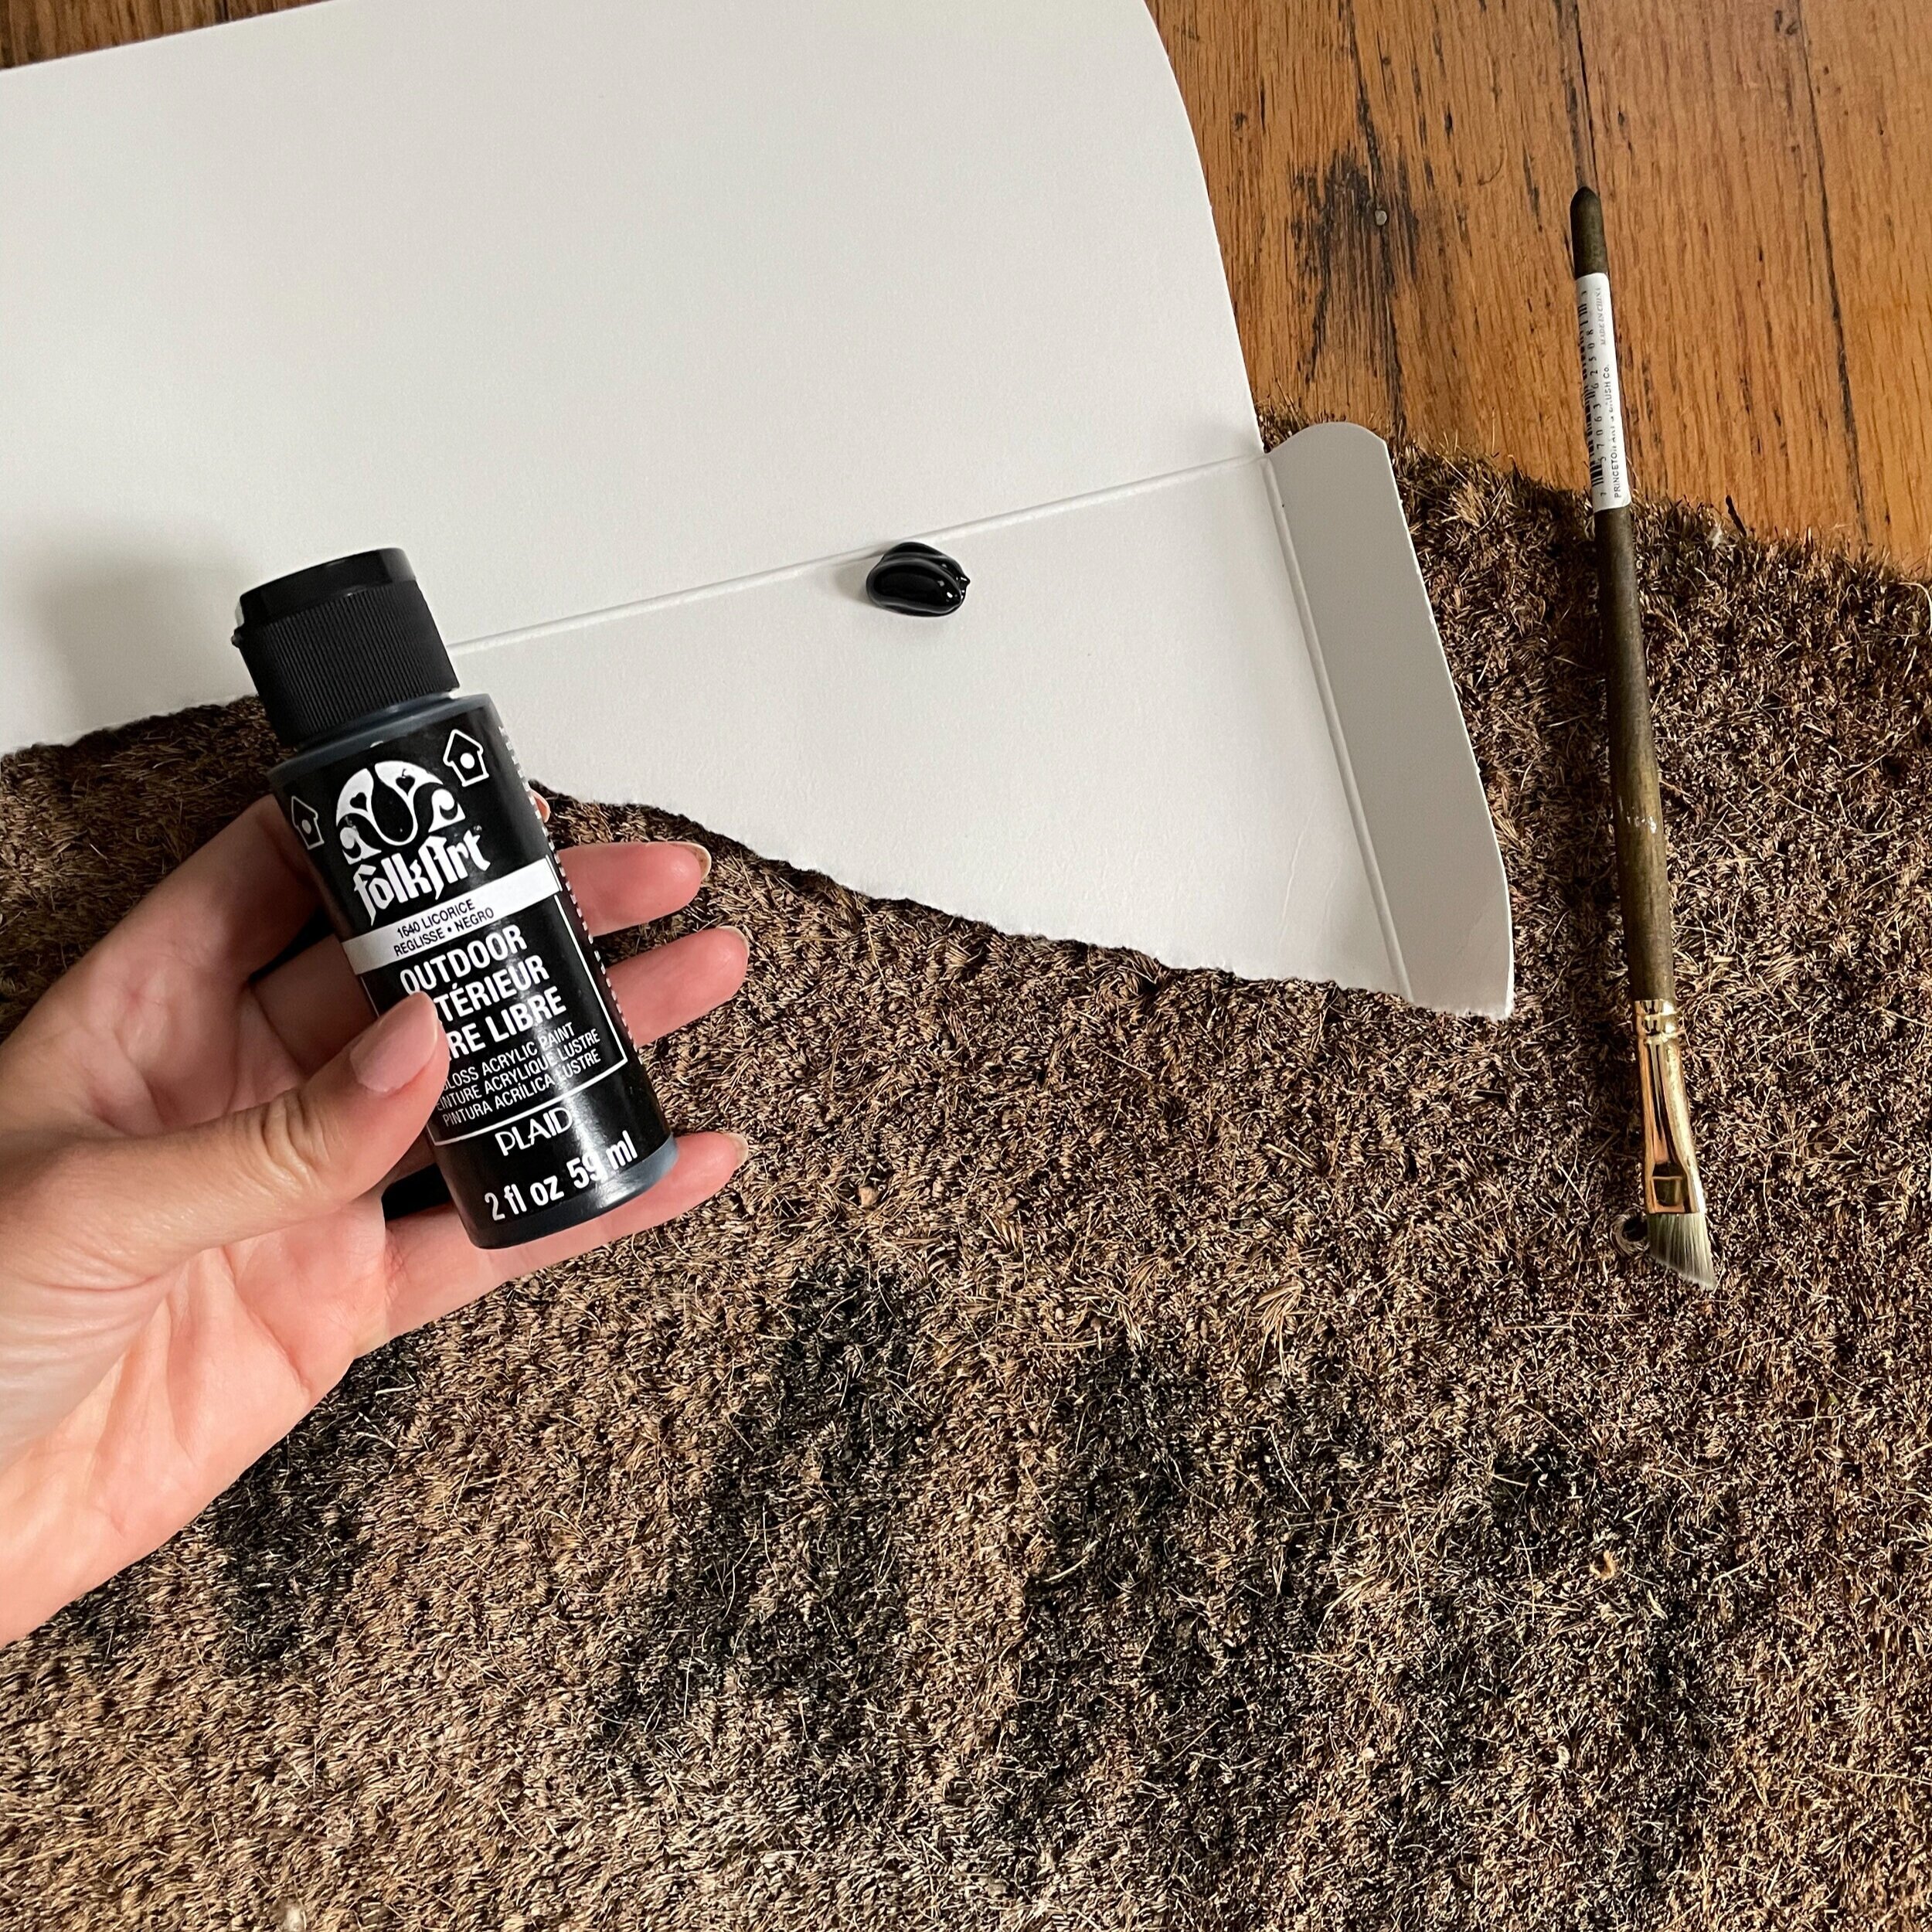
Everything you need to make it happen
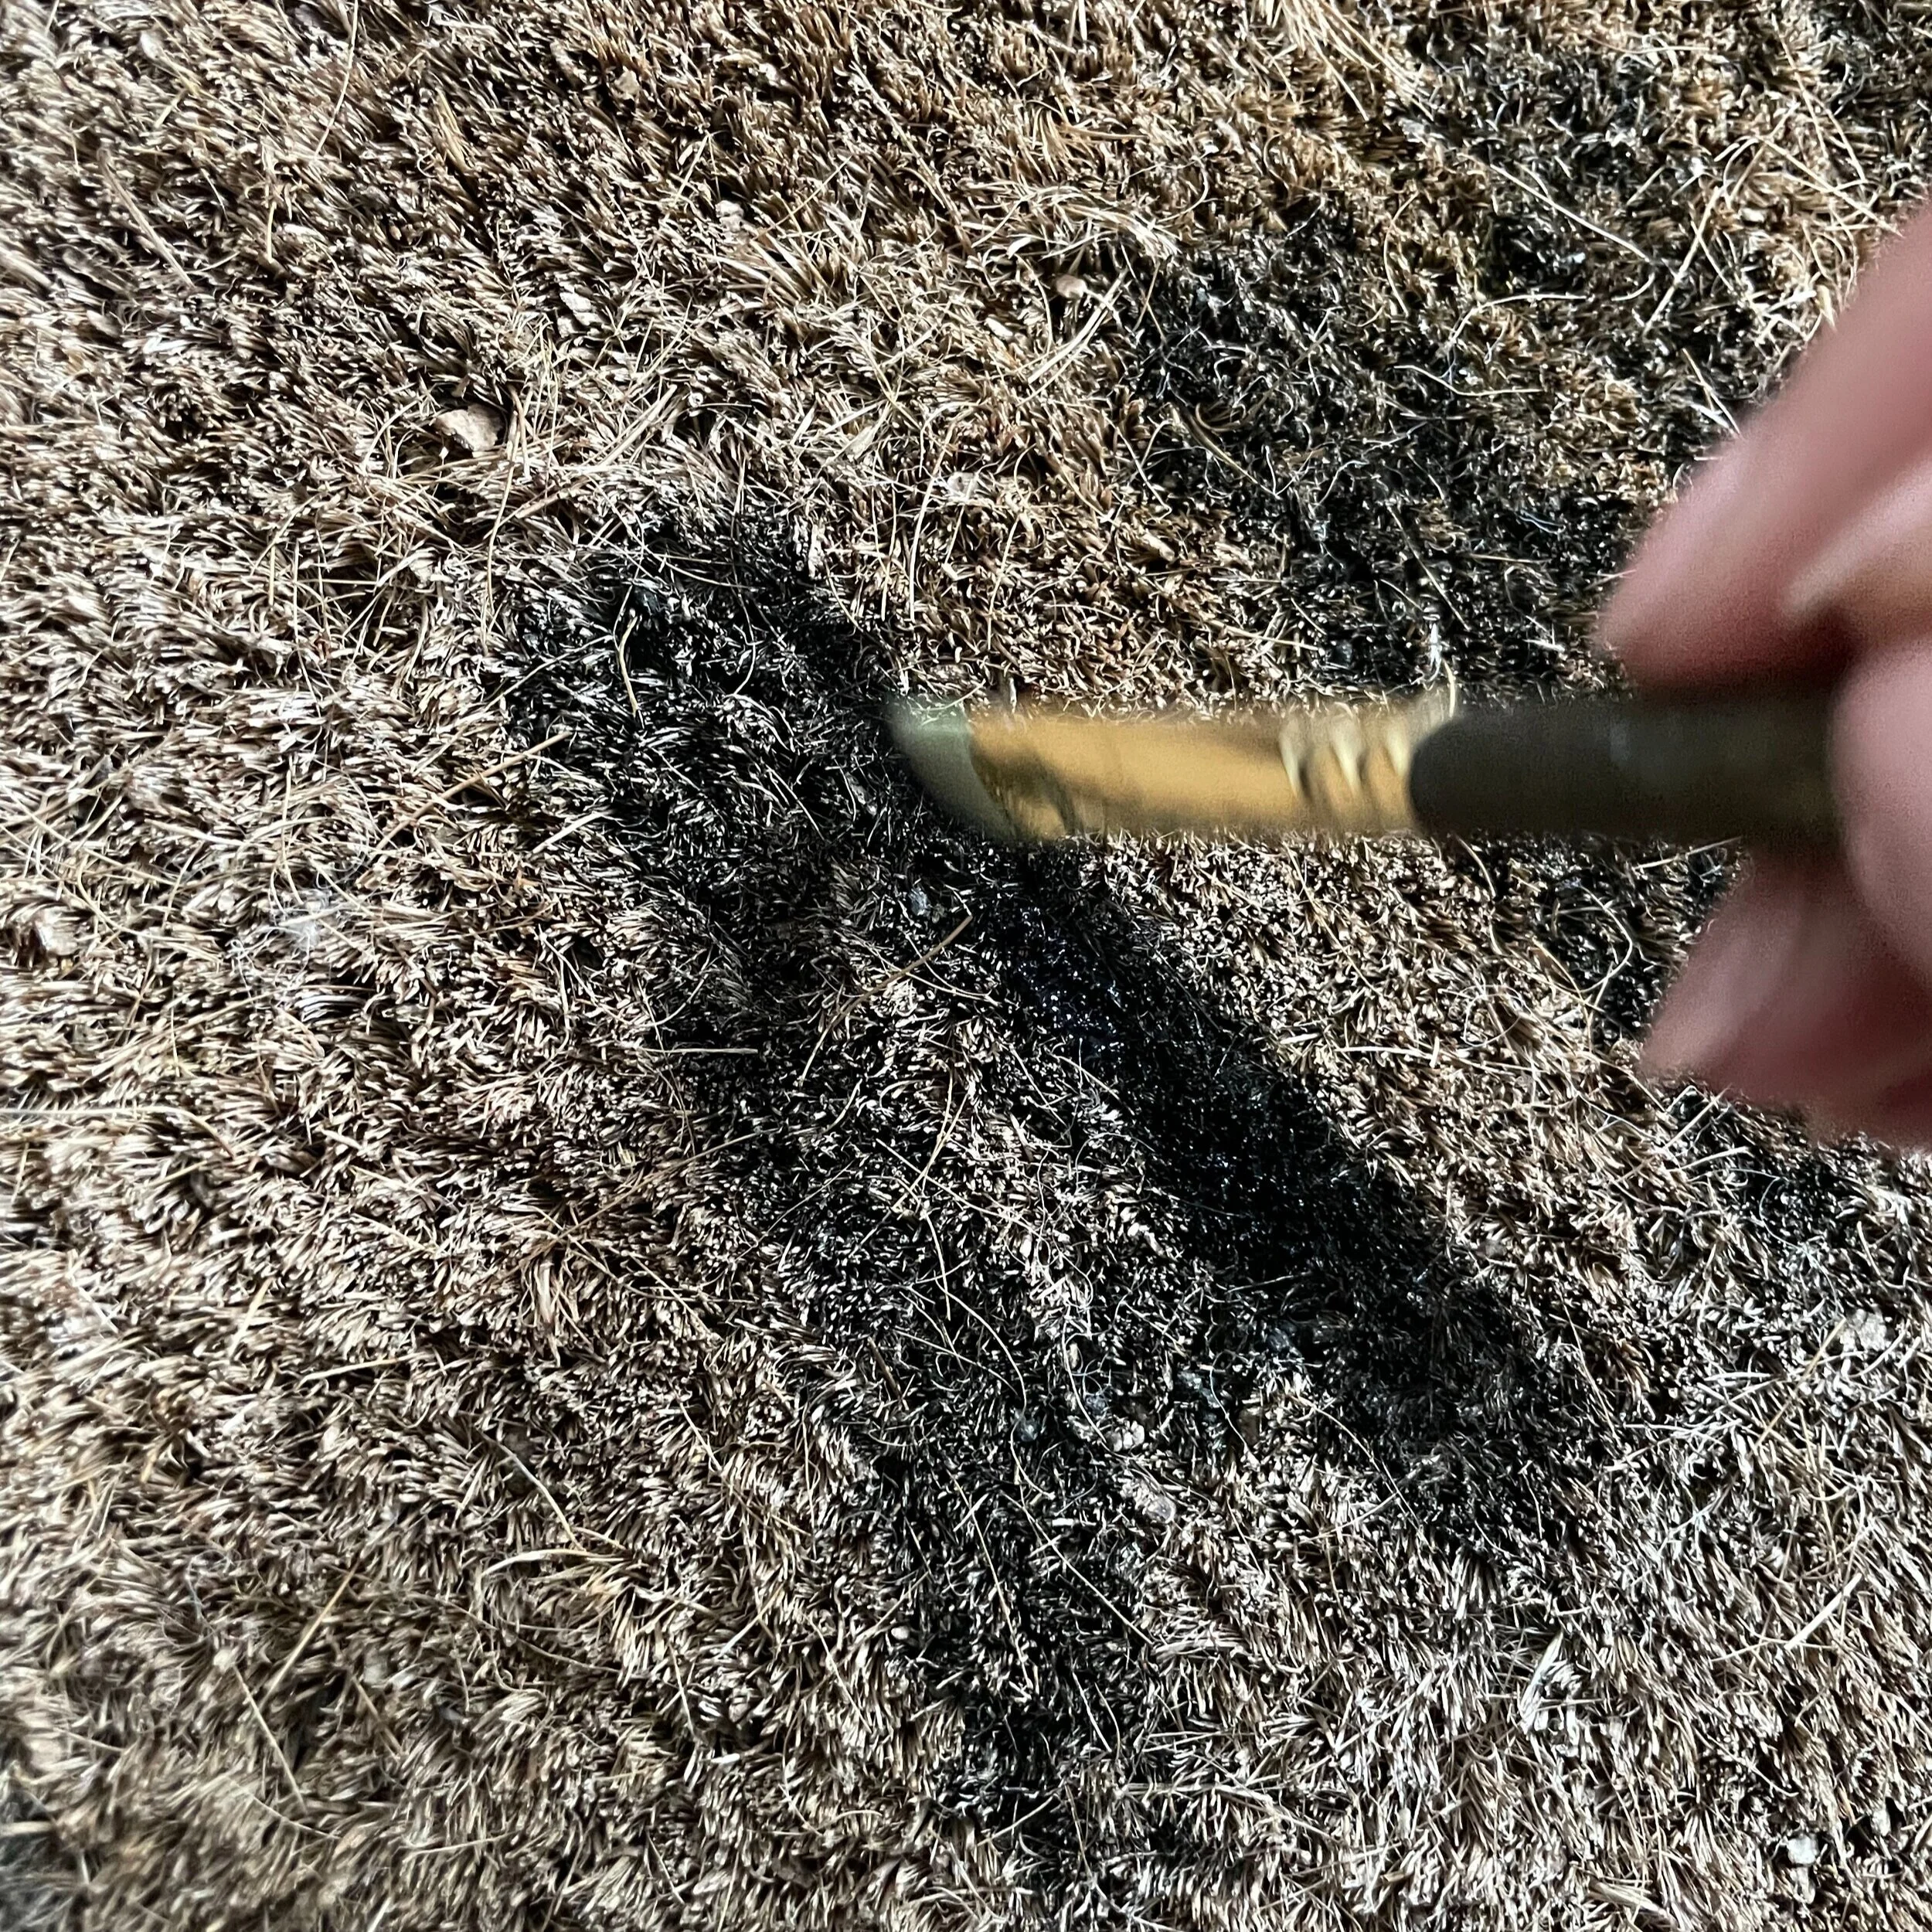
Started with an A in the middle
While this wasn’t the fastest process it really only took me about 30 min to complete. It also isn’t the easiest to keep your letters all perfectly sized and the lines exact because you are painting on the coir – so if you do decide to do your own restoration, be gentle on yourself.
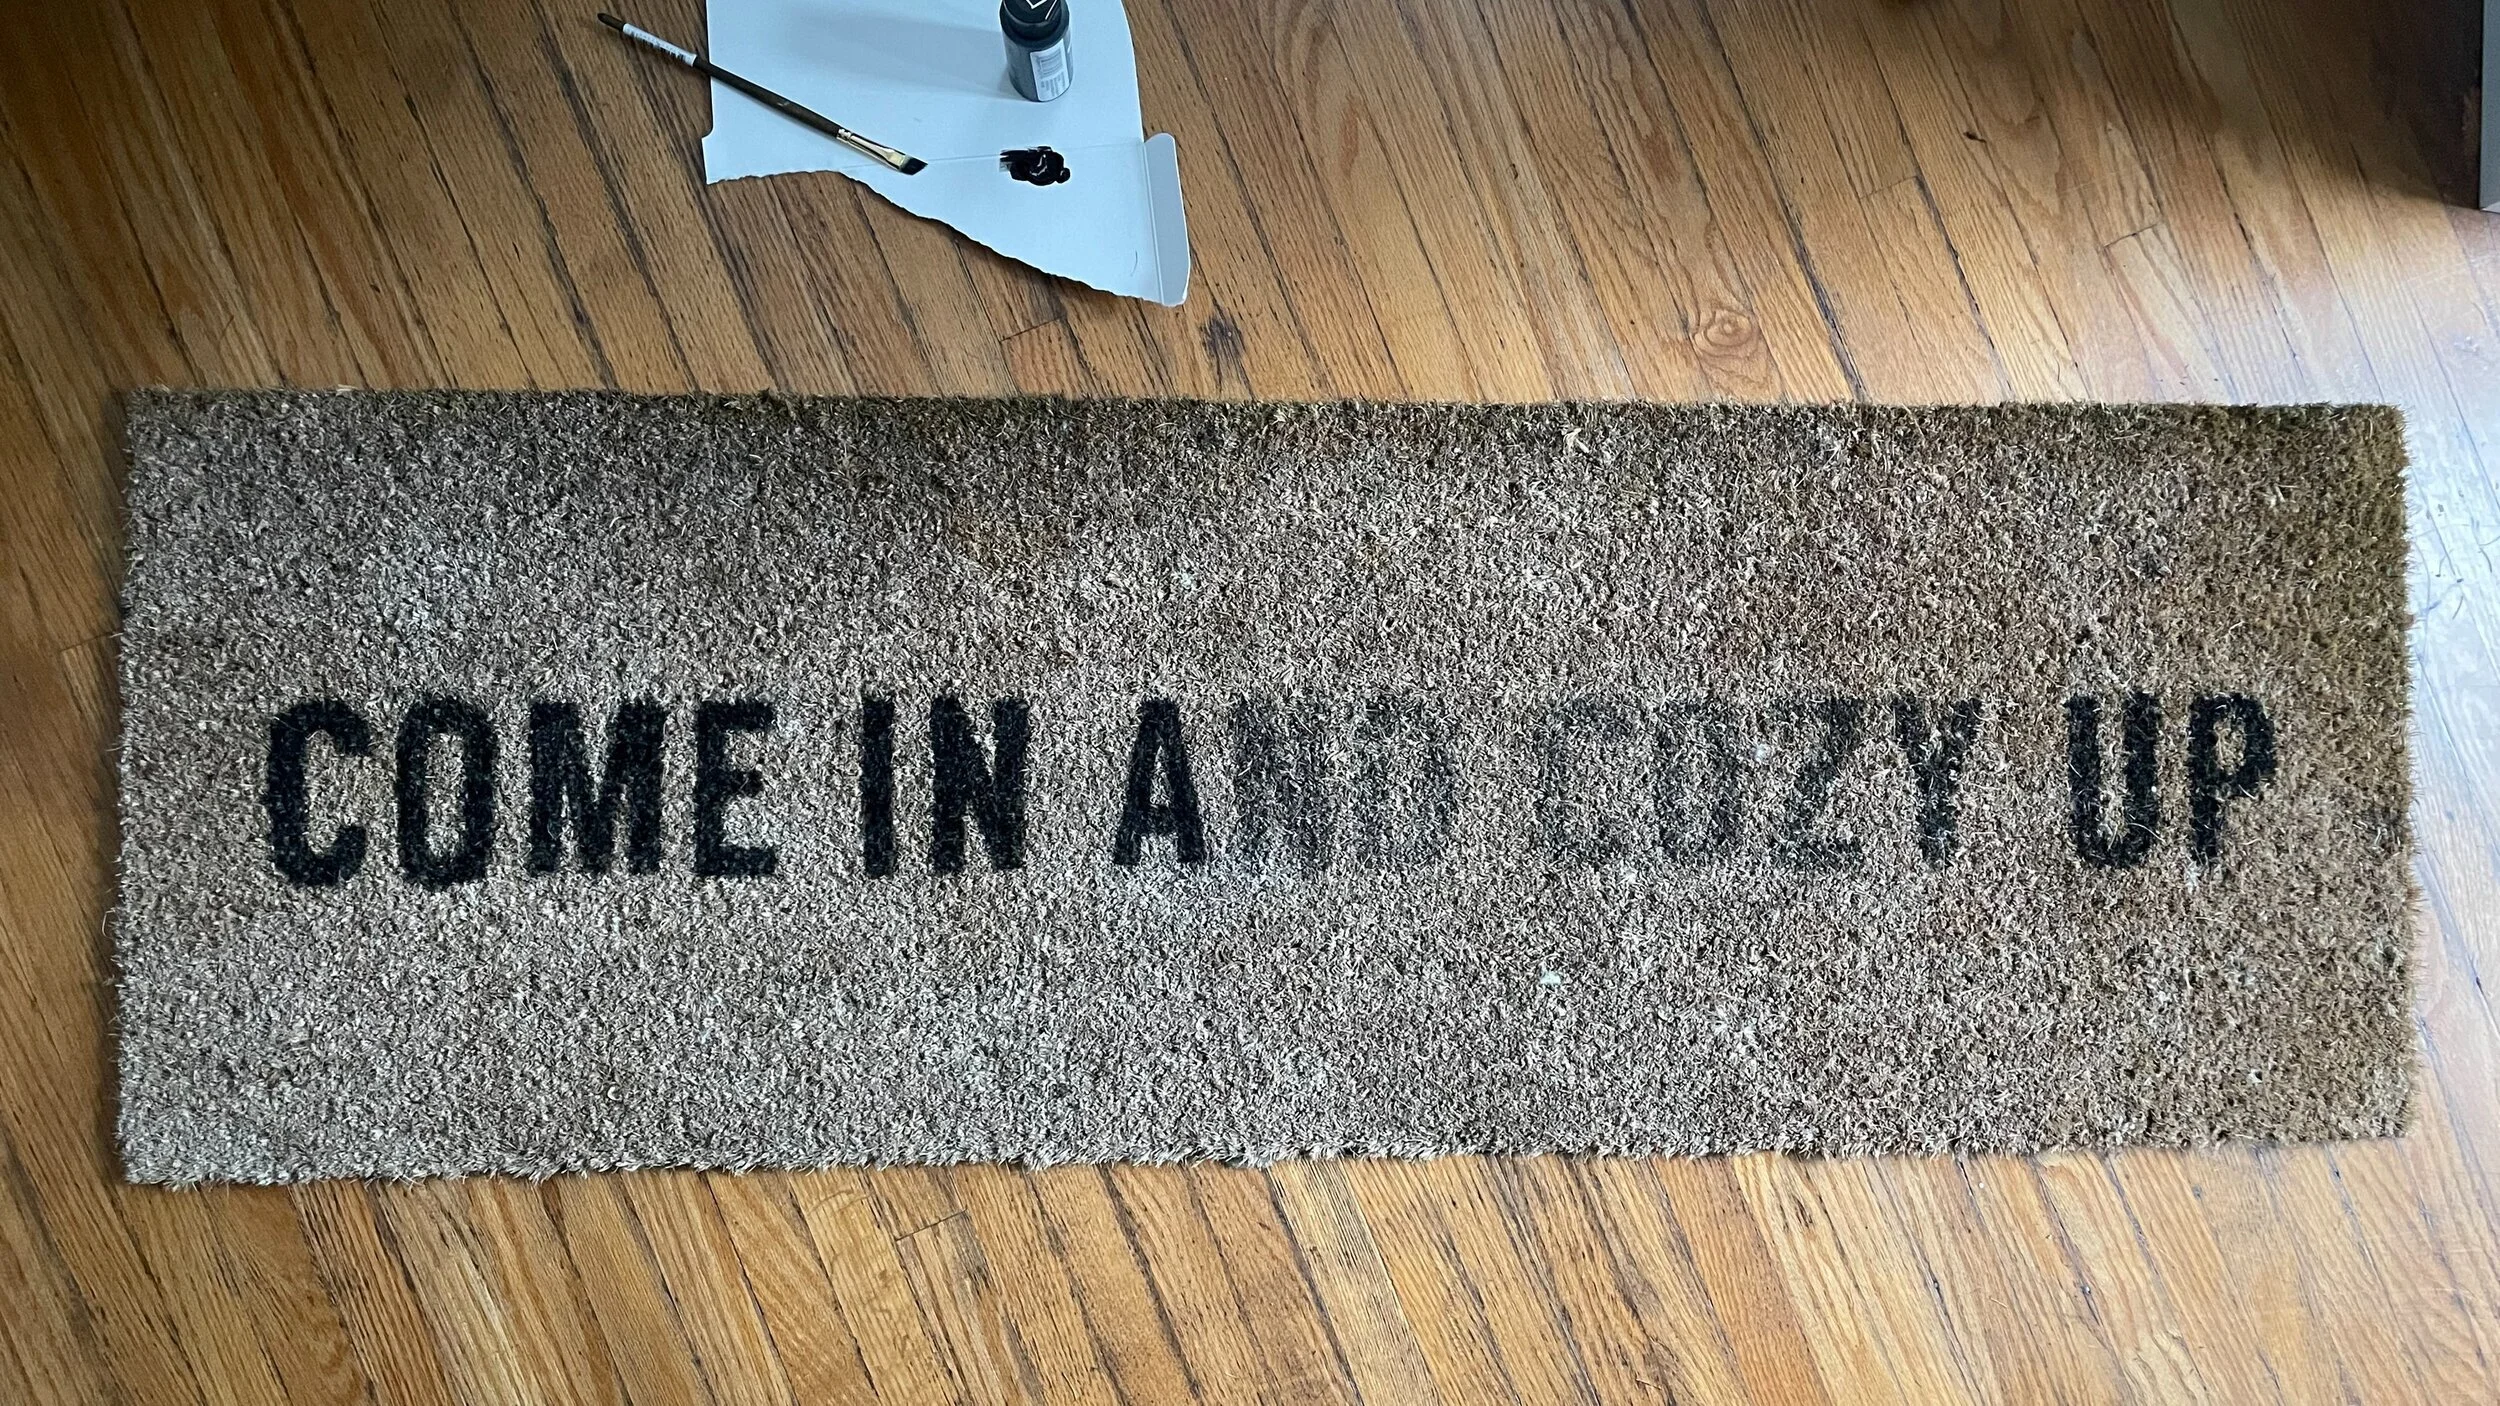
Progress!
Is every letter on mine the exact same height? Nope.
Are the curves all perfect? Nope.
Will anyone who comes to my house notice that it isn’t perfect? Nope.
Note: to my friends and family, this is not an open invitation to come by and inspect my work in detail hahaha.
Getting close!
Now we wait
Once you’re done, set the rug somewhere that it won’t be stepped on as it will need to sit for 48 hours before it is fully cured and ready to go back outside.
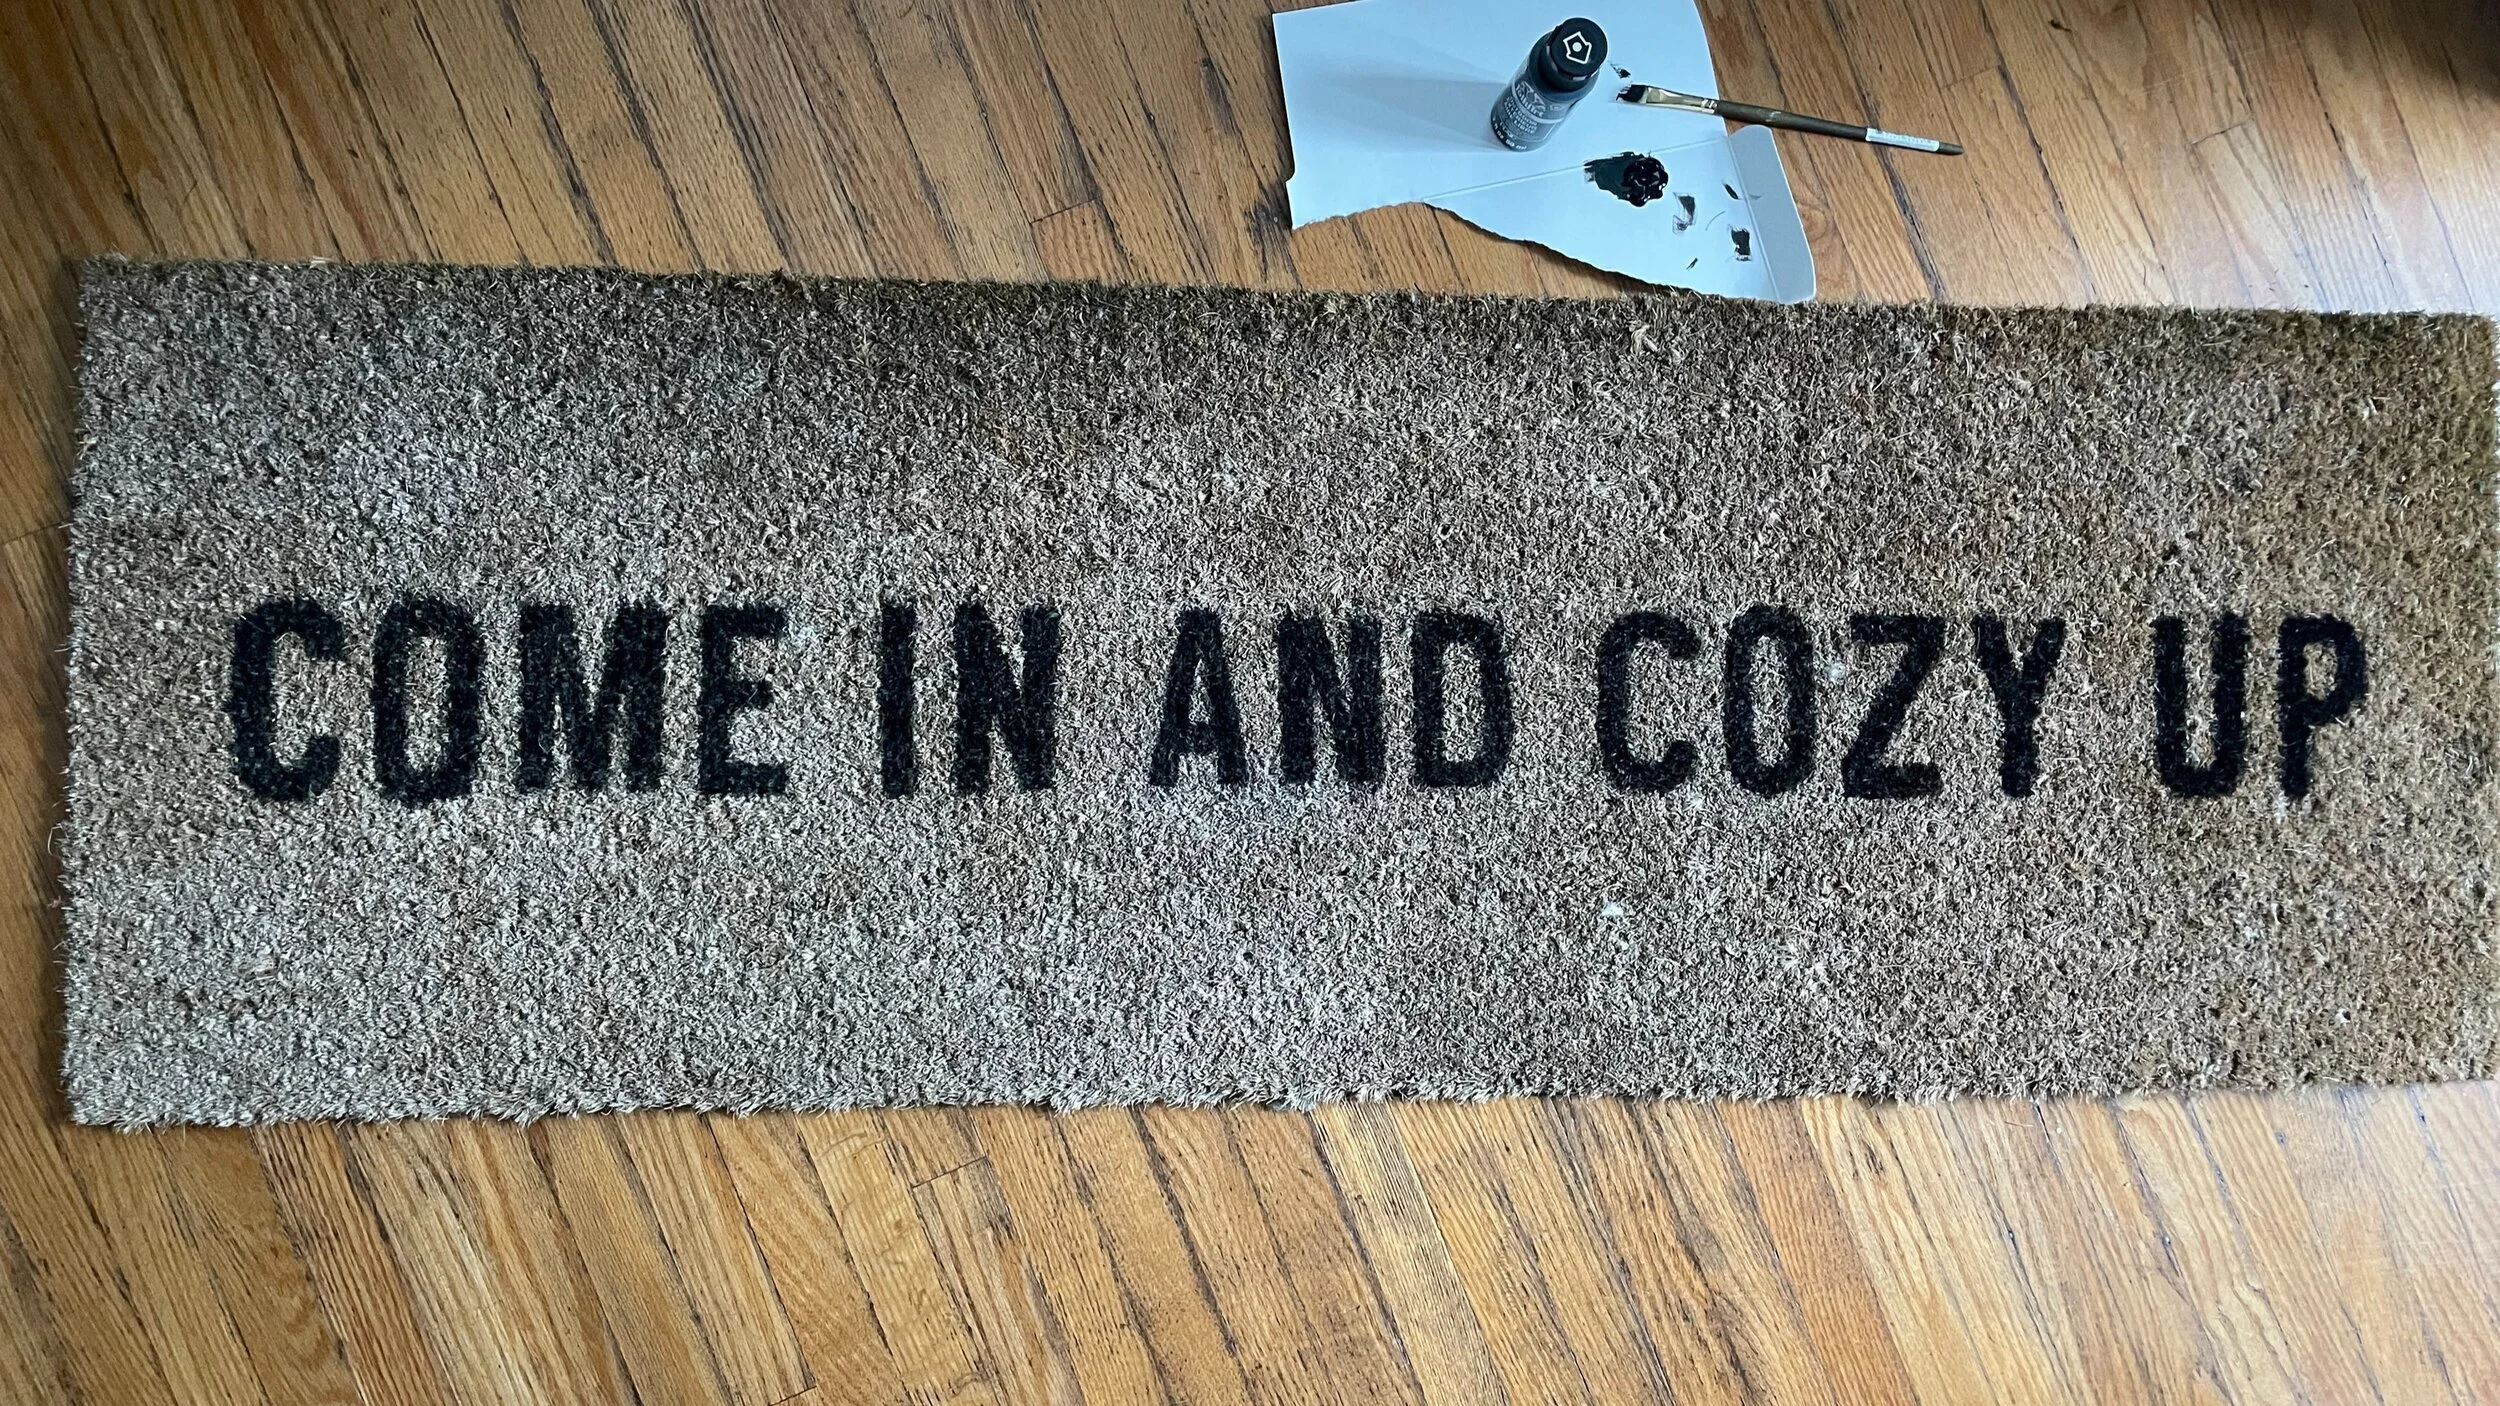
Touched up and ready to greet again
And that’s it - your worn out welcome mat is now looking fresh again!
One extra tip: go over it all and get a bit more paint into the rug. I noticed that after the first few weeks the spots that were more worn before were starting to show wear and it looks like just getting a bit more paint into the coir will help to keep it looking better longer.
I’m definitely going to be a bit more proactive with touching up the lettering going forward. The more of the letters you can still see, the easier it will be. So maybe this needs to be an annual task!