My Favourite Framing Hack
We’ve all been there. Happily excited to have a photograph, print or art framed professionally, only to be stunned when the quote came back to us.
Now before I get into it - let me just be absolutely clear. There is 100% a time and place for professional framing. When you have an item of value, a piece that is delicate or an antique - professionally framing helps to protect it as well as showcase it. It is worth the investment. This hack is not meant for these sorts of items.
When to use this hack
I recommend this hack when you’re wanting to get a custom look for pieces of art or photographs that don’t need professional framing. So maybe you have an odd-shaped print that you want to frame but it doesn’t fit a standard off-the-shelf frame. Or it’s a collection of photographs or postcards that you want a custom look for but can’t afford to go custom.
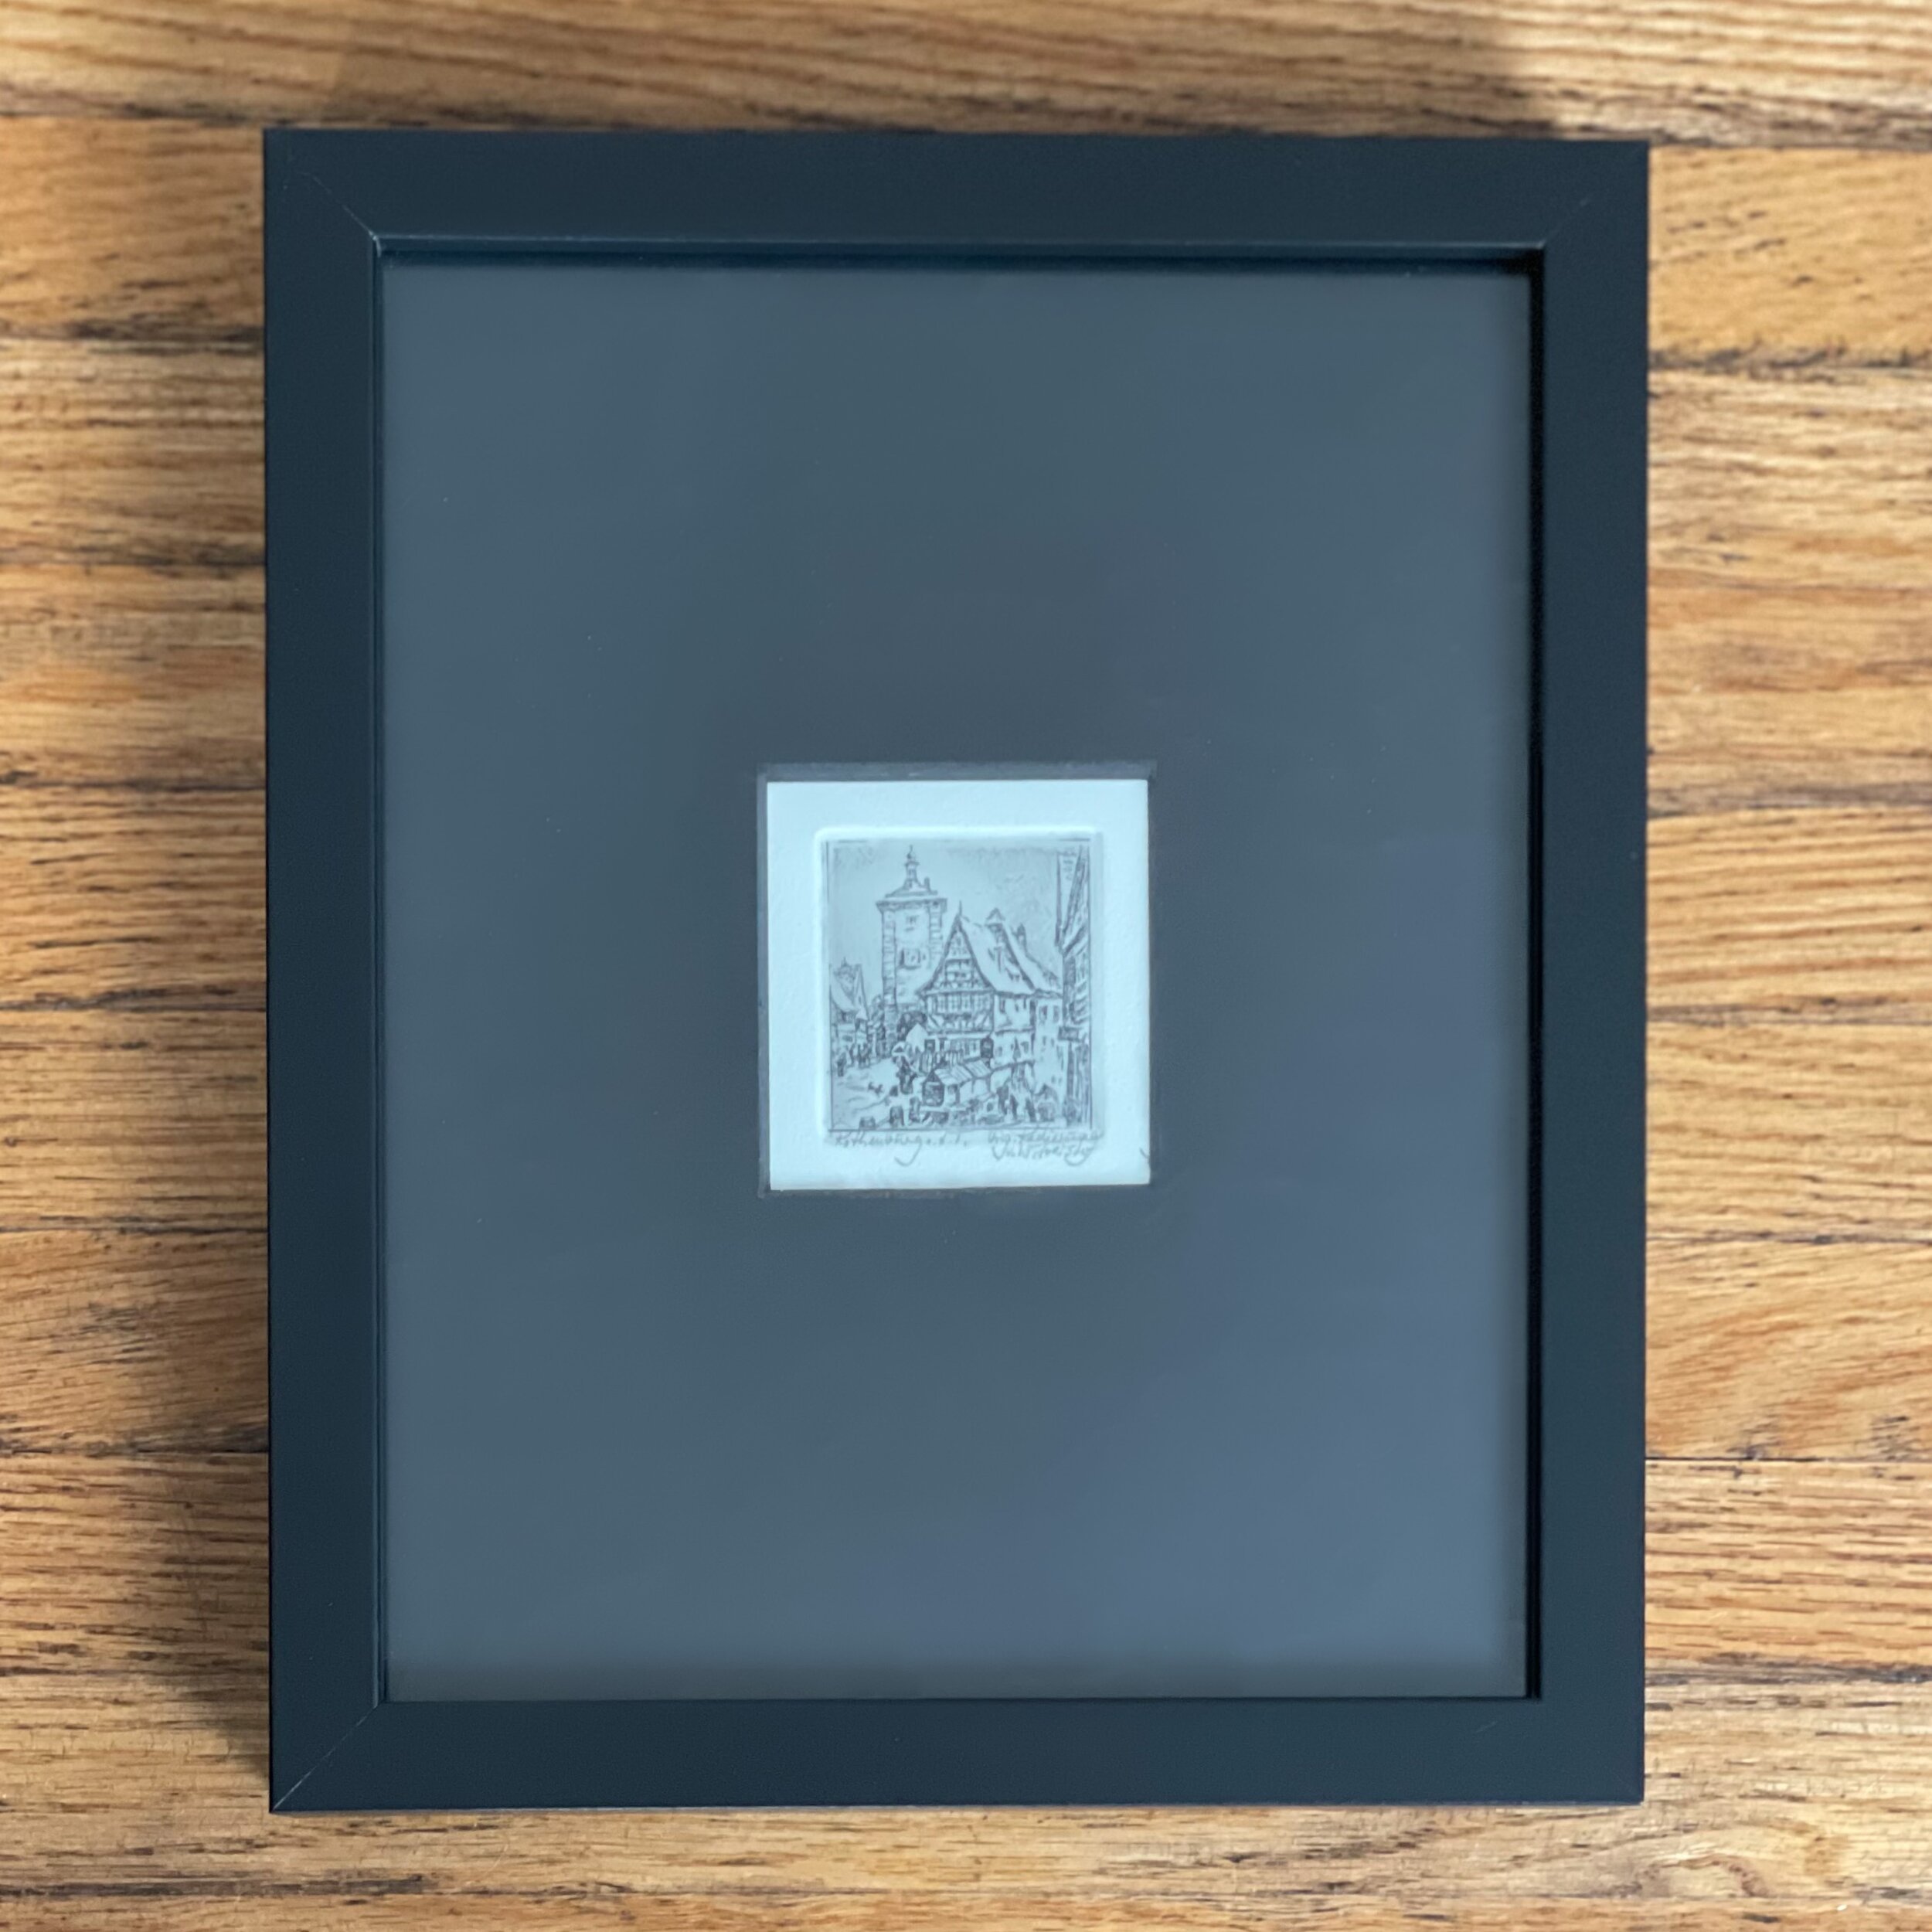
I’ve personally used this hack on some small etchings I picked up in Germany - while the size of the card they are on is technically standard, I knew they’d have much more drama to them if they had mats cut to fit the etching. I’ve also done this for larger pieces where it just wasn’t in my budget at the time to have it professionally framed.
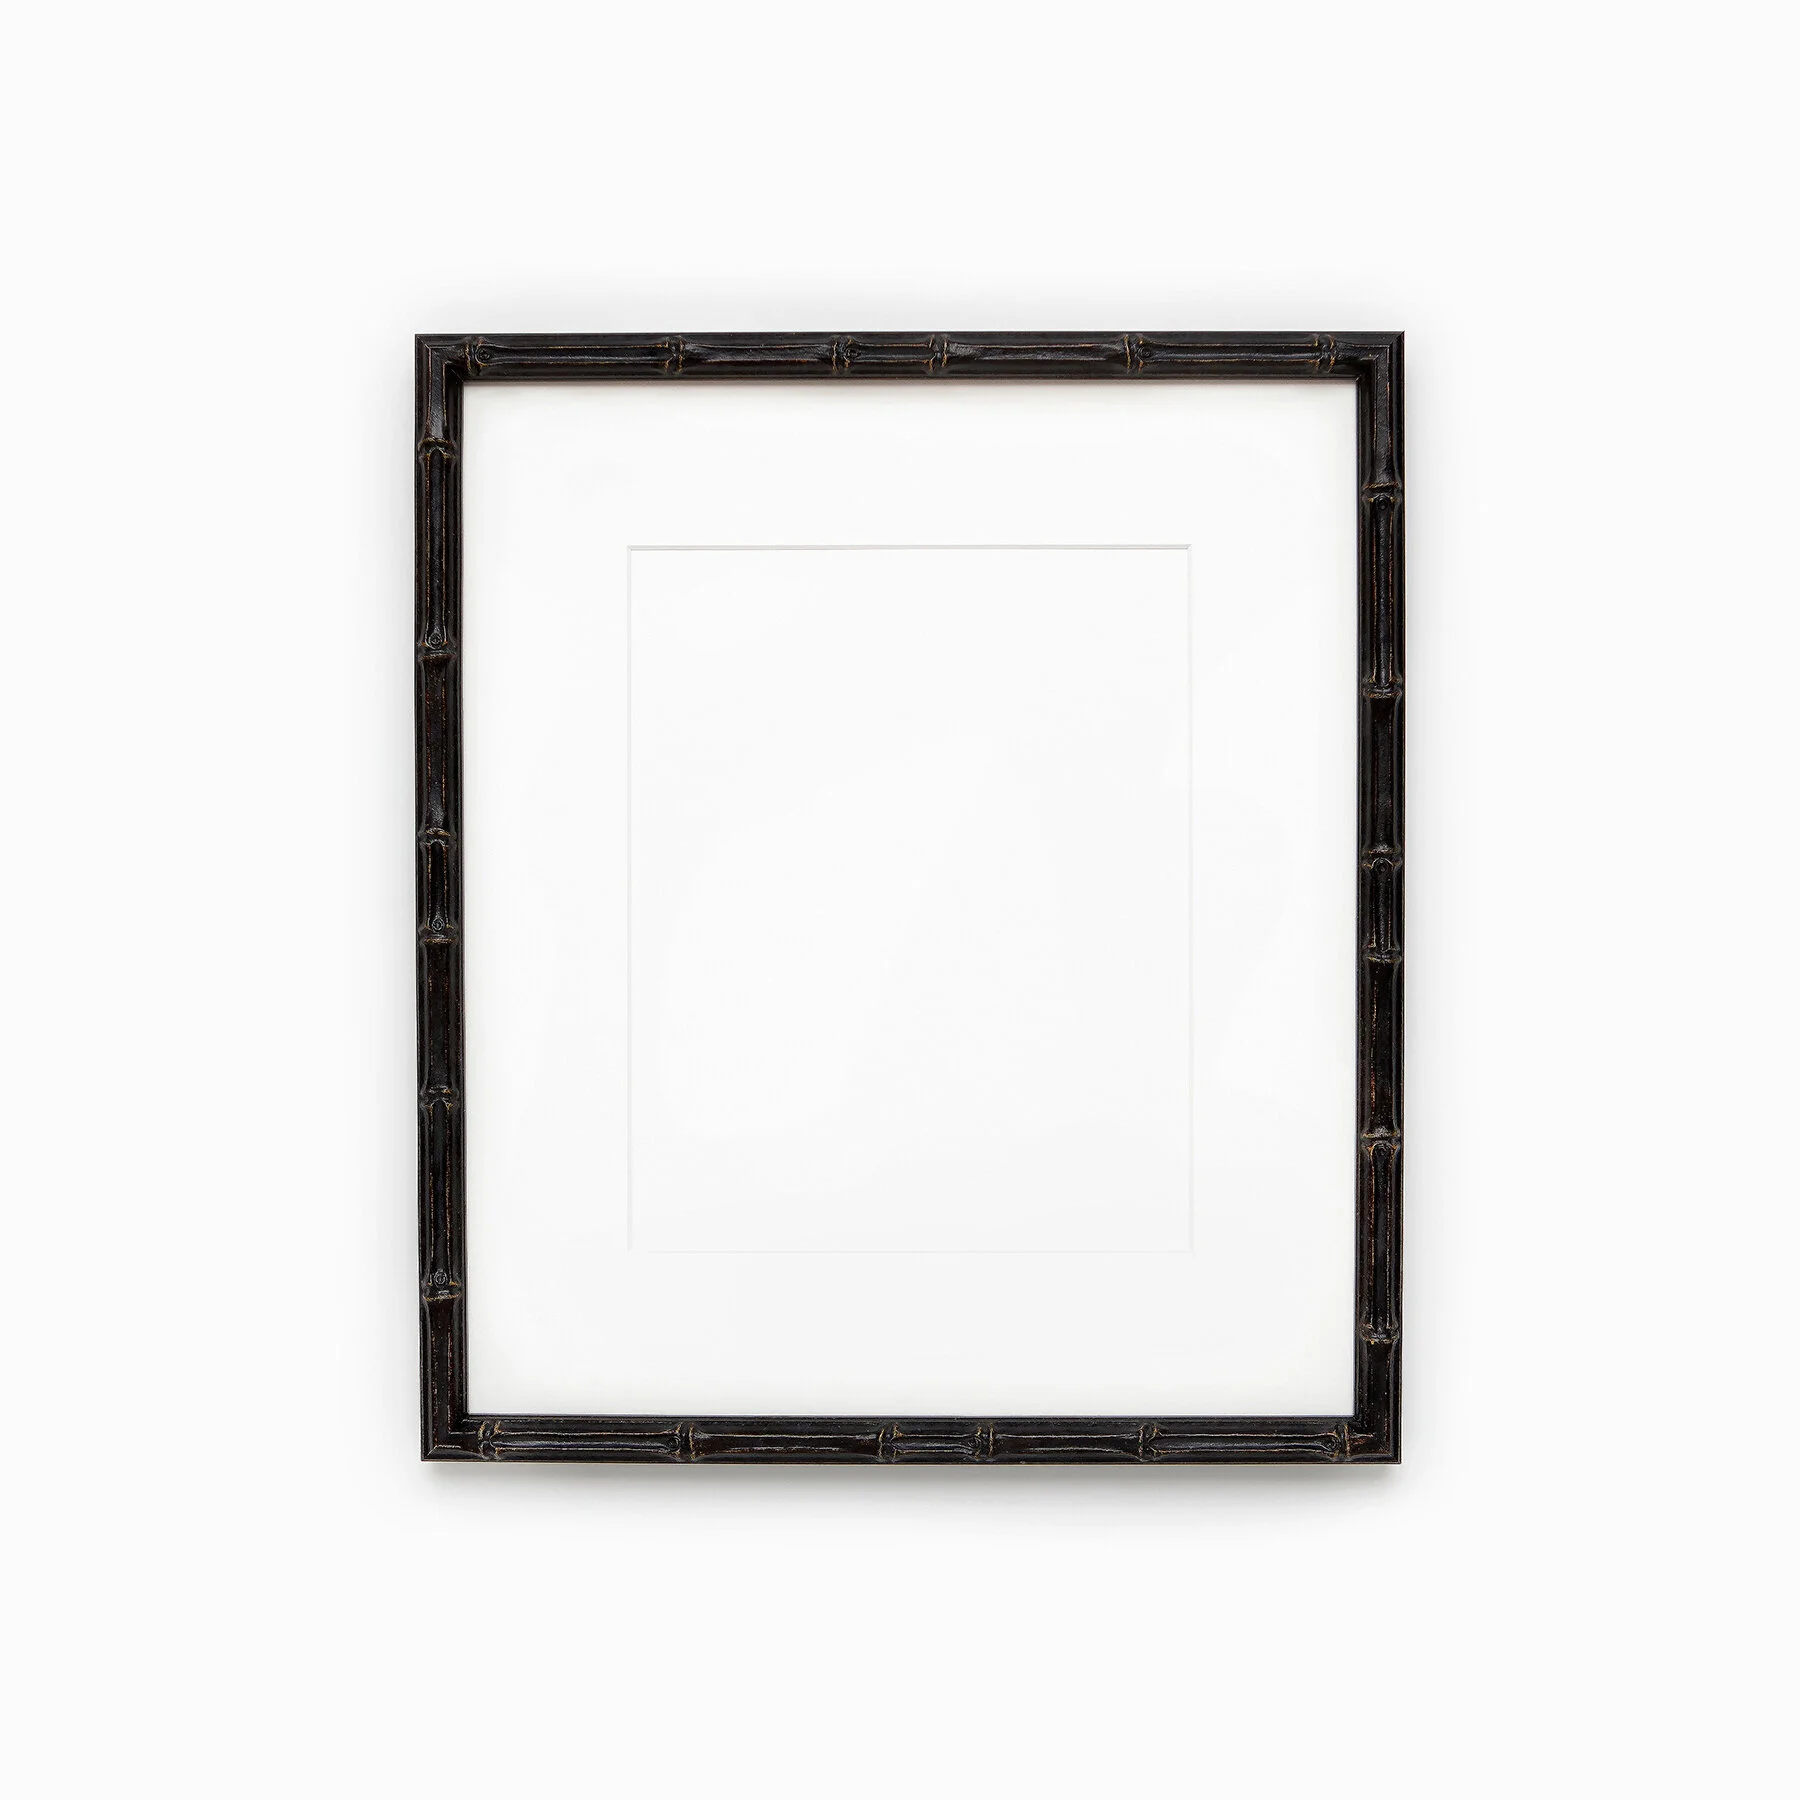
The whole idea is to buy an off-the-shelf frame and then have a mat custom cut to fit.
What you need
To make this happen you need the item you want to frame. A frame that is larger than the item you want to frame. And a mat that works with both the frame and the item you’re framing.
Keep an eye on frame sales at Michaels or snag a couple at IKEA so you keep your costs down. Many art supply stores, including Michaels, have mats that you can buy. How you go about getting it cut to fit is where you’ve got an option.
If you have quite a few pieces you want done, it may be worthwhile to invest in a mat cutter (like this one or this one). This is what I did - but I knew that the investment would pay for itself in my situation.
If you’re just wanting to try this out, then check if your local framing place is willing to cut the mat for you. I’ve had this done a few places before, including Michaels. Just purchase the mat you want and let them know:
The outside dimension (the size of your frame)
The inside dimension (the opening size for your item)
Once you have the mat cut, just insert it into the frame and add your item to it!

Tips and tricks for a custom look
Purchase off-cut mats from art supply stores that also do framing. These are the remnant pieces from their professional framing work that you can purchase at a fraction of the price. You just need to ensure it’s large enough for your item. This is also a great way to get access to a more expensive mat (like one with a black bevel edge vs white) for a fraction of the cost.
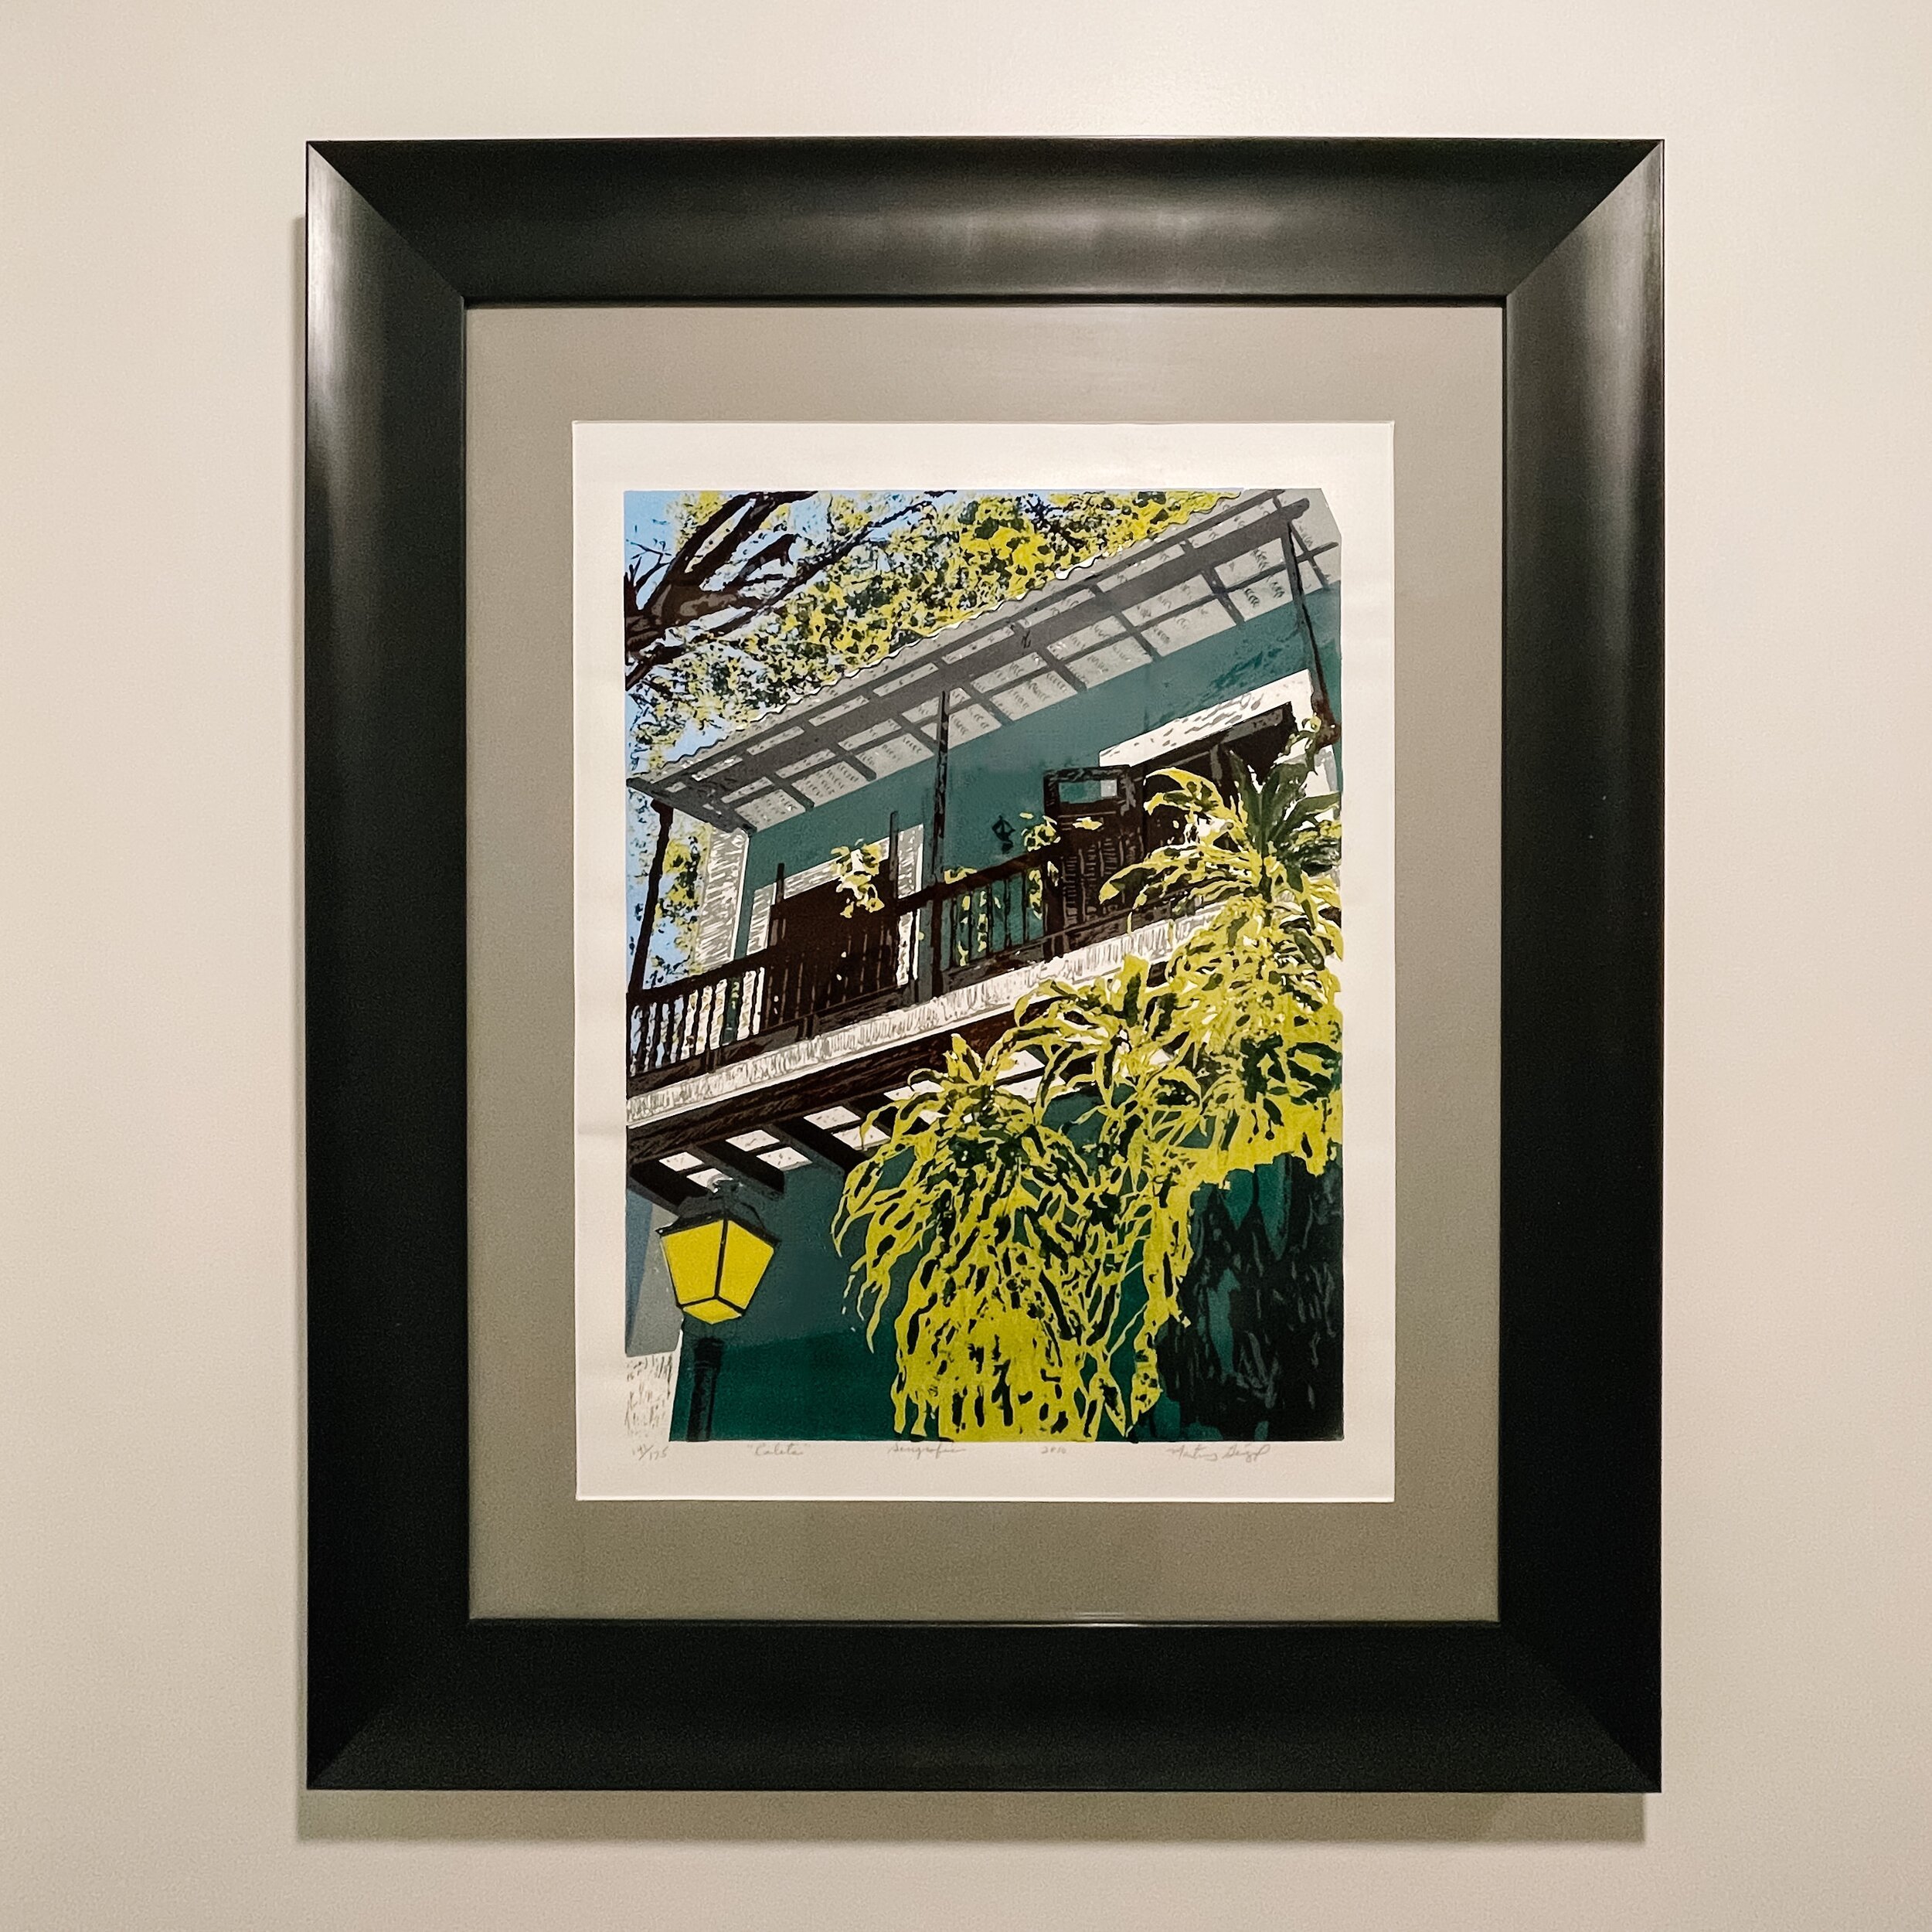
Get creative with how you put them together. Maybe you choose a large enough frame to house two items in it and have the mat cut accordingly. I also love doing a large frame with a large mat and a small item. Getting creative will make the end result look even more custom.
Take a look at your local antique shop or thrift store to find unique frames. Don’t be afraid to purchase a piece that already has an item in it just for the frame. You can also paint a frame if it isn’t the colour you desire but you like the size and texture.
Is this something you’d be keen to try?
What are some other ways you’ve gotten creative with framing?