Condo Kitchen Renovation in Ramsay Heights
I find that I’m often brought in to do a bit of an assessment on a kitchen to determine whether it can get by with a few upgrades or if it’s time for a full gut. This project was one of those situations. It really came down to, “how much functionality can we gain for the added cost of doing a full renovation.” As you may have guessed from the title, the homeowners chose the renovation path! And, fun fact, this was actually my second condo kitchen renovation in the Edmonton neighbourhood of Ramsay Heights (the other one is here). As per usual, let’s go behind the scenes for all the details.

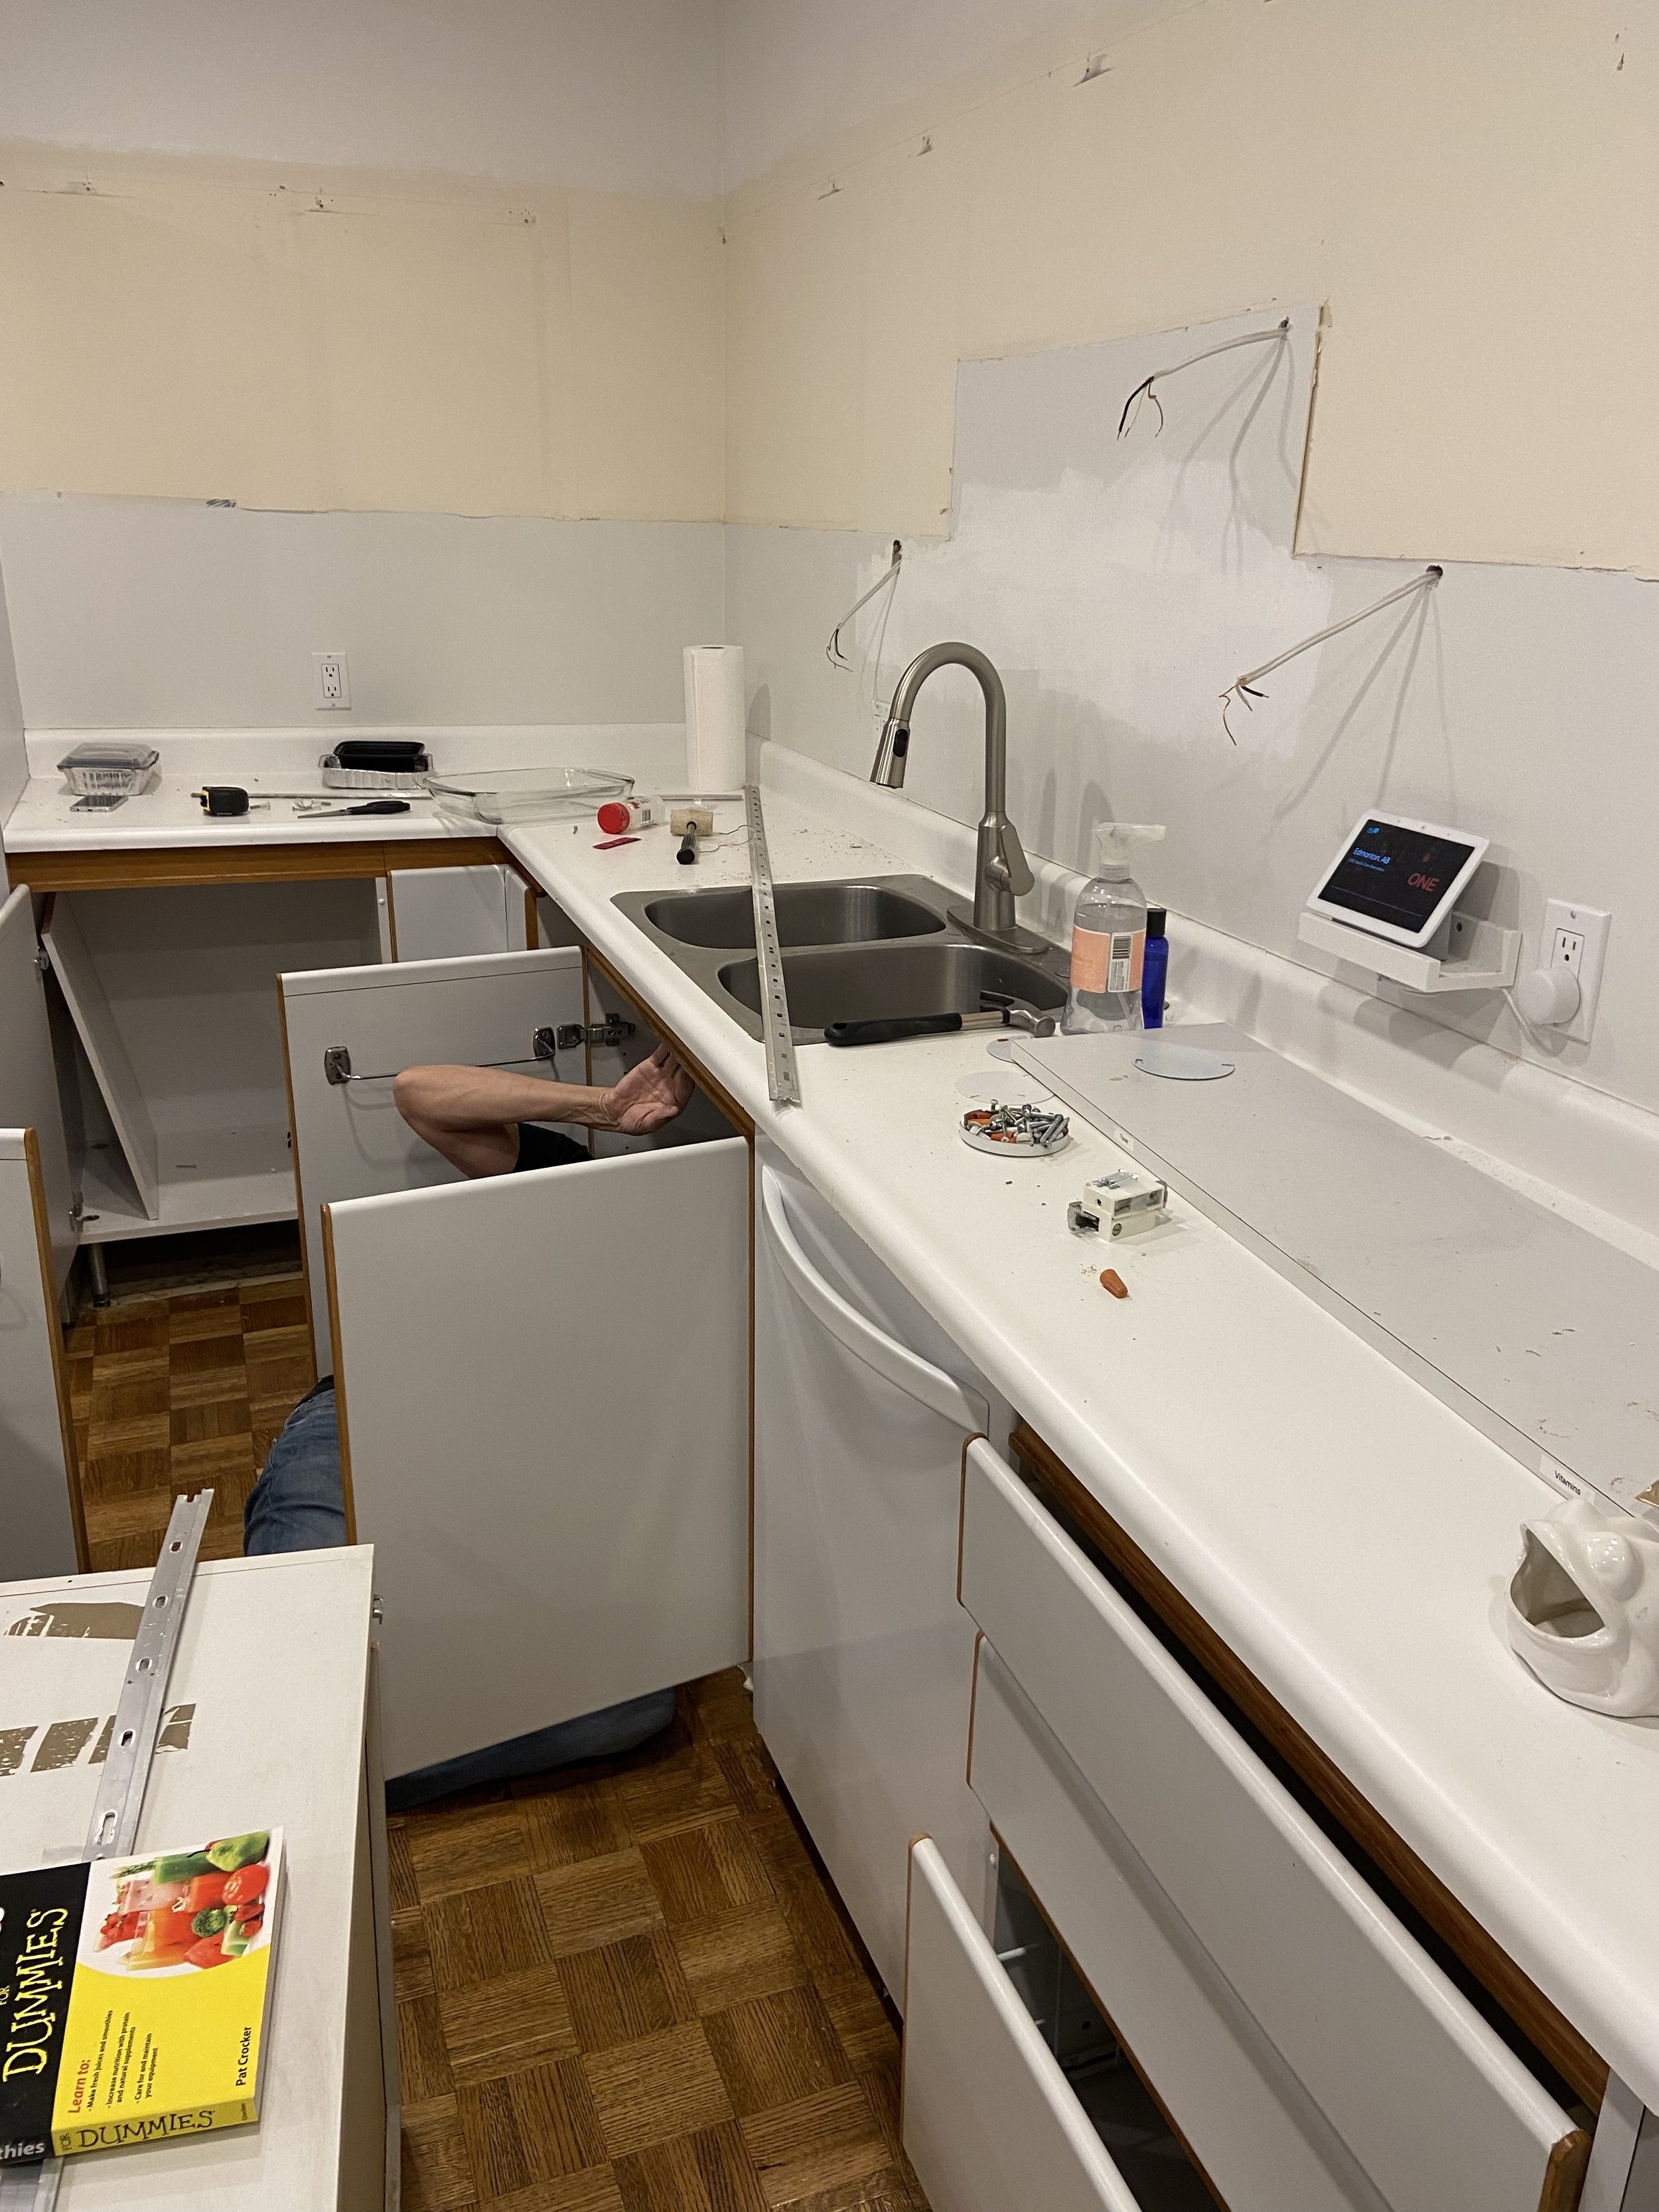
The Original Kitchen
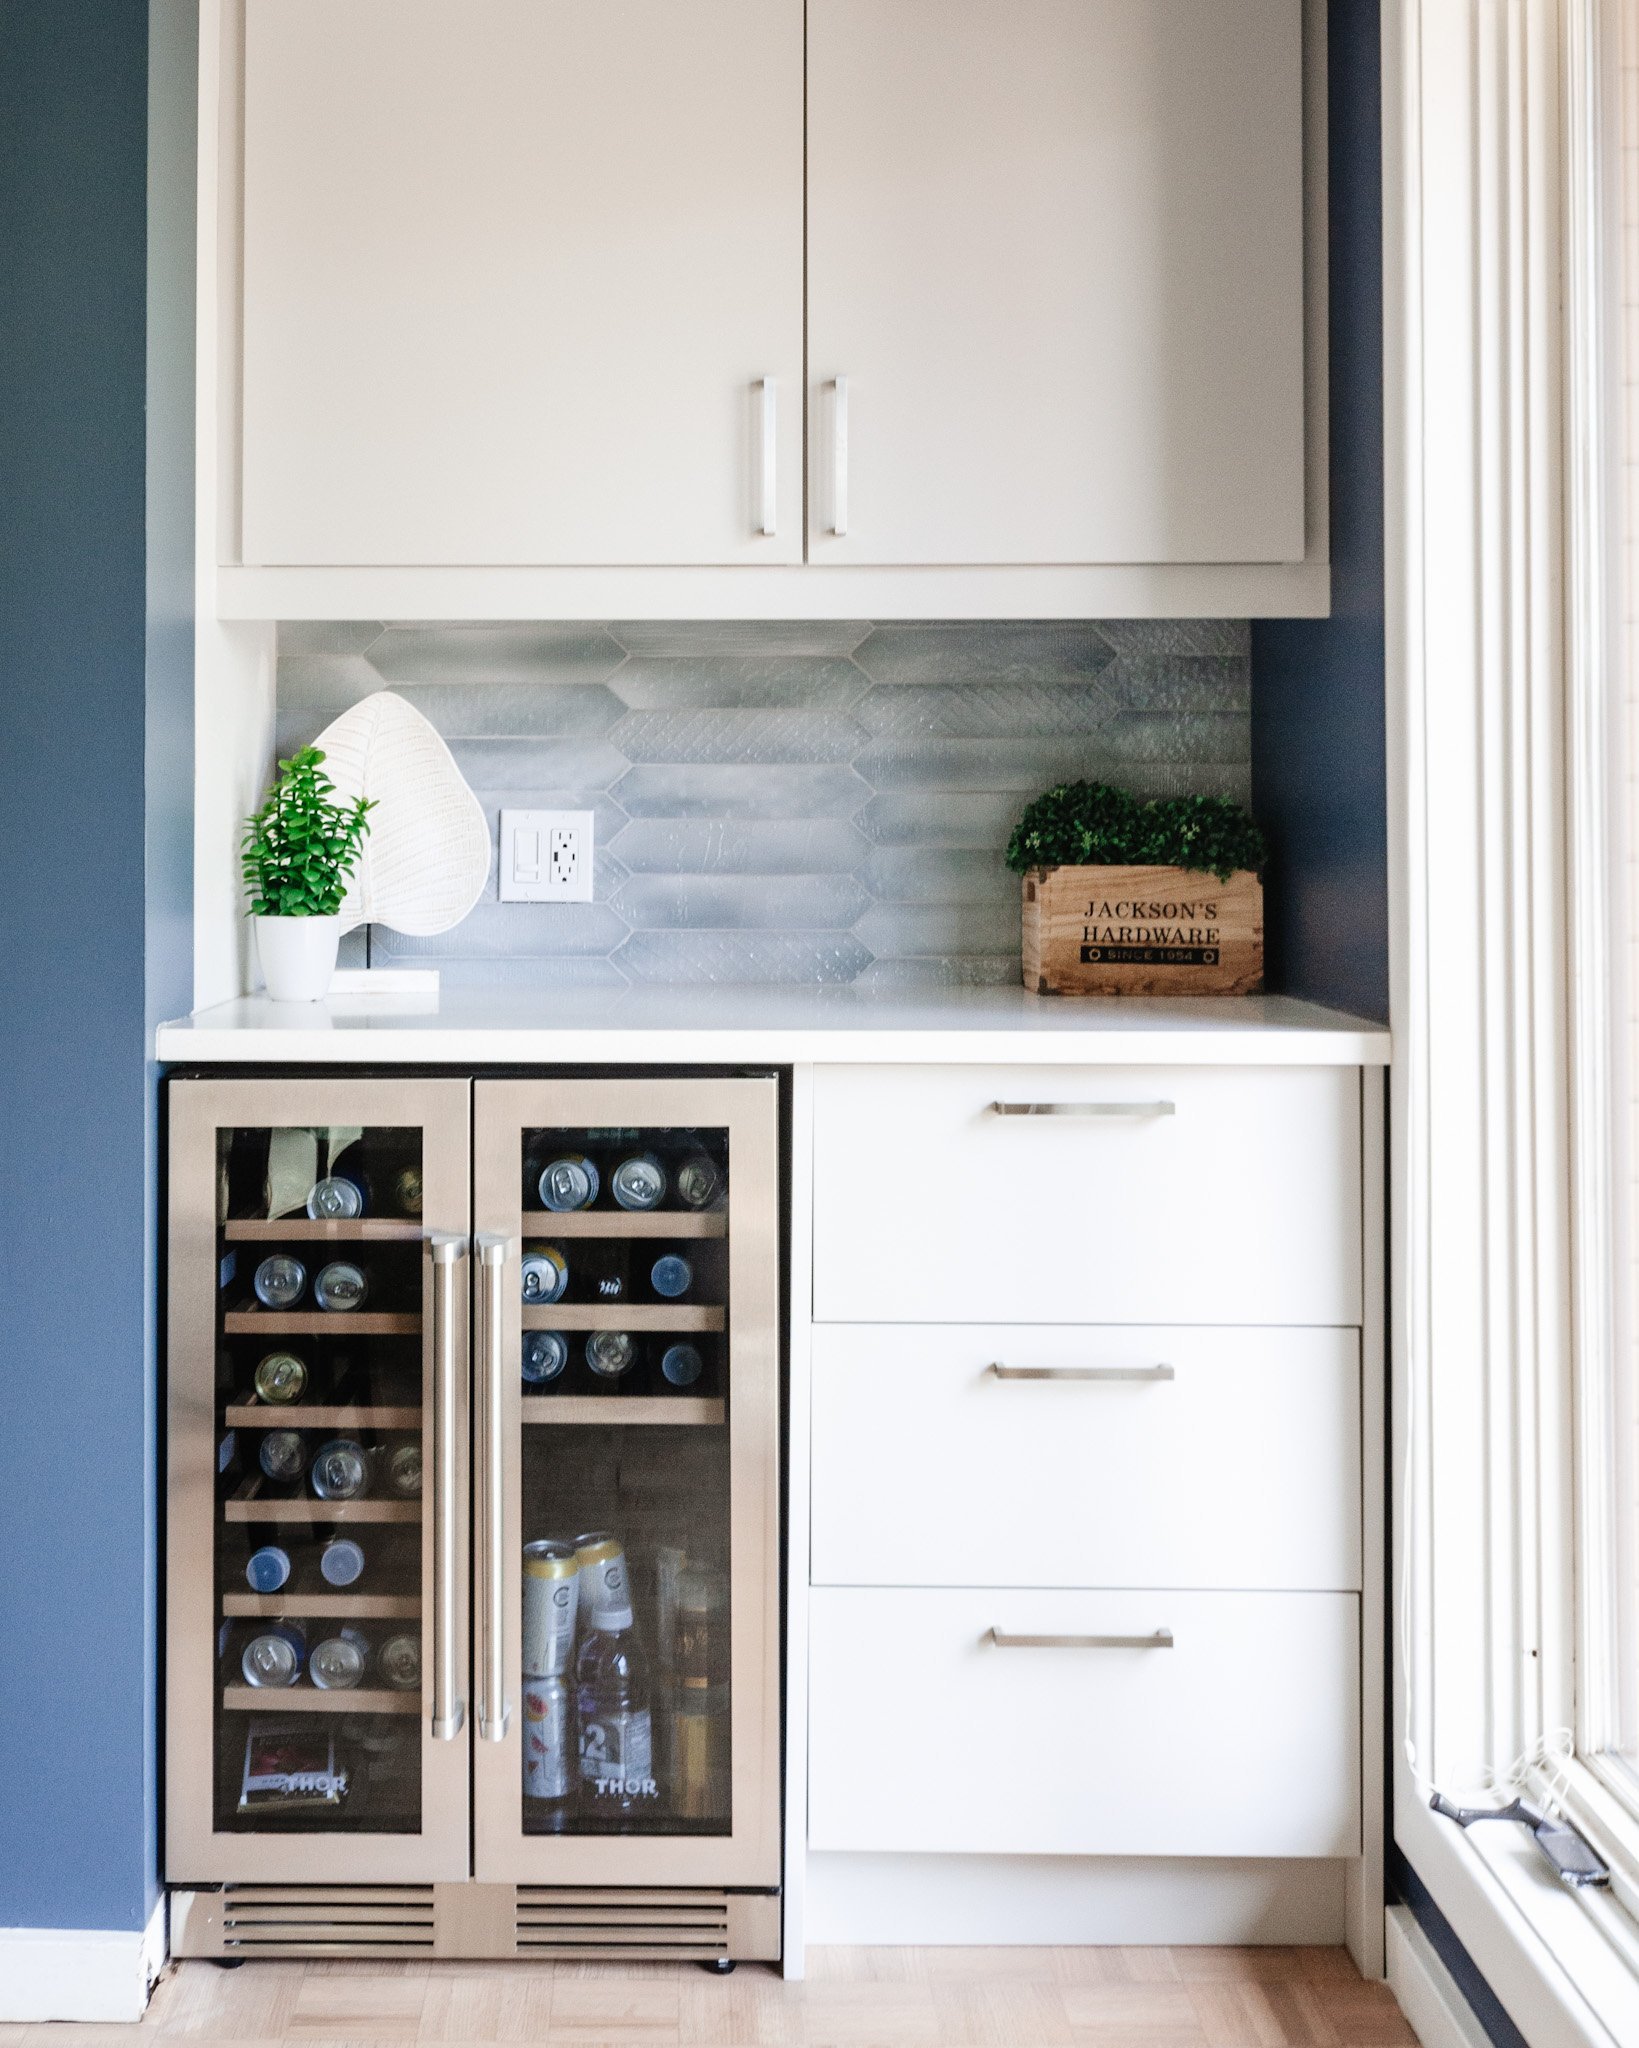
Pulling up the before photos is truly just a trip down memory lane! We started this process in June 2020 and didn’t officially wrap up until the Spring of 2021 (all because we were waiting on a bar fridge!). When I first saw the space, the homeowners had been busy updating the lighting in the kitchen. They knew that the space needed an update but weren’t sure how far to go.
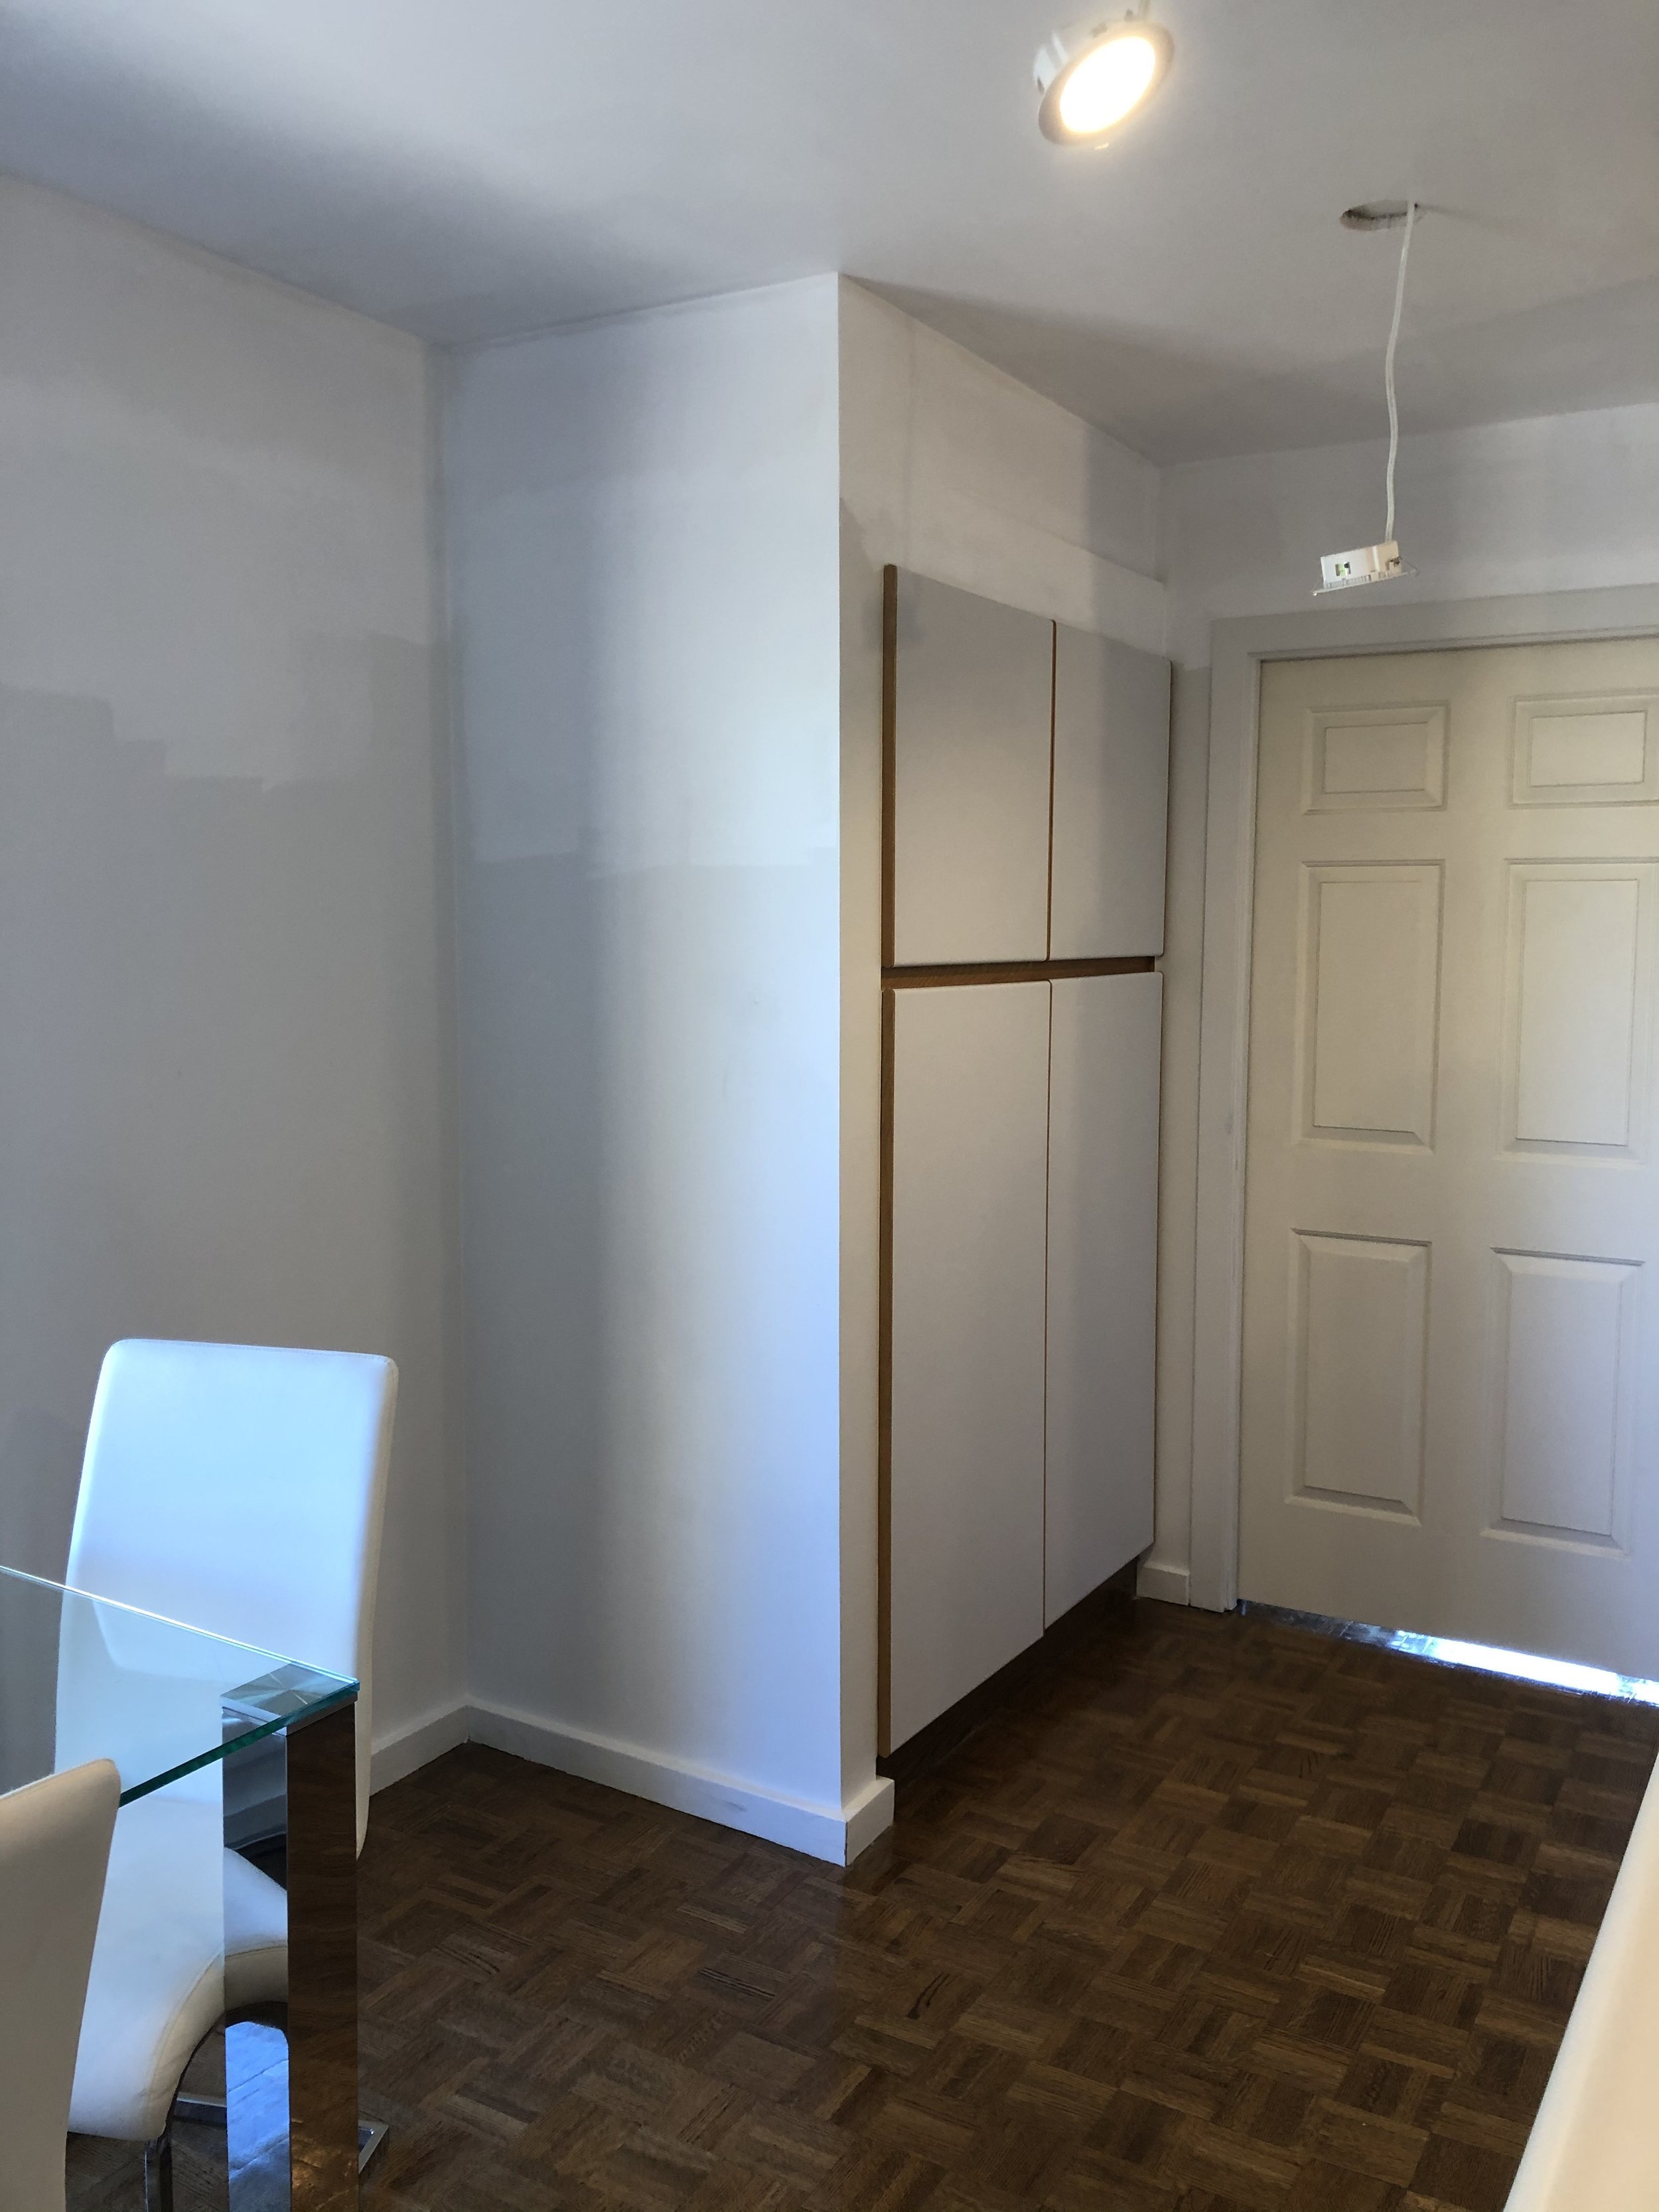
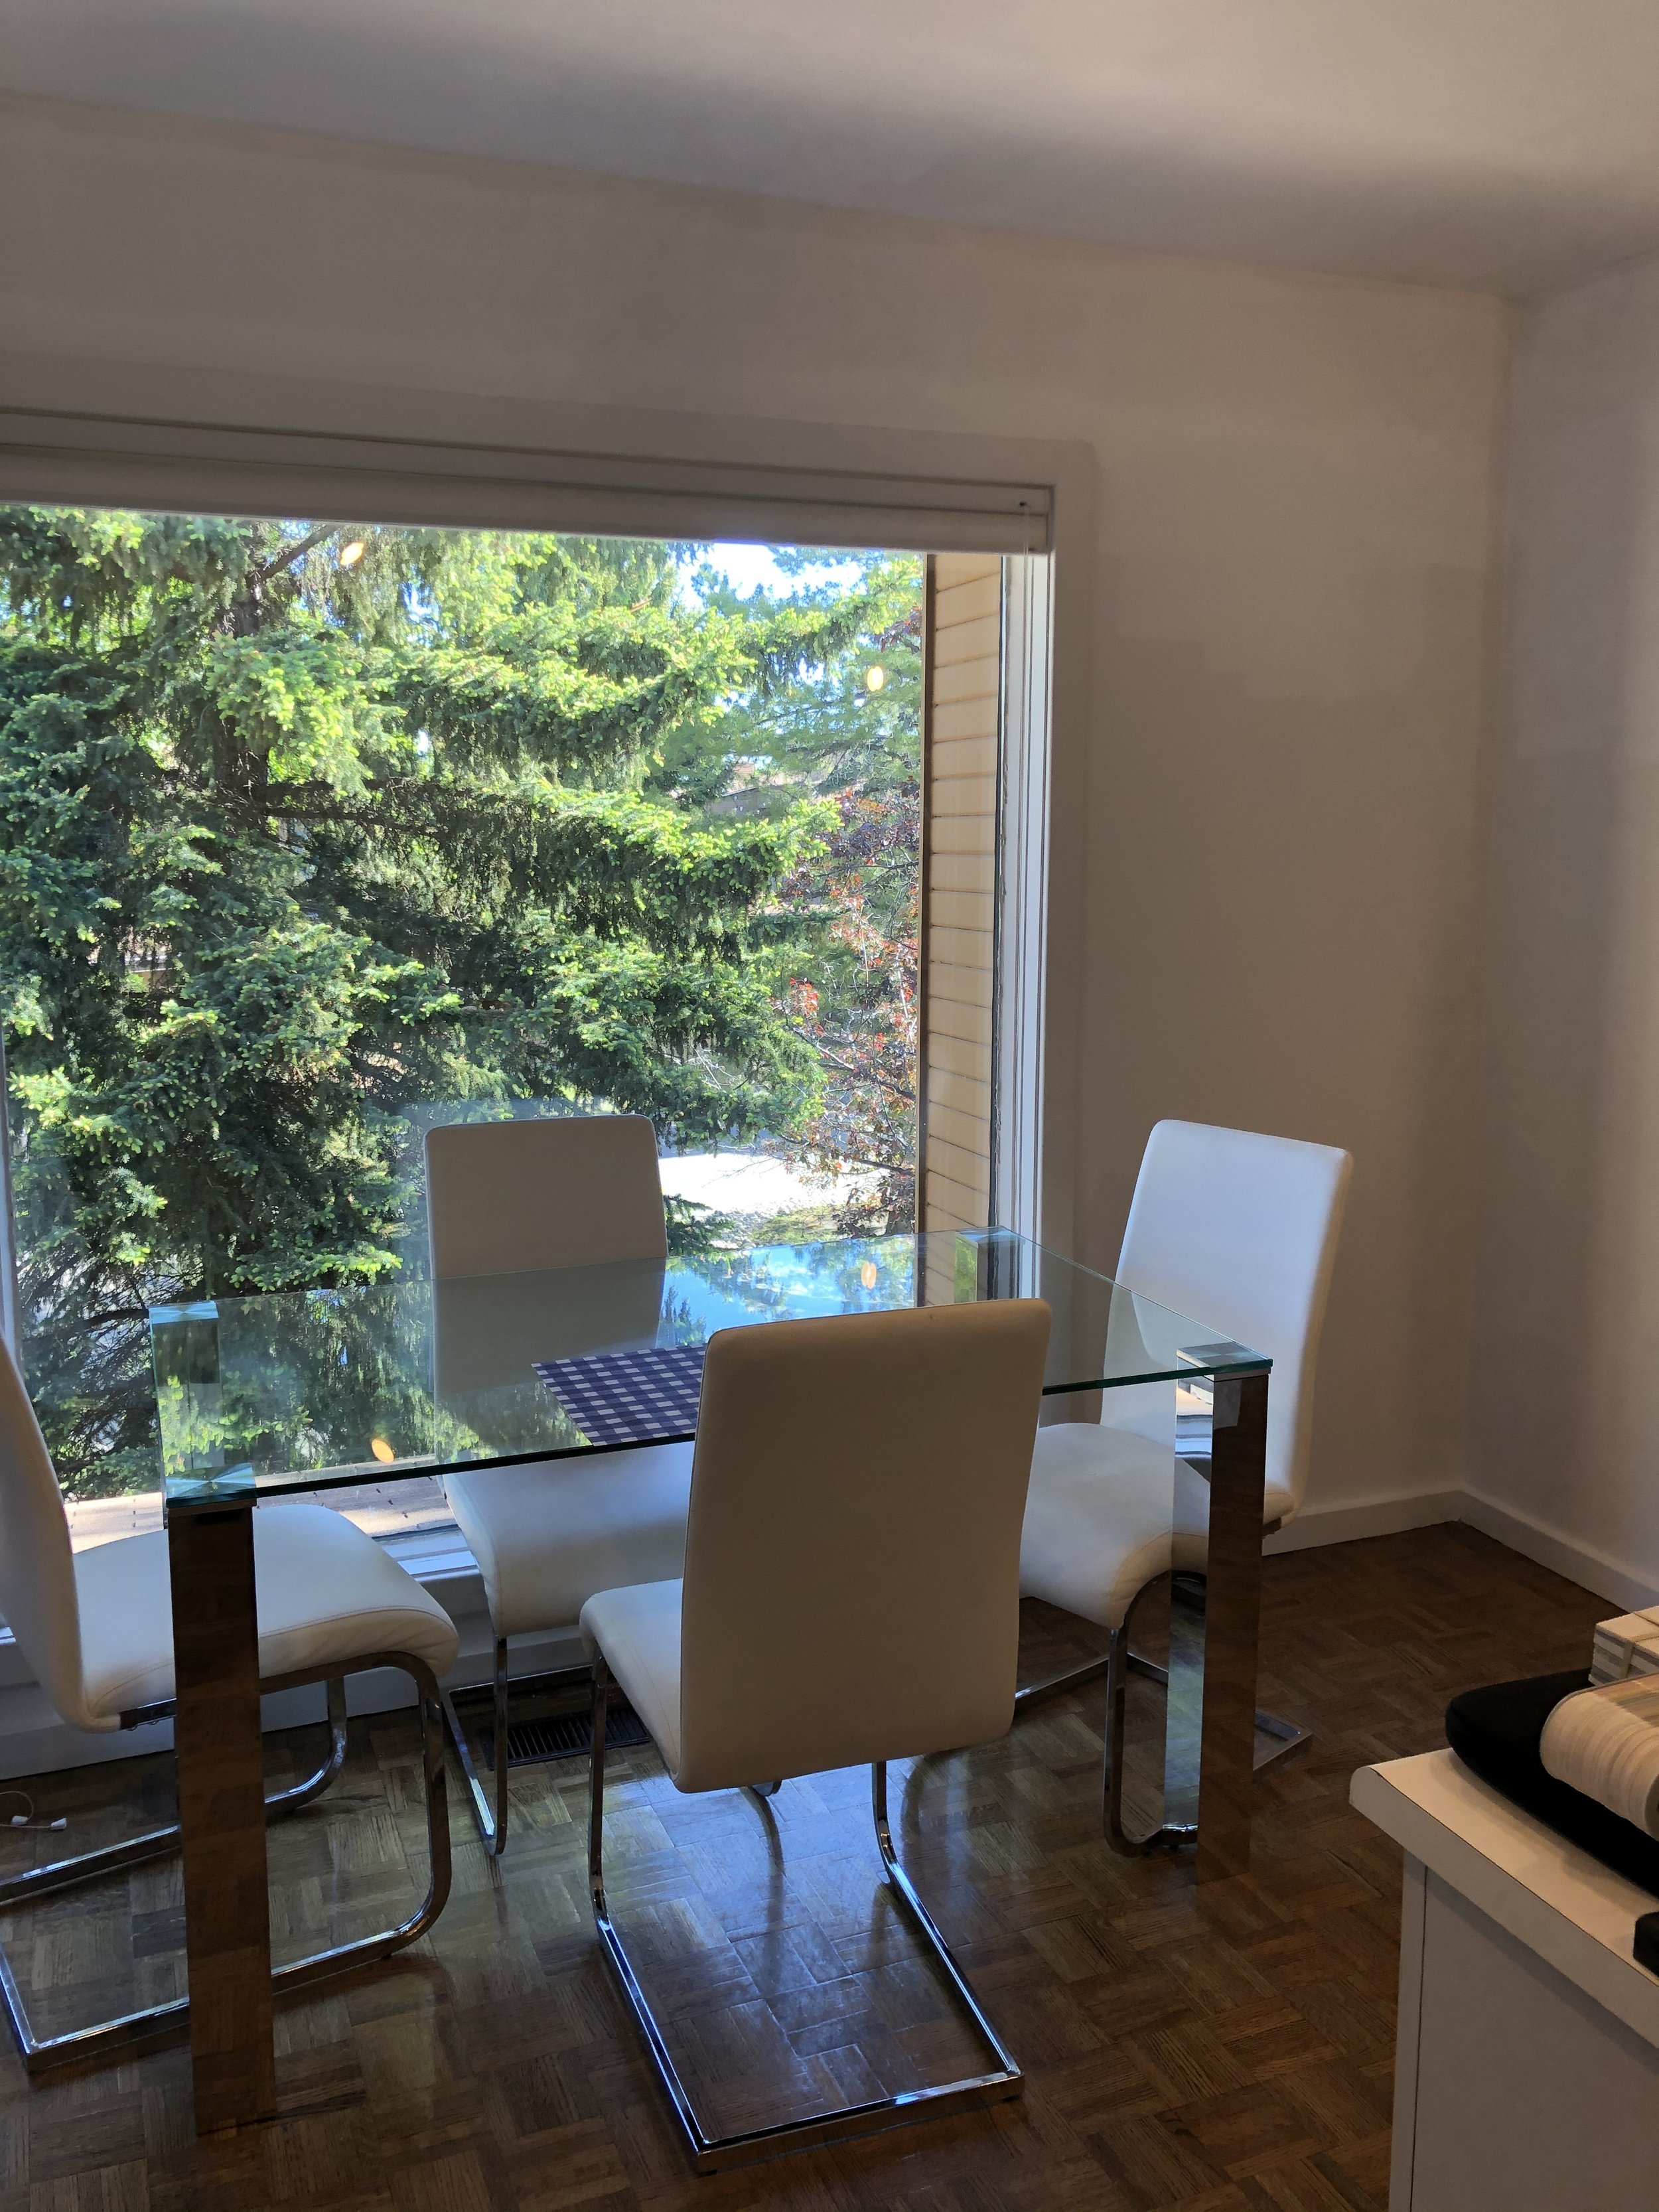
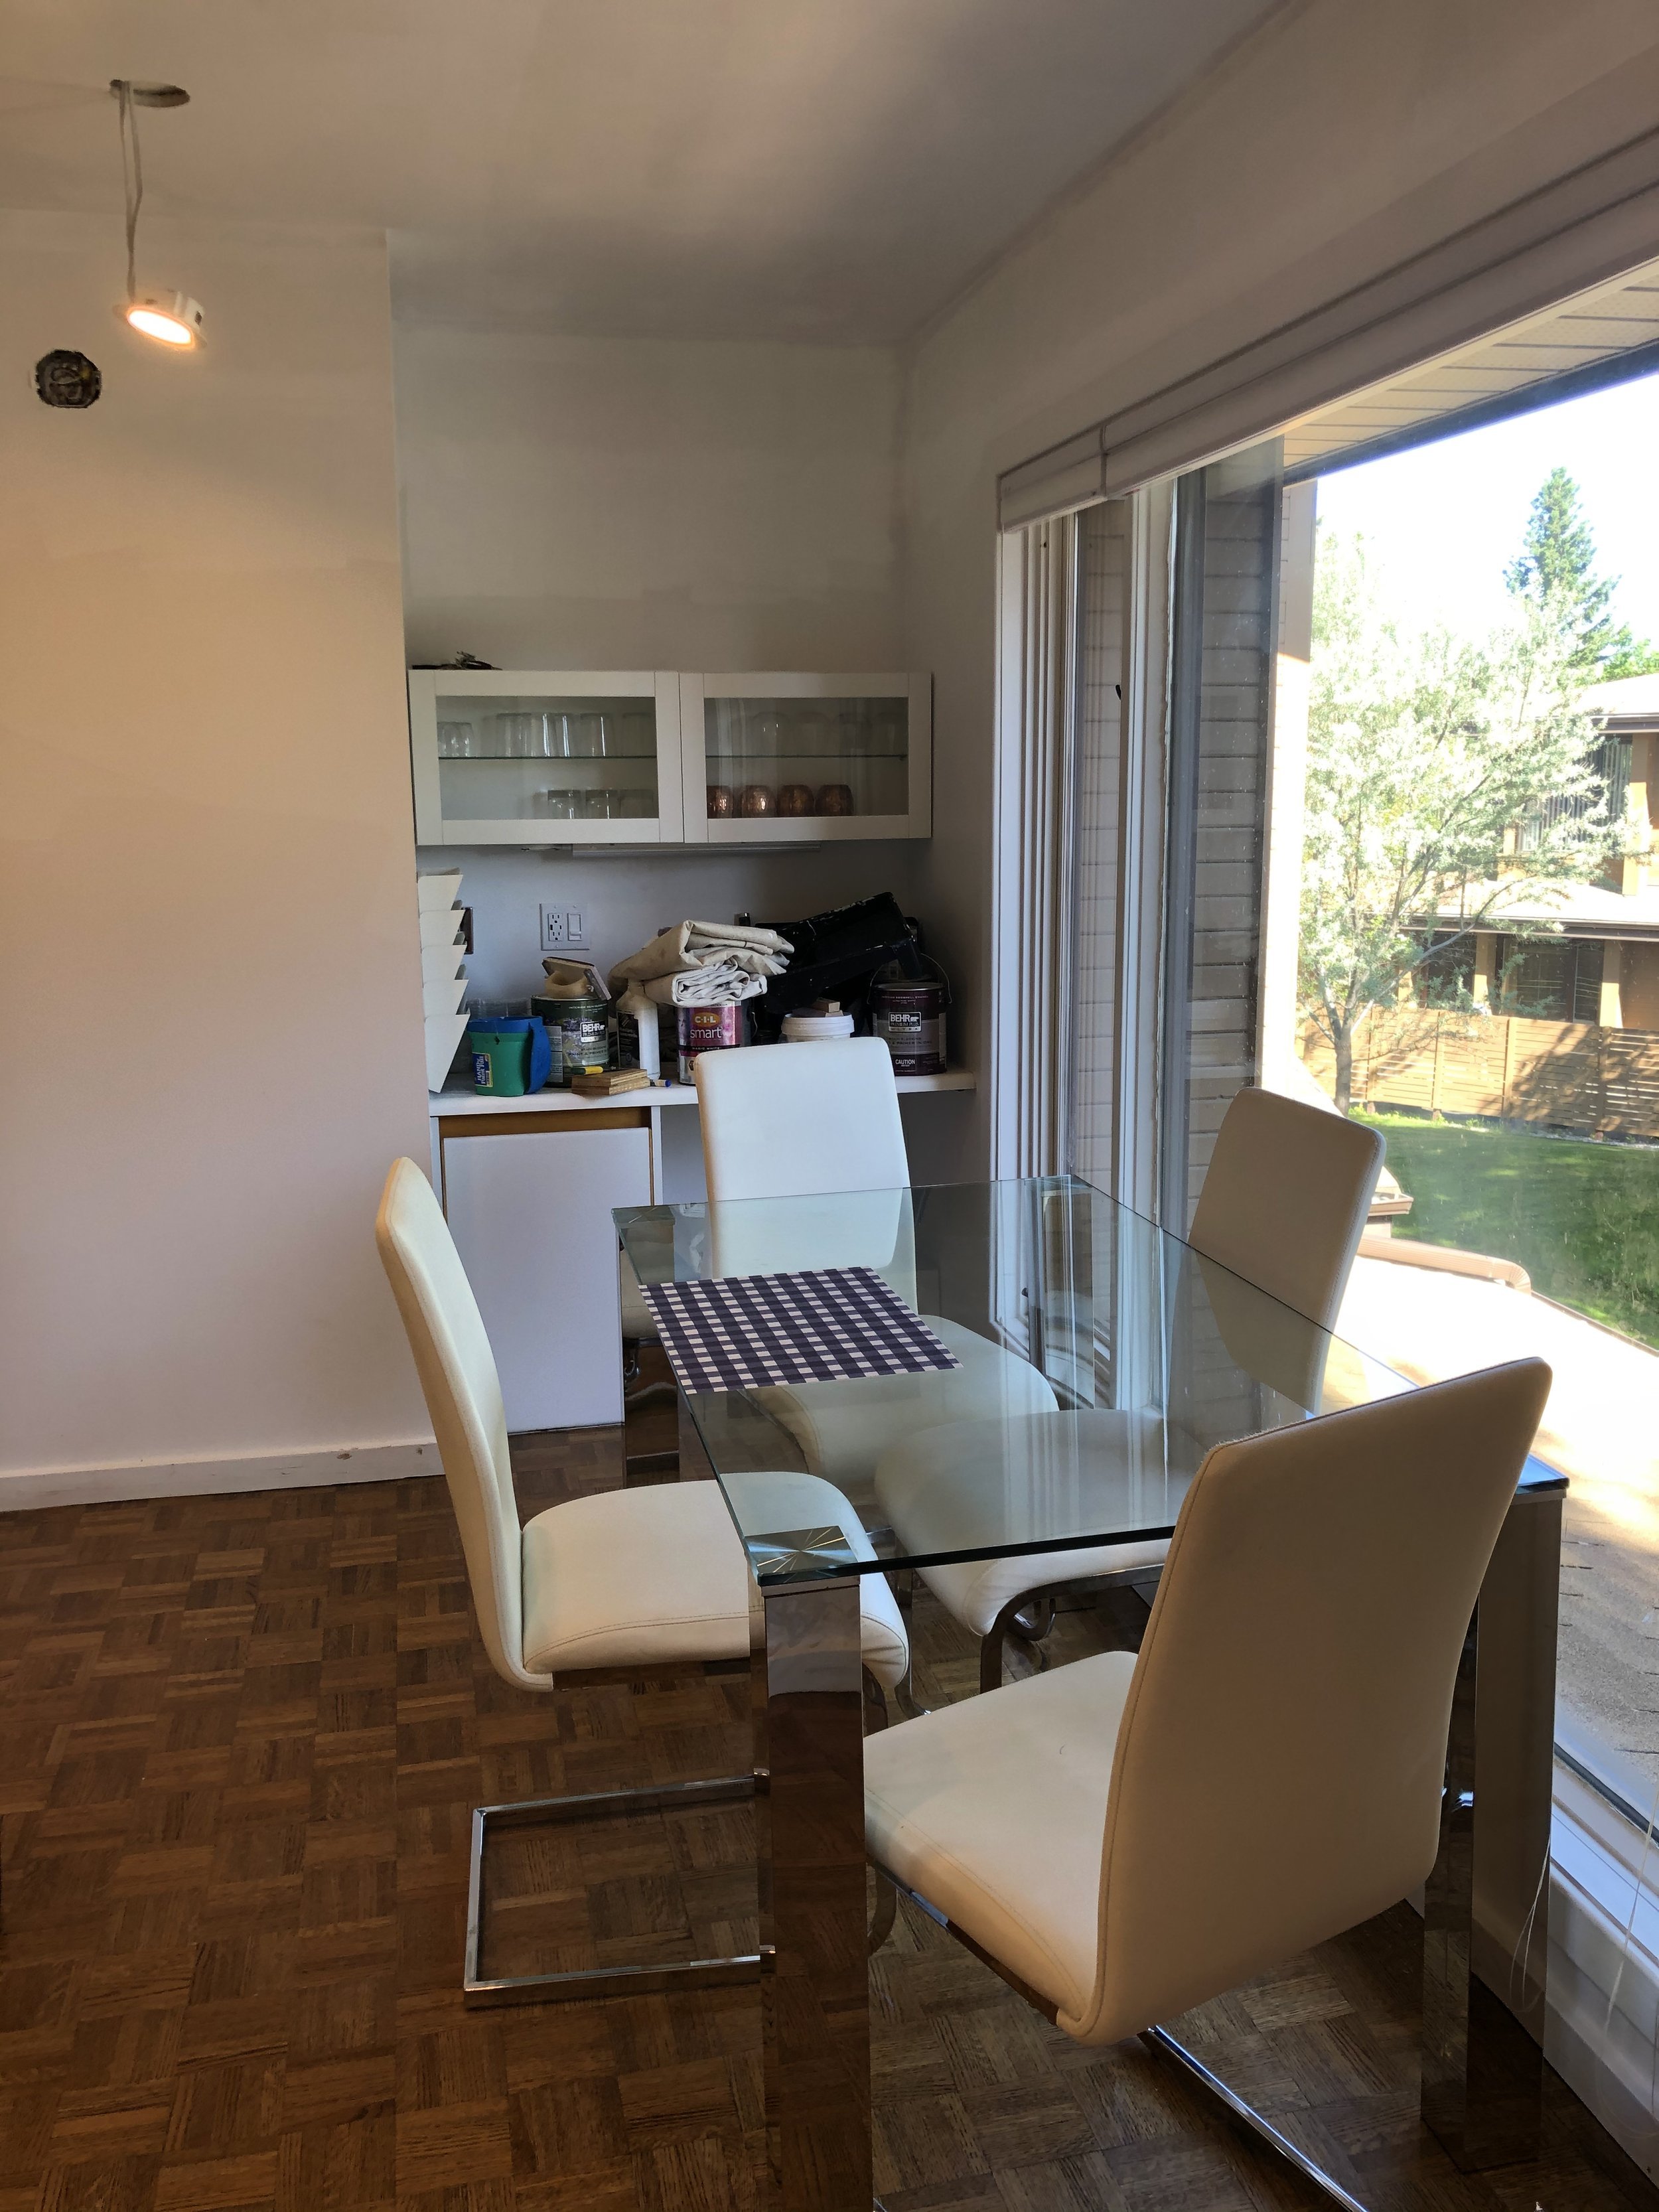
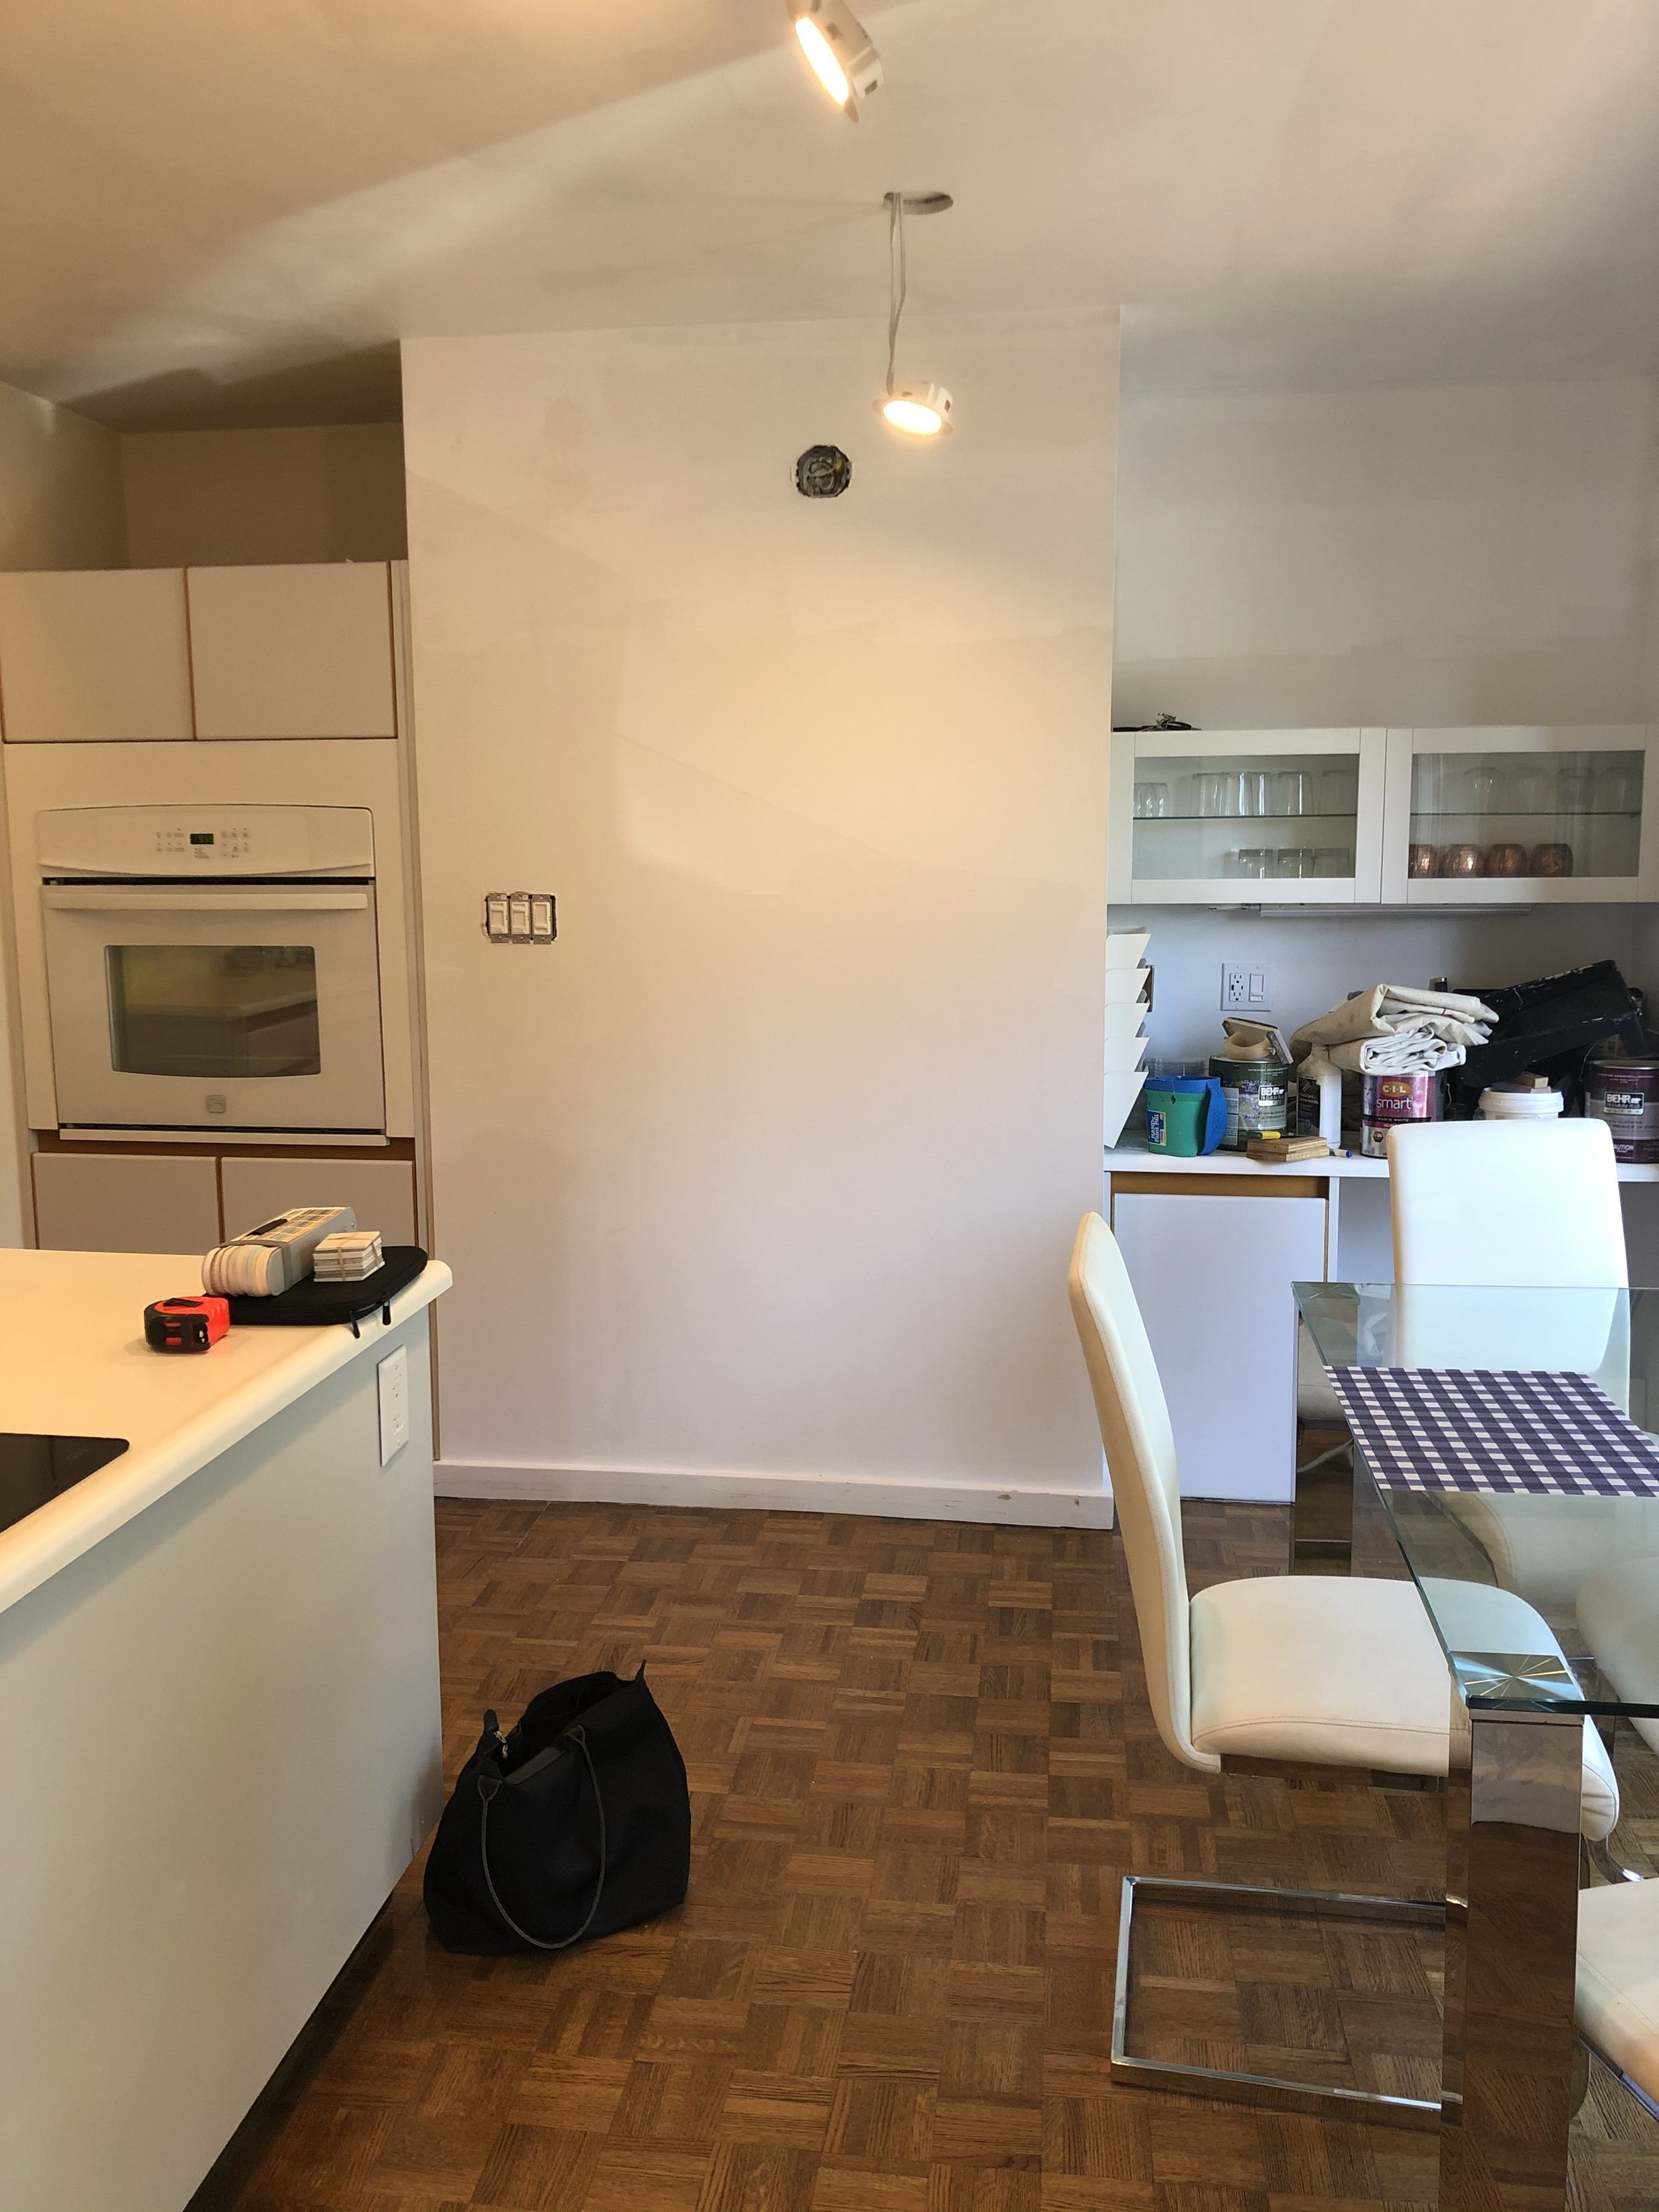
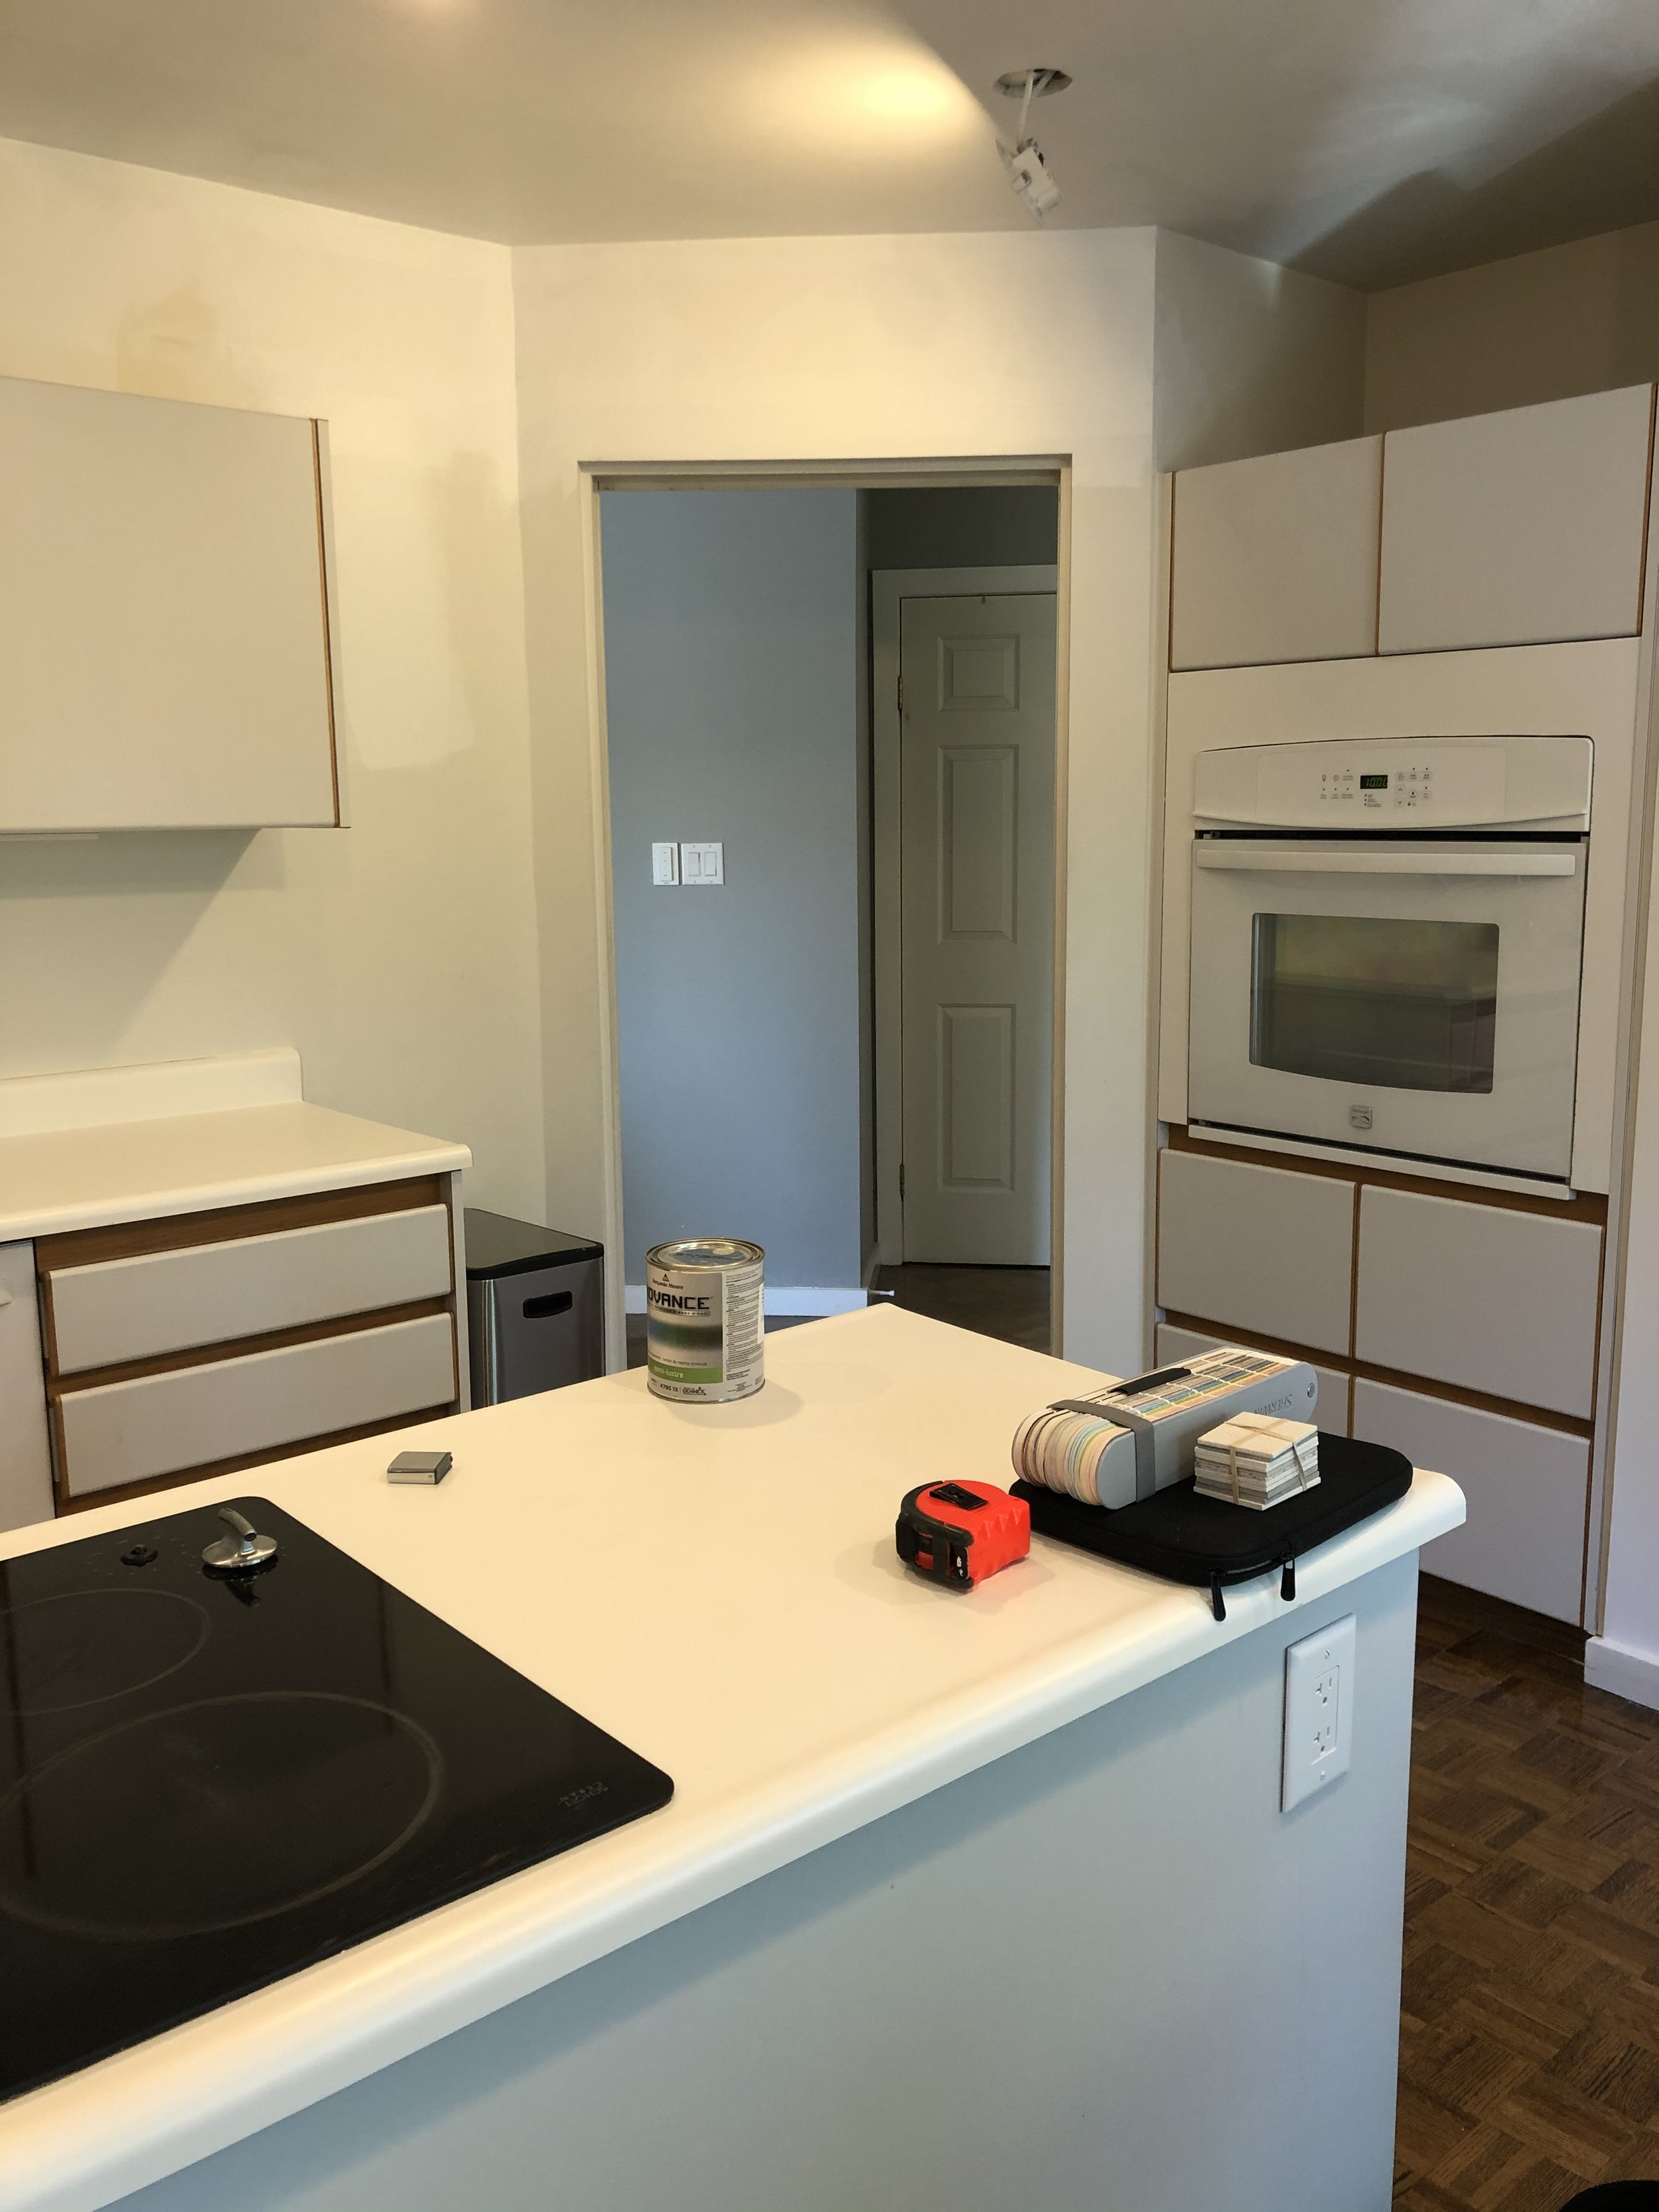
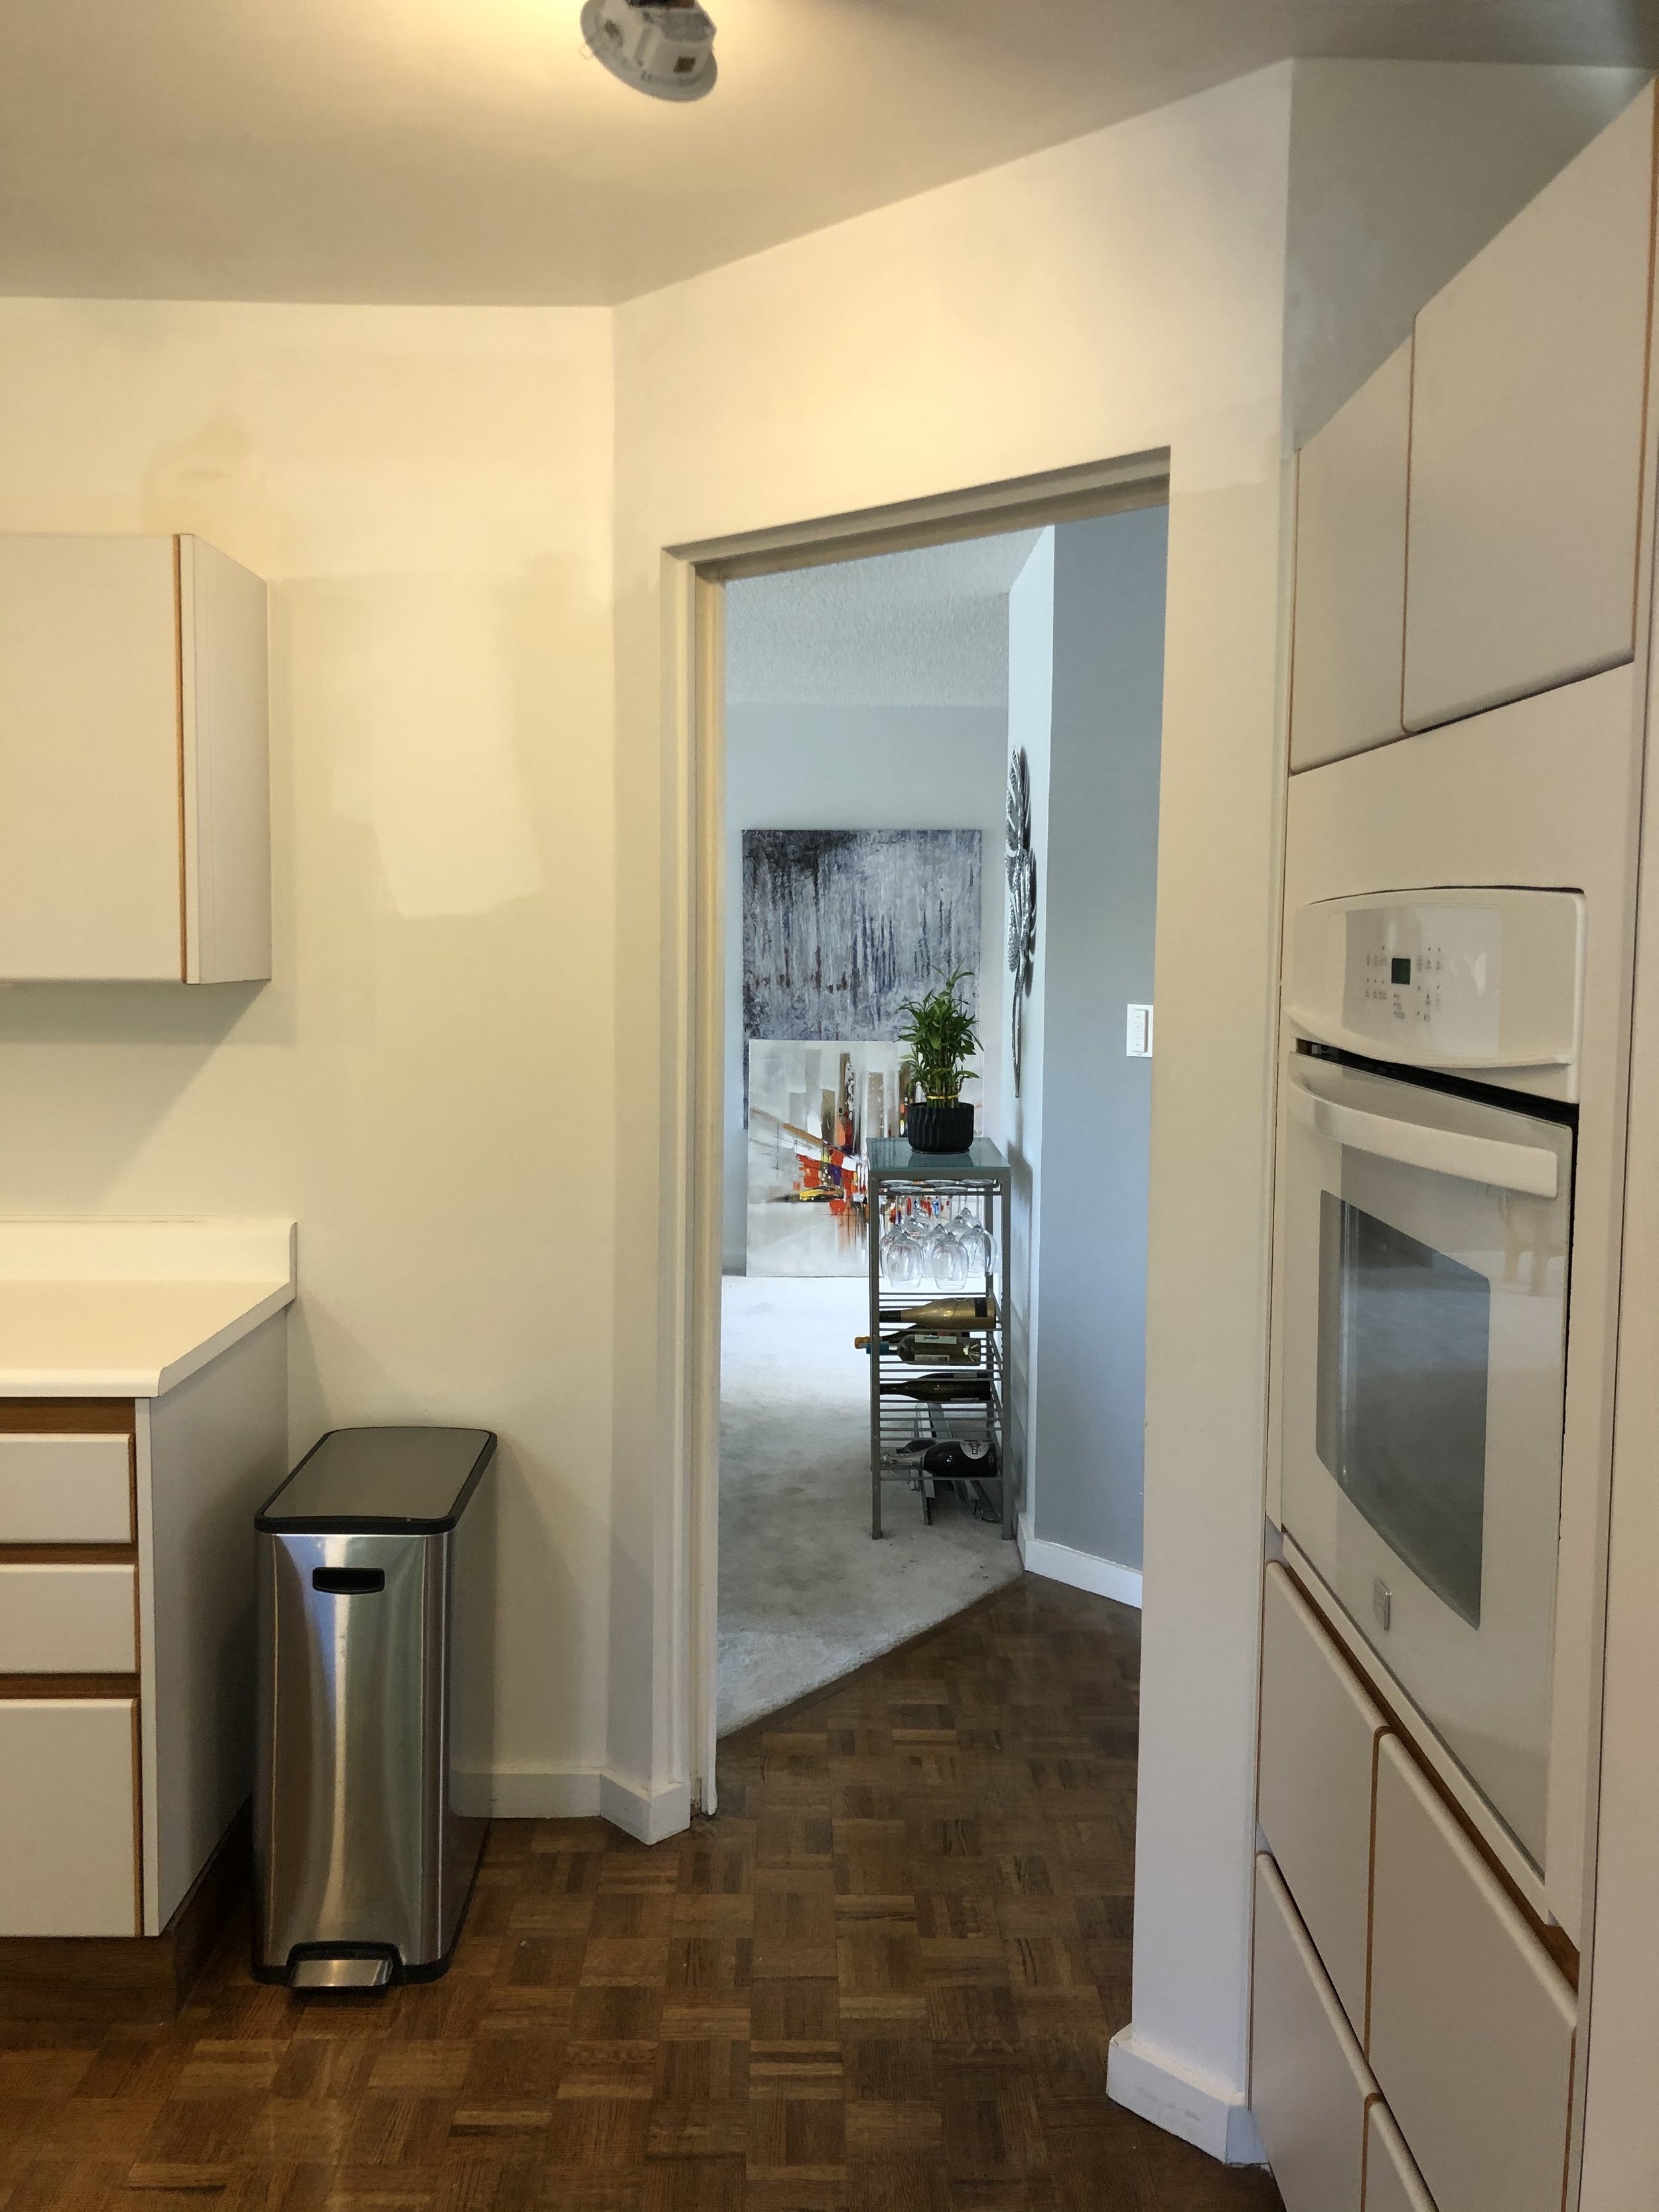
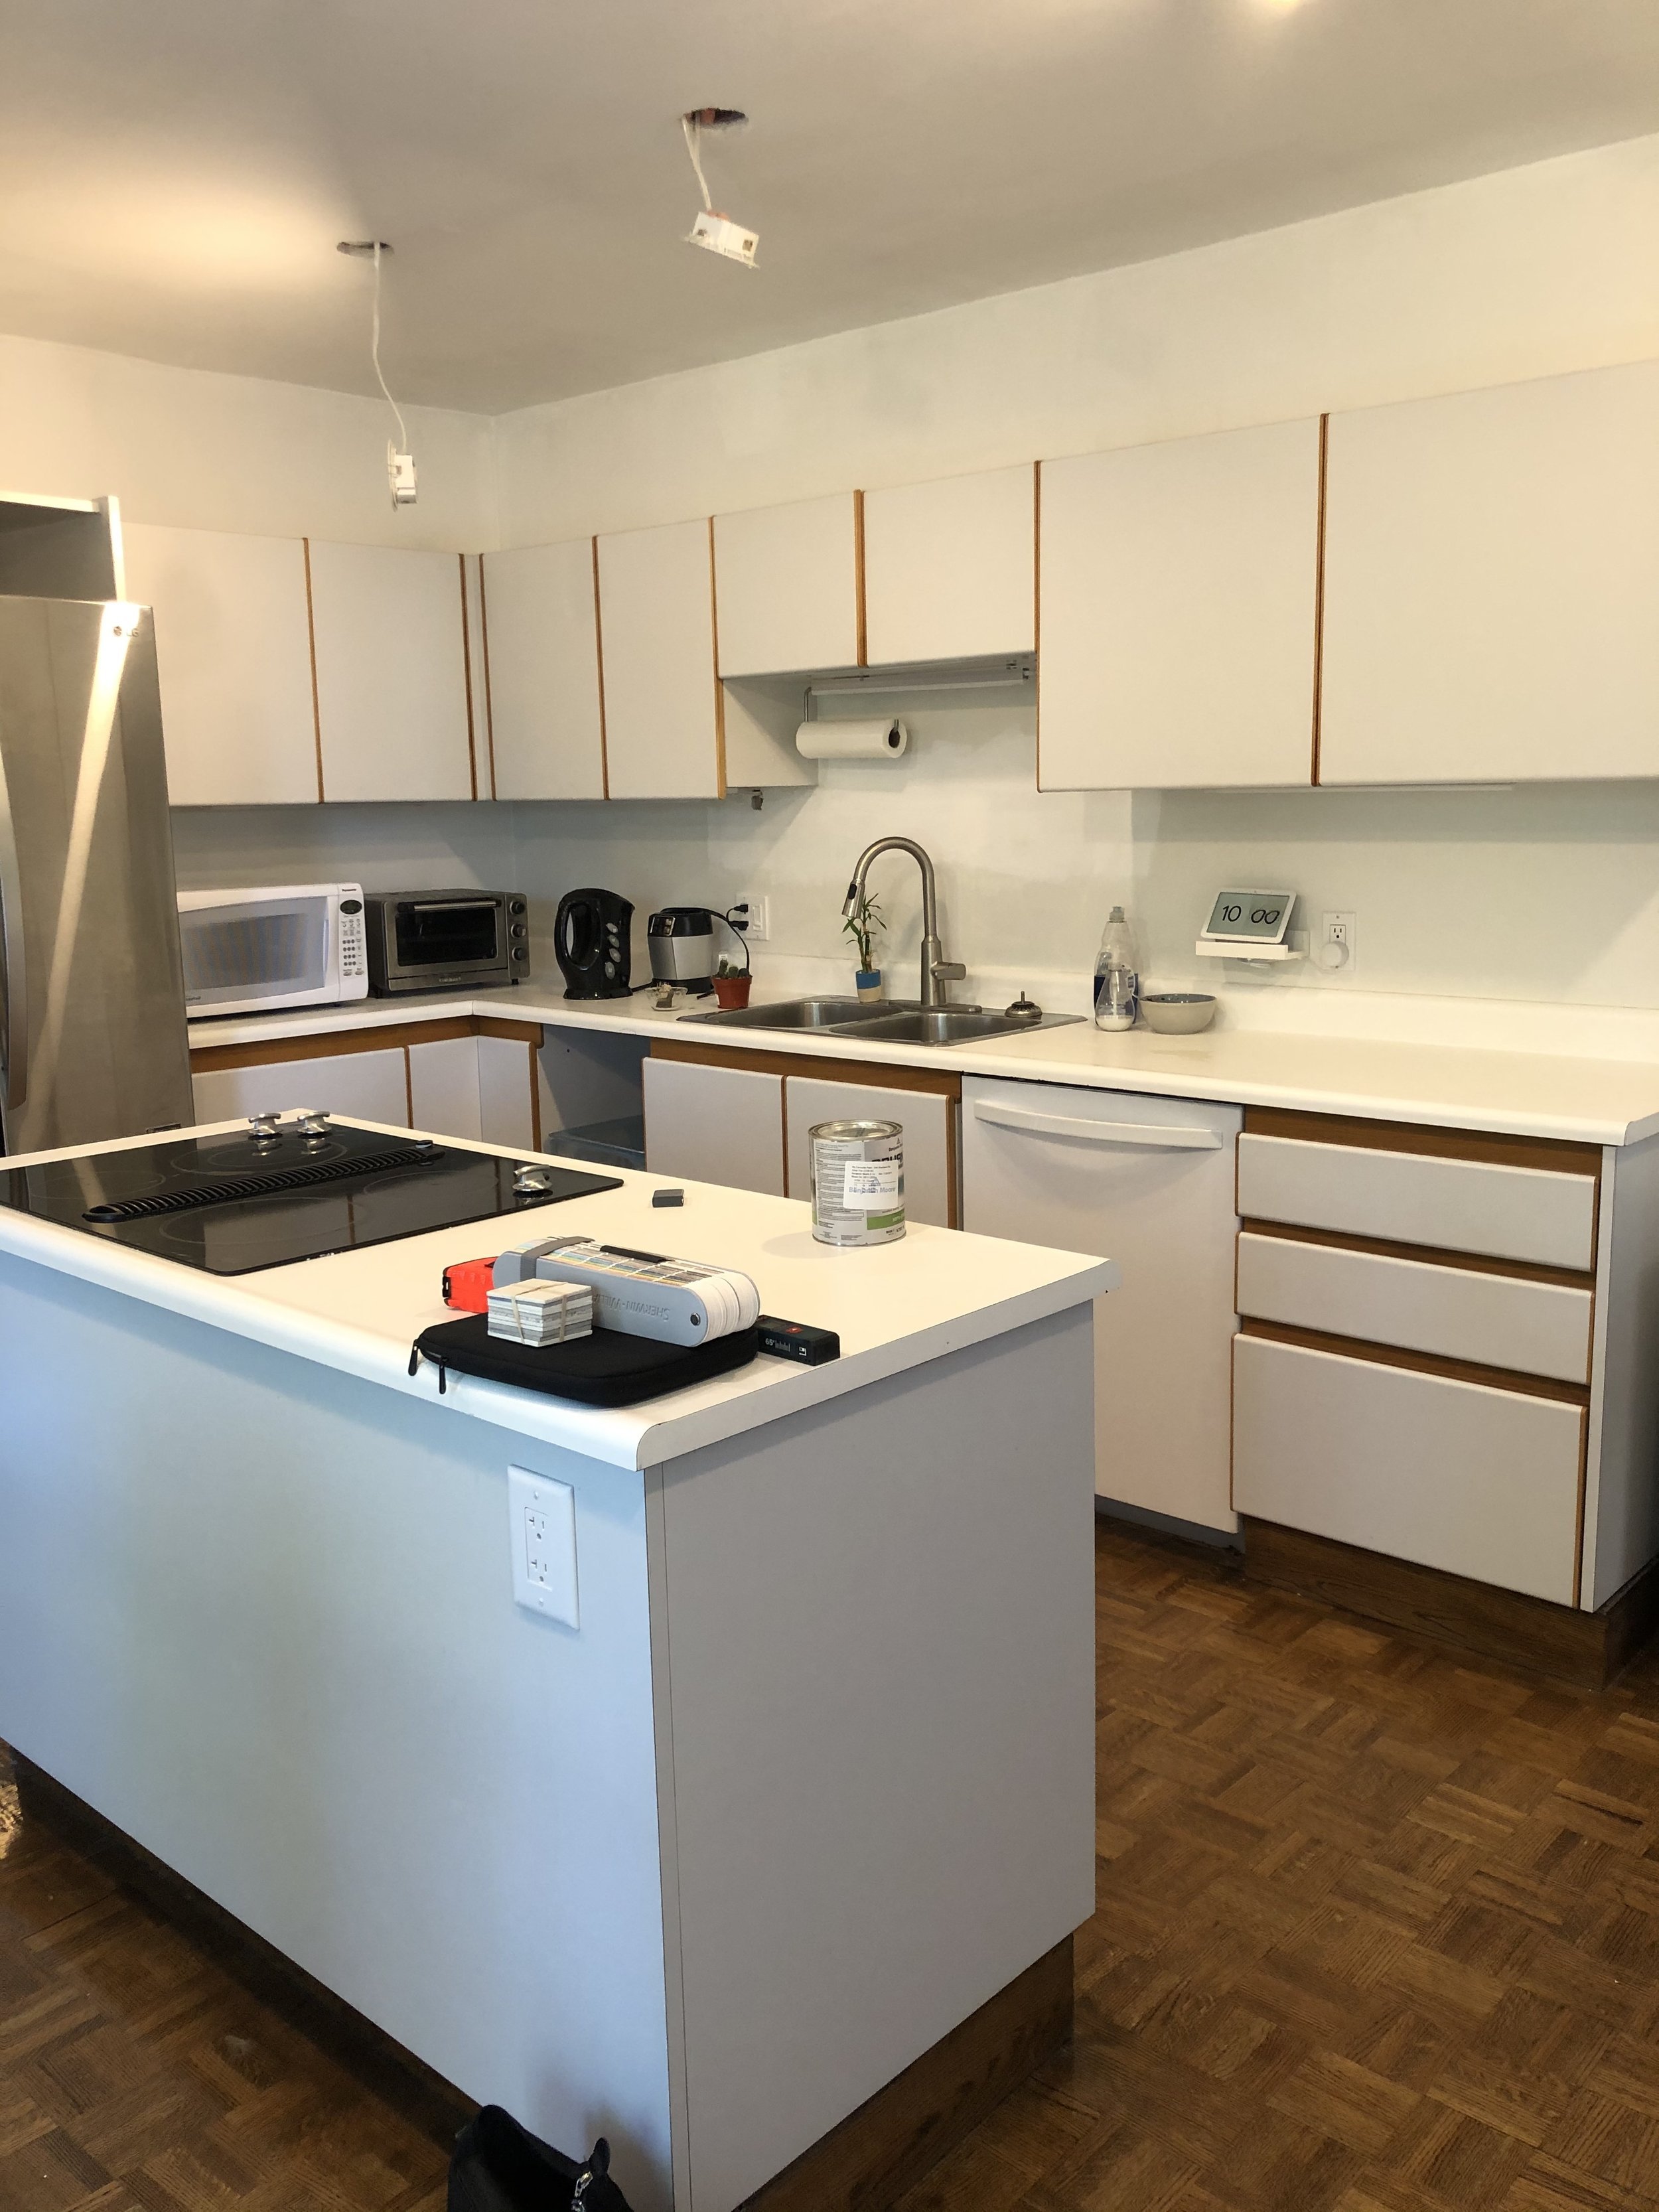


They were considering just painting the cupboards and getting new countertops, but then there were also a few spots that needed a bit more work. A few things were maintained though, including the new lighting, the fridge and cooktop, as well as the original parquet floor. And yes - this is another IKEA x Kitch project!
The Design
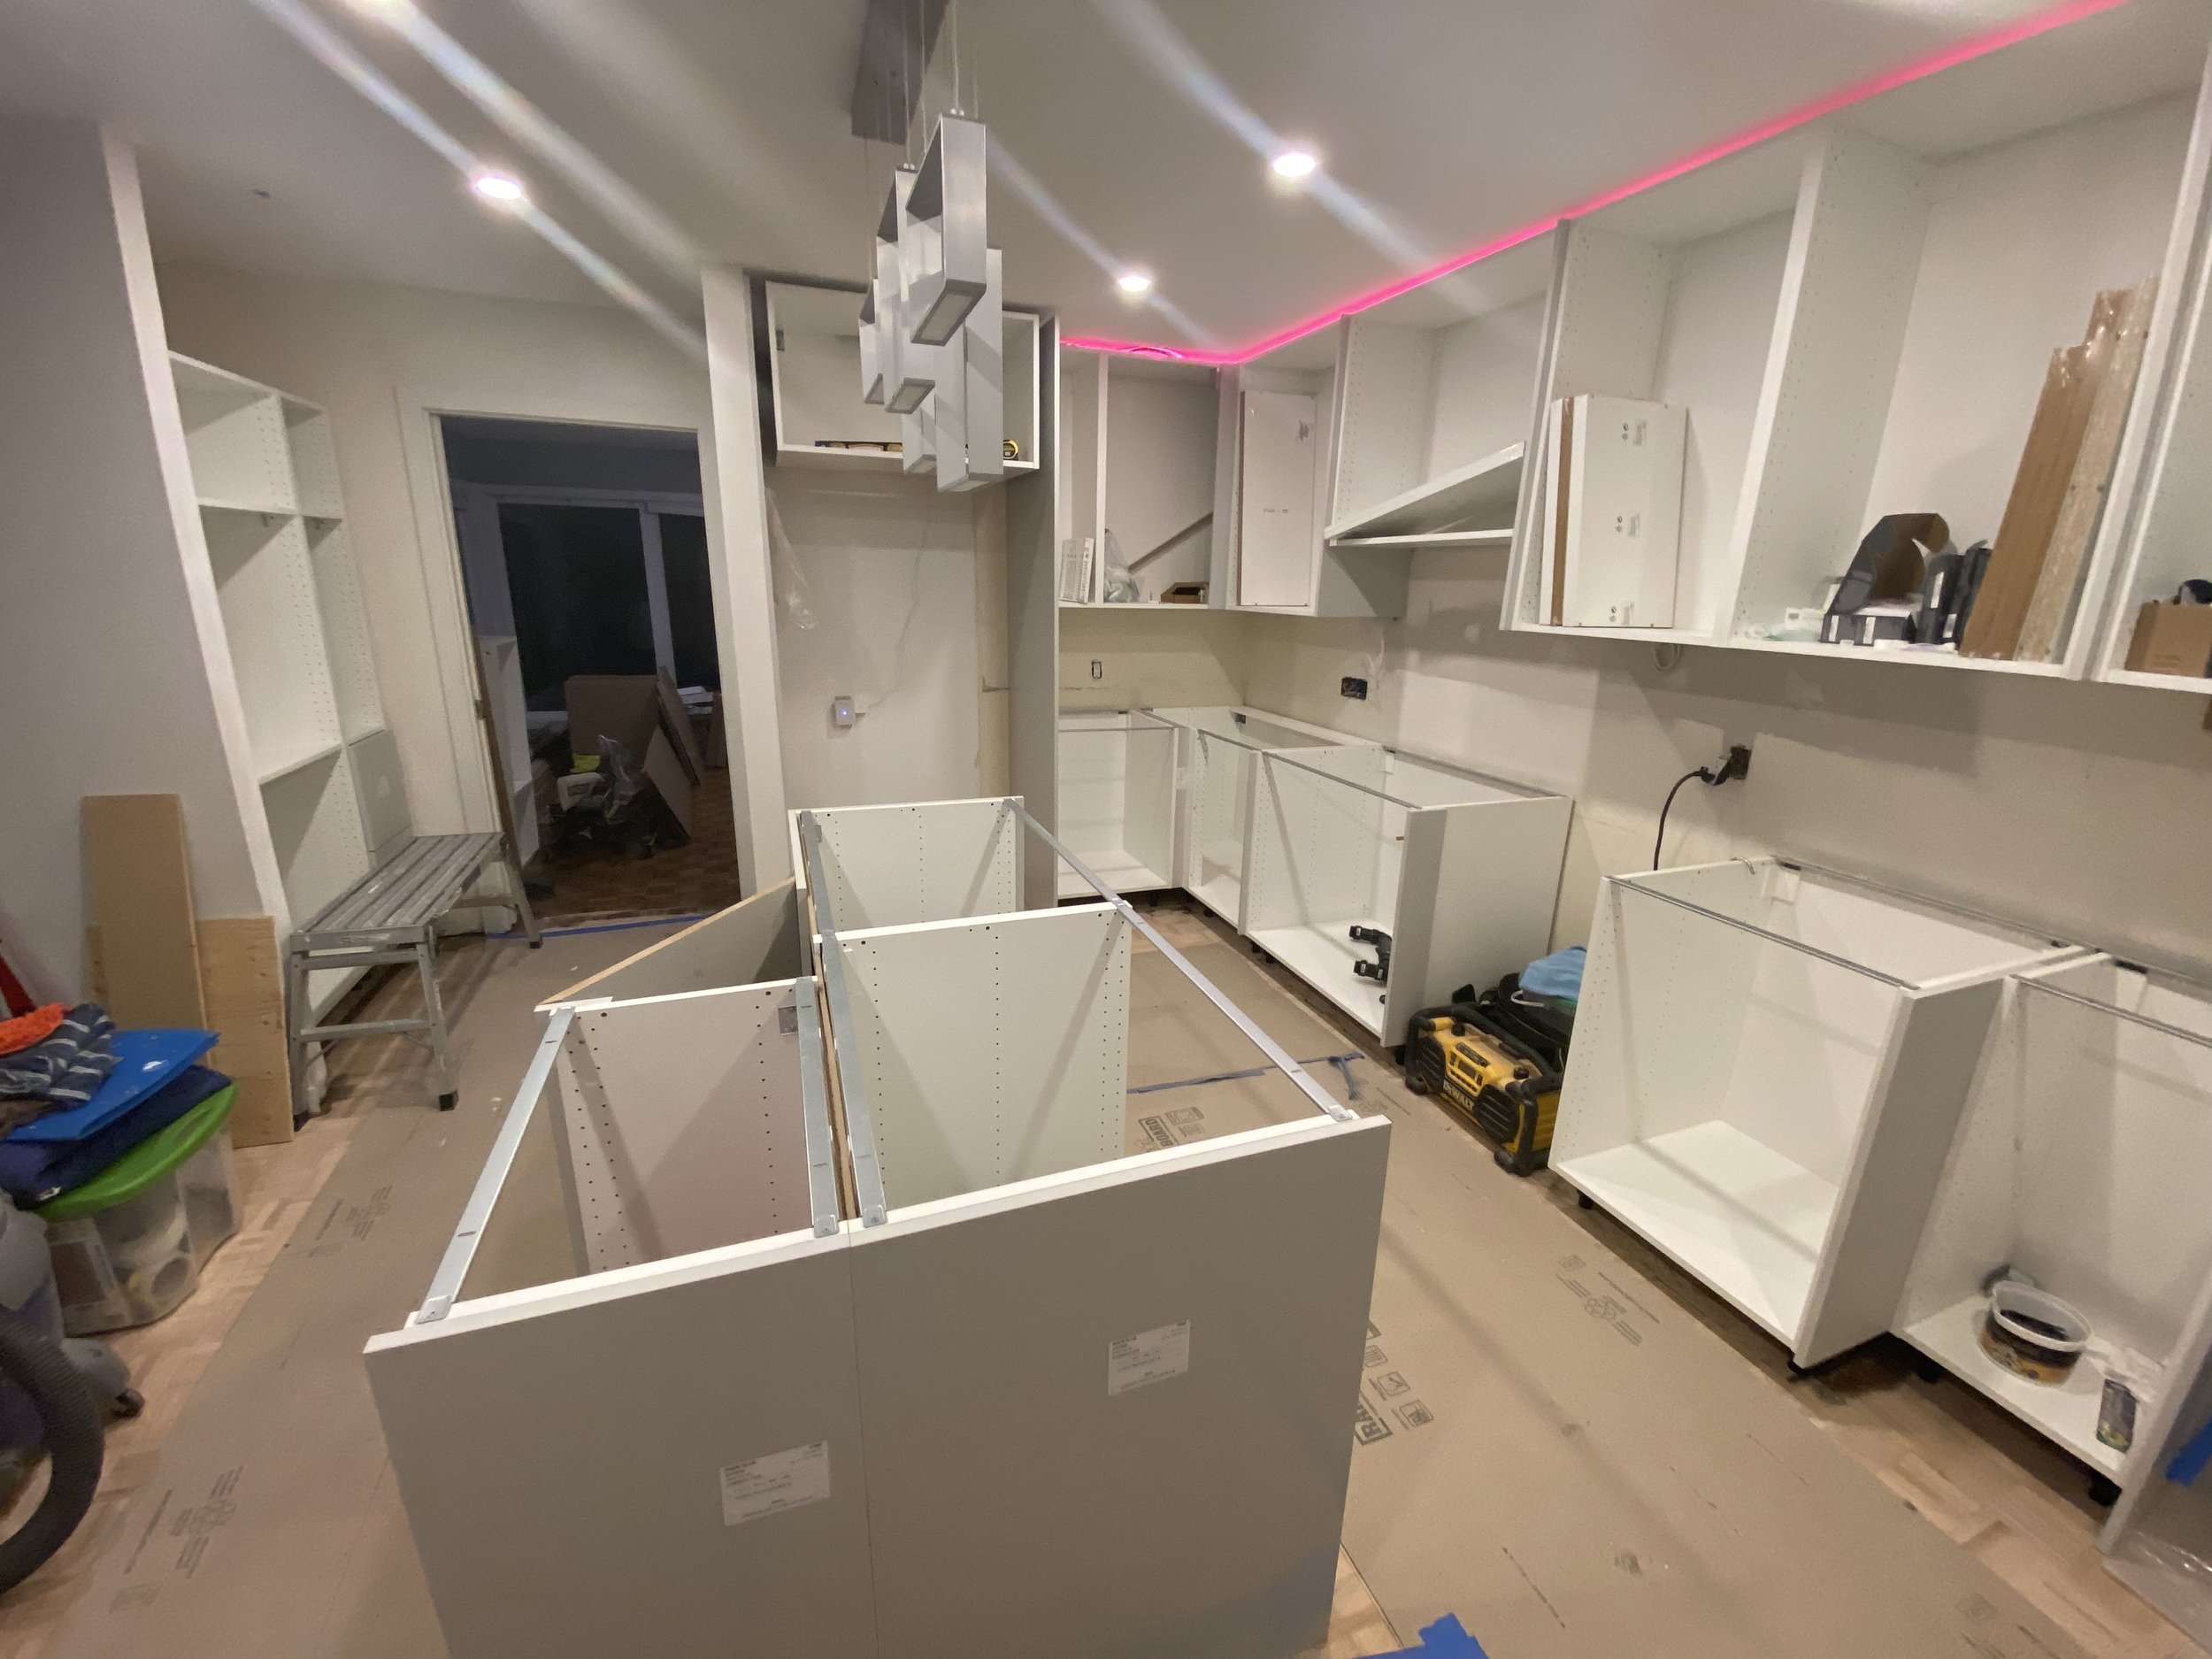
The overall layout remained essentially the same - since it is a condo the amount that can be moved or changed is minimal to begin with. We did extend the storage a bit closer to the main entrance in the kitchen and also increased the size of the island so that there was more prep space and the ability to have several people seated at it. We chose to go with a panel front dishwasher to keep the look a bit cleaner and added more storage by going full height with all of the cabinets.
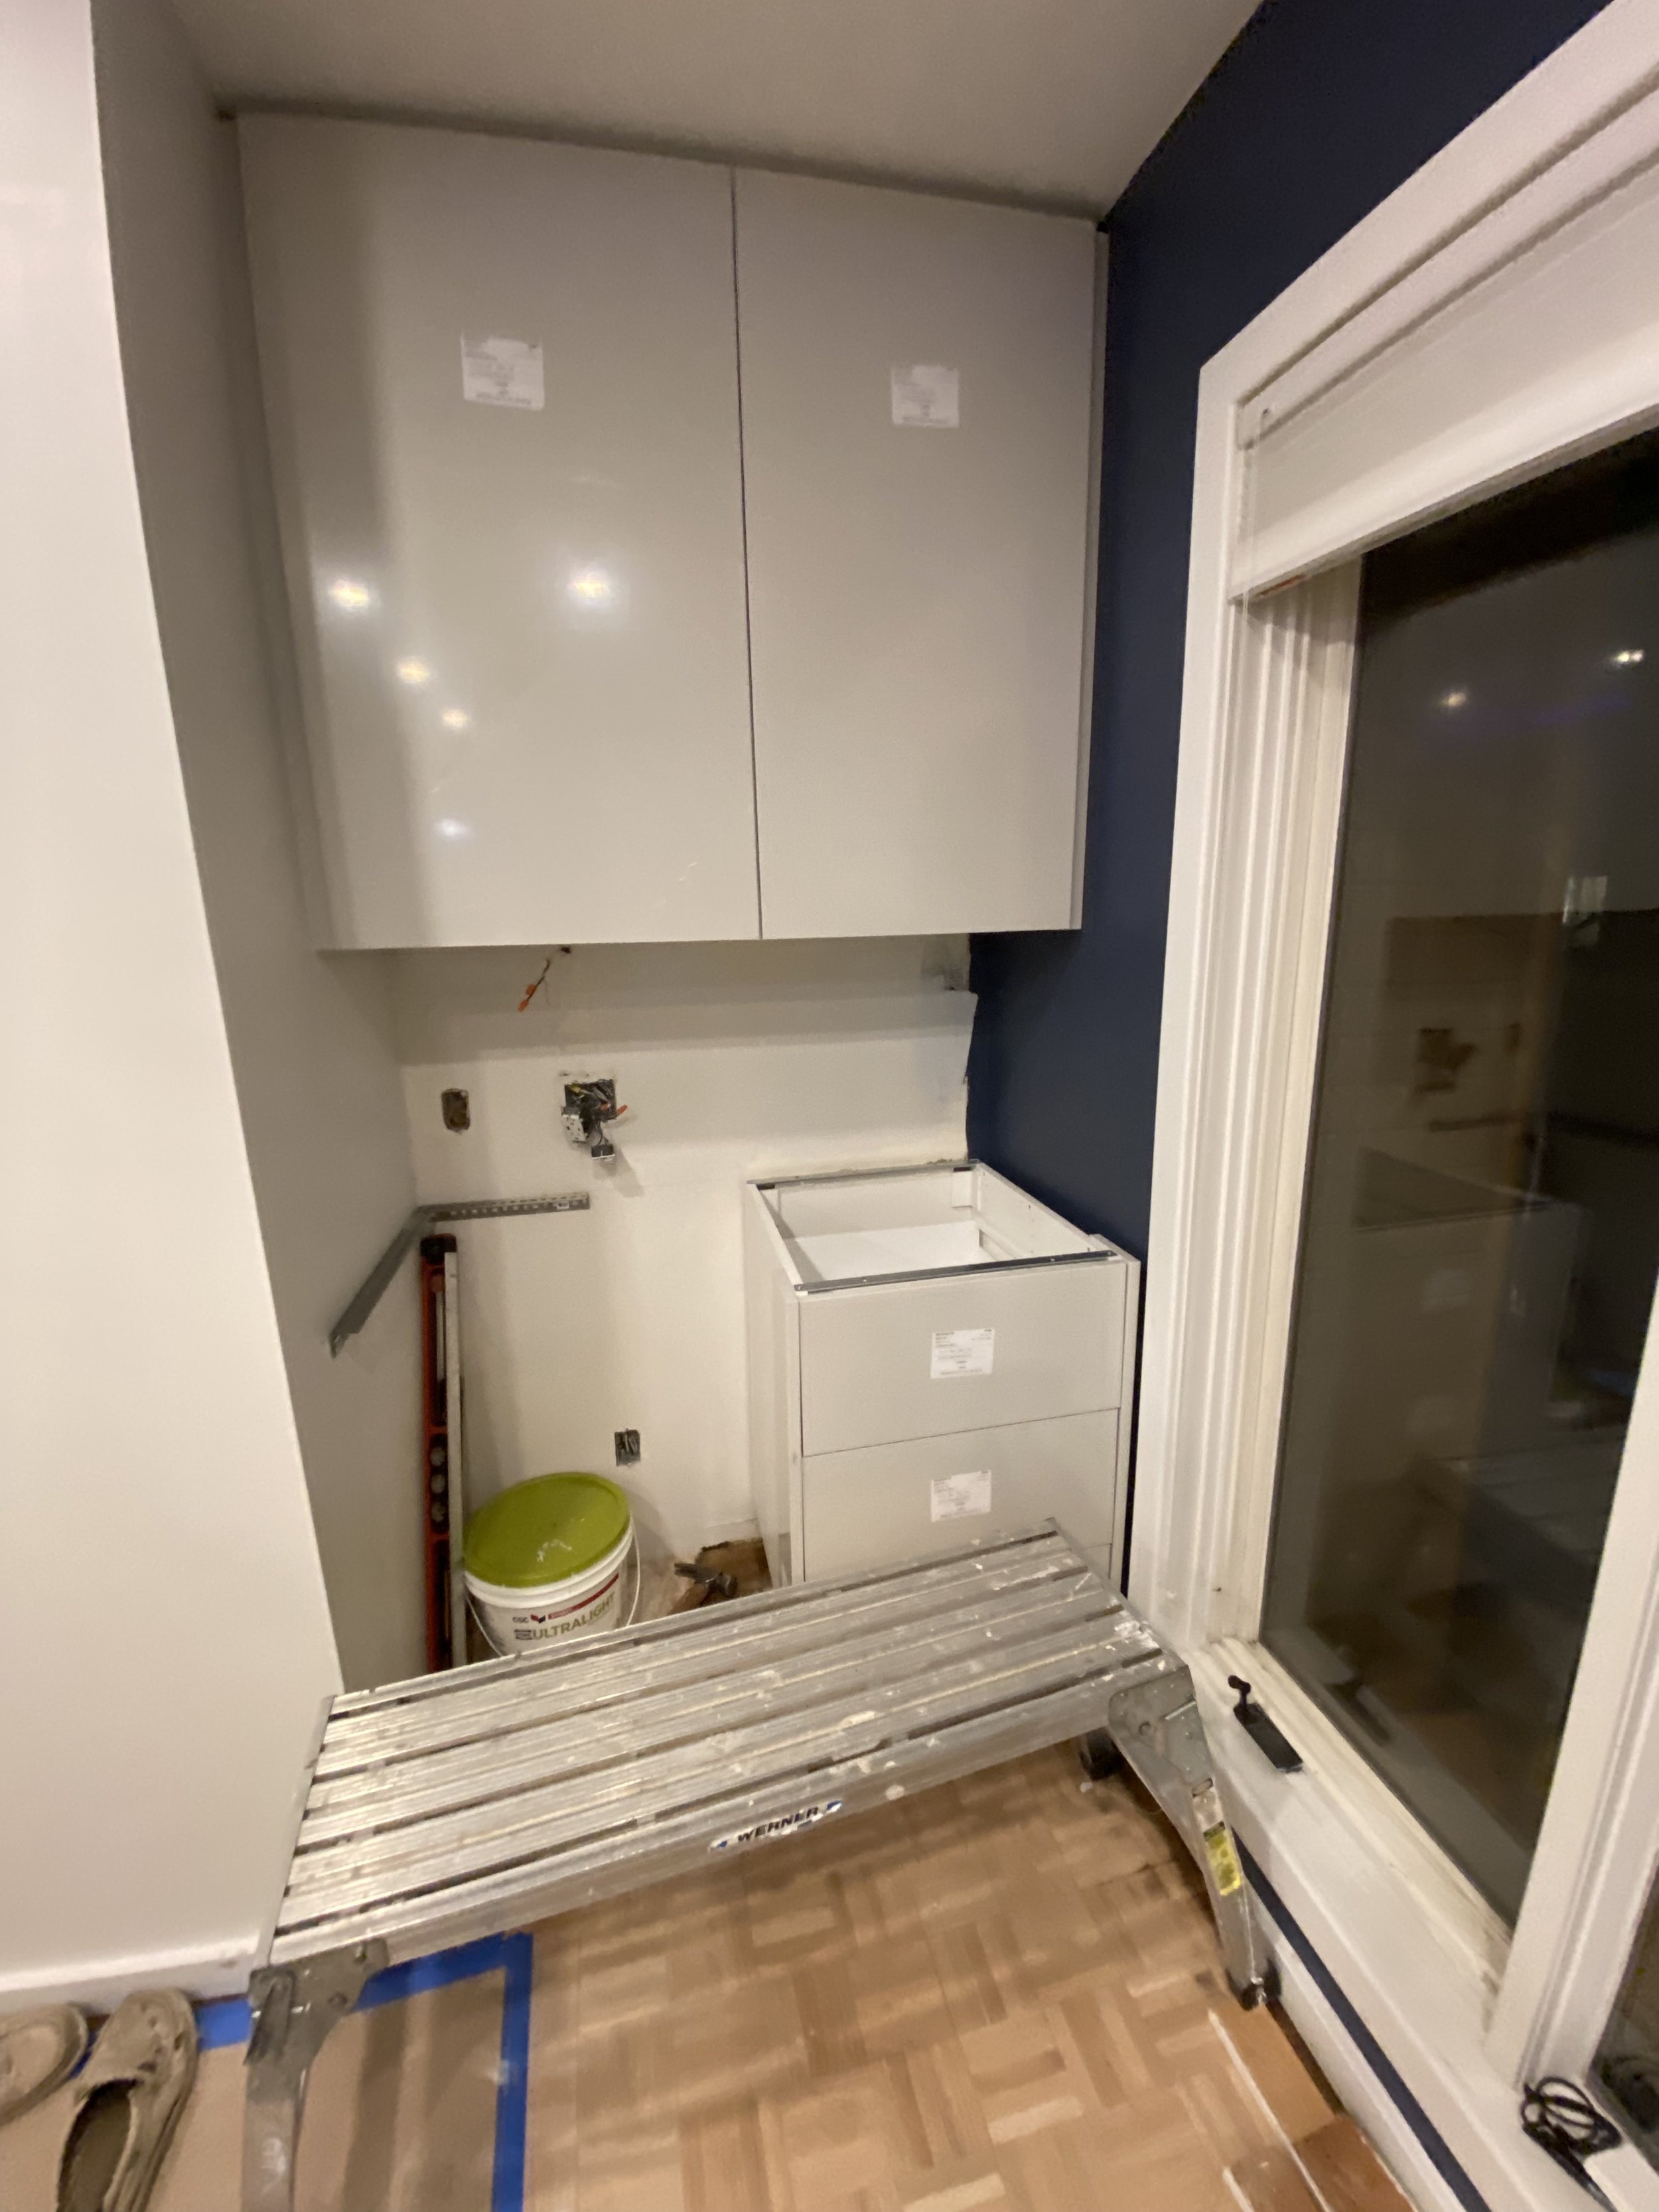
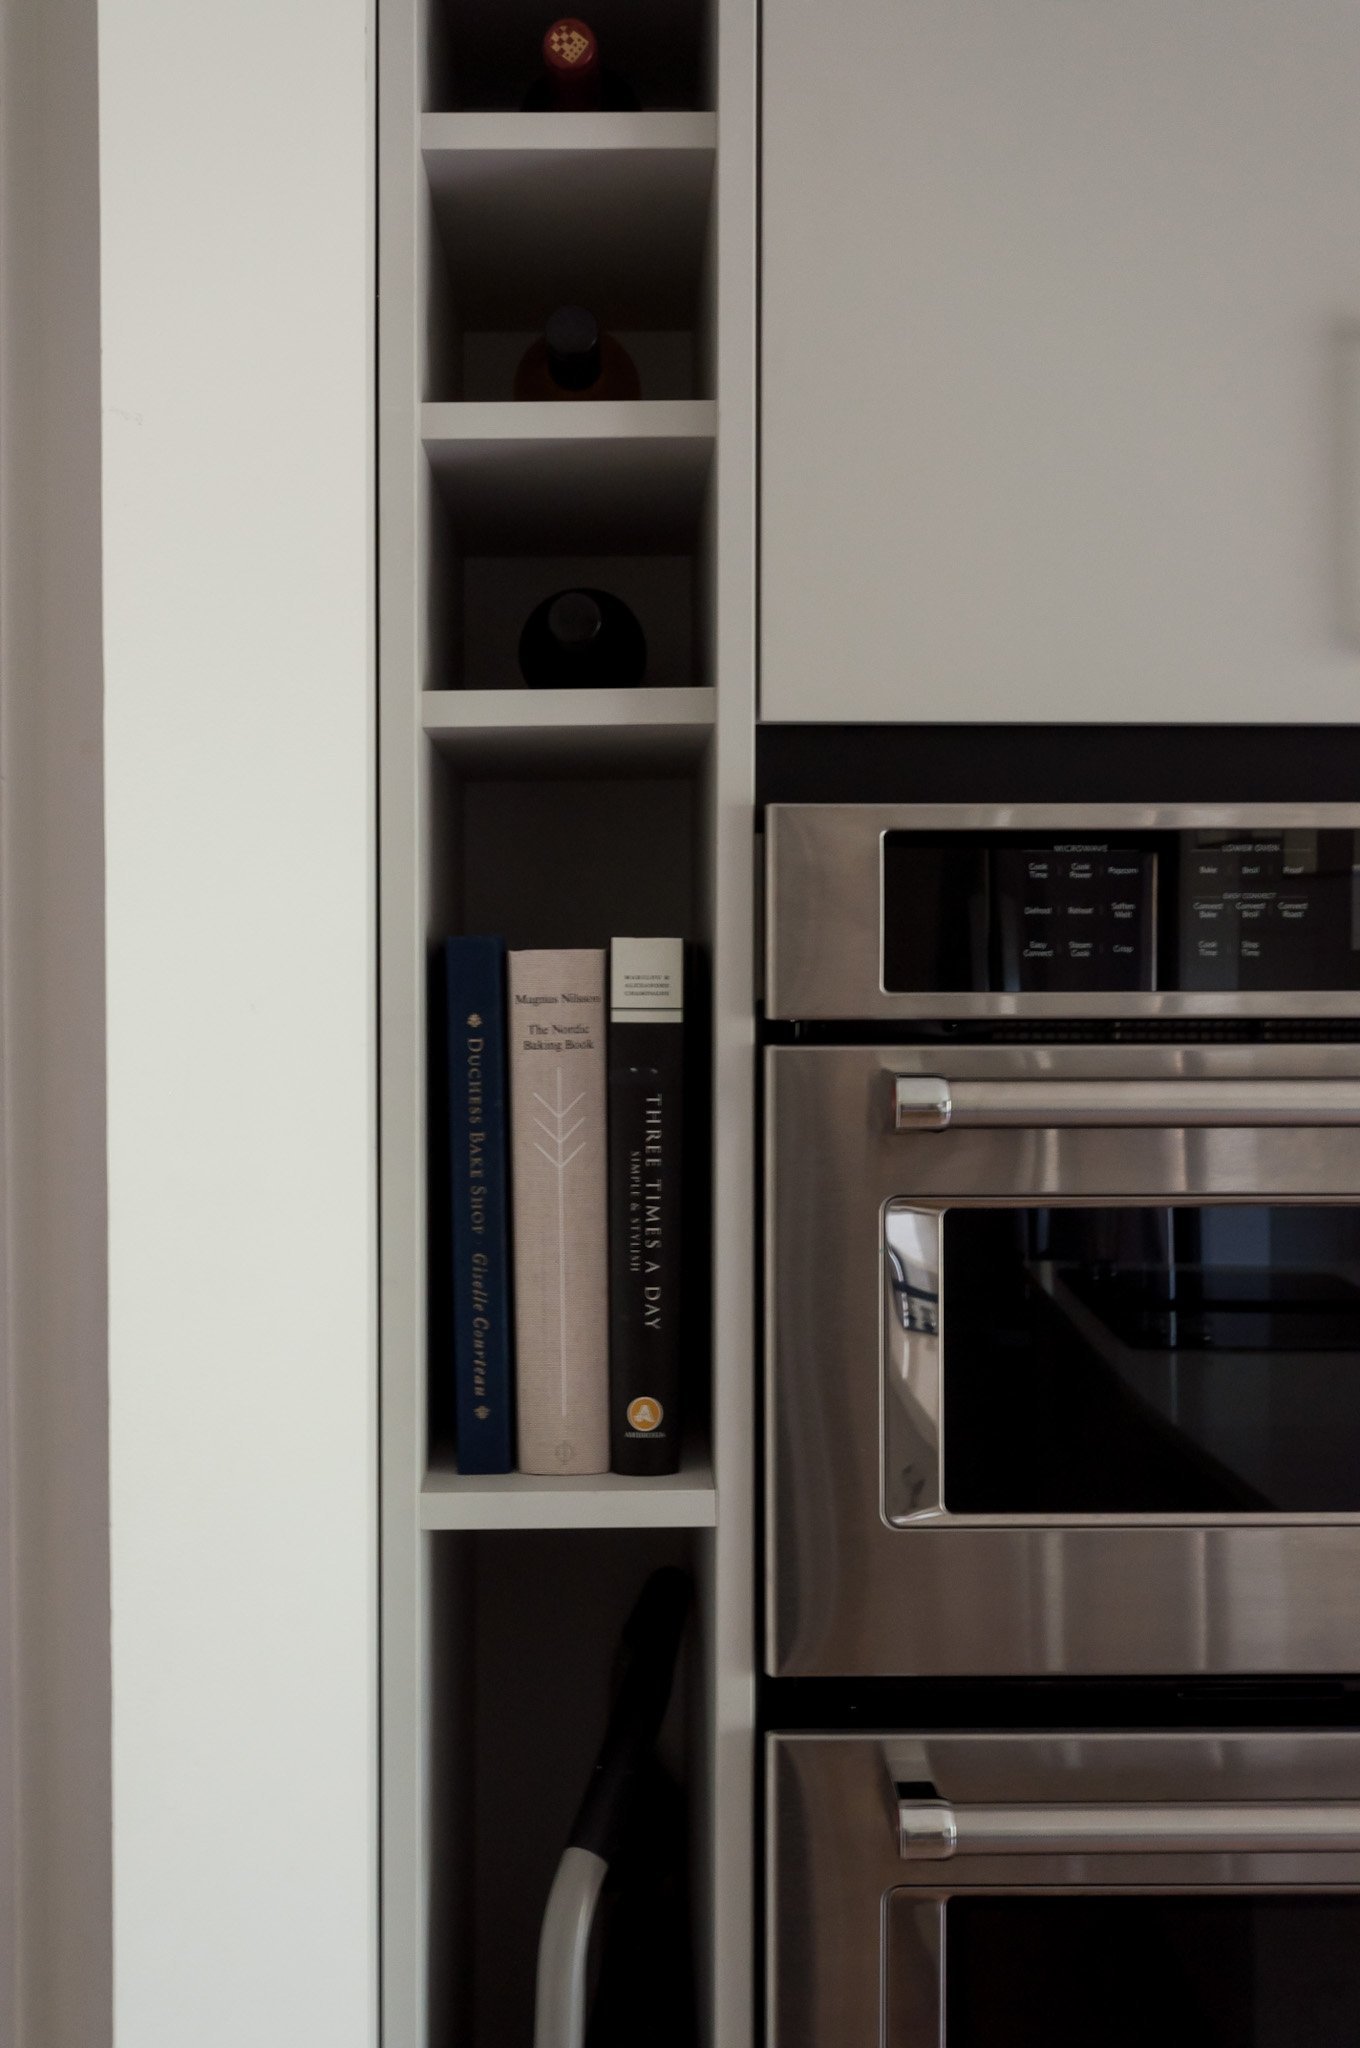
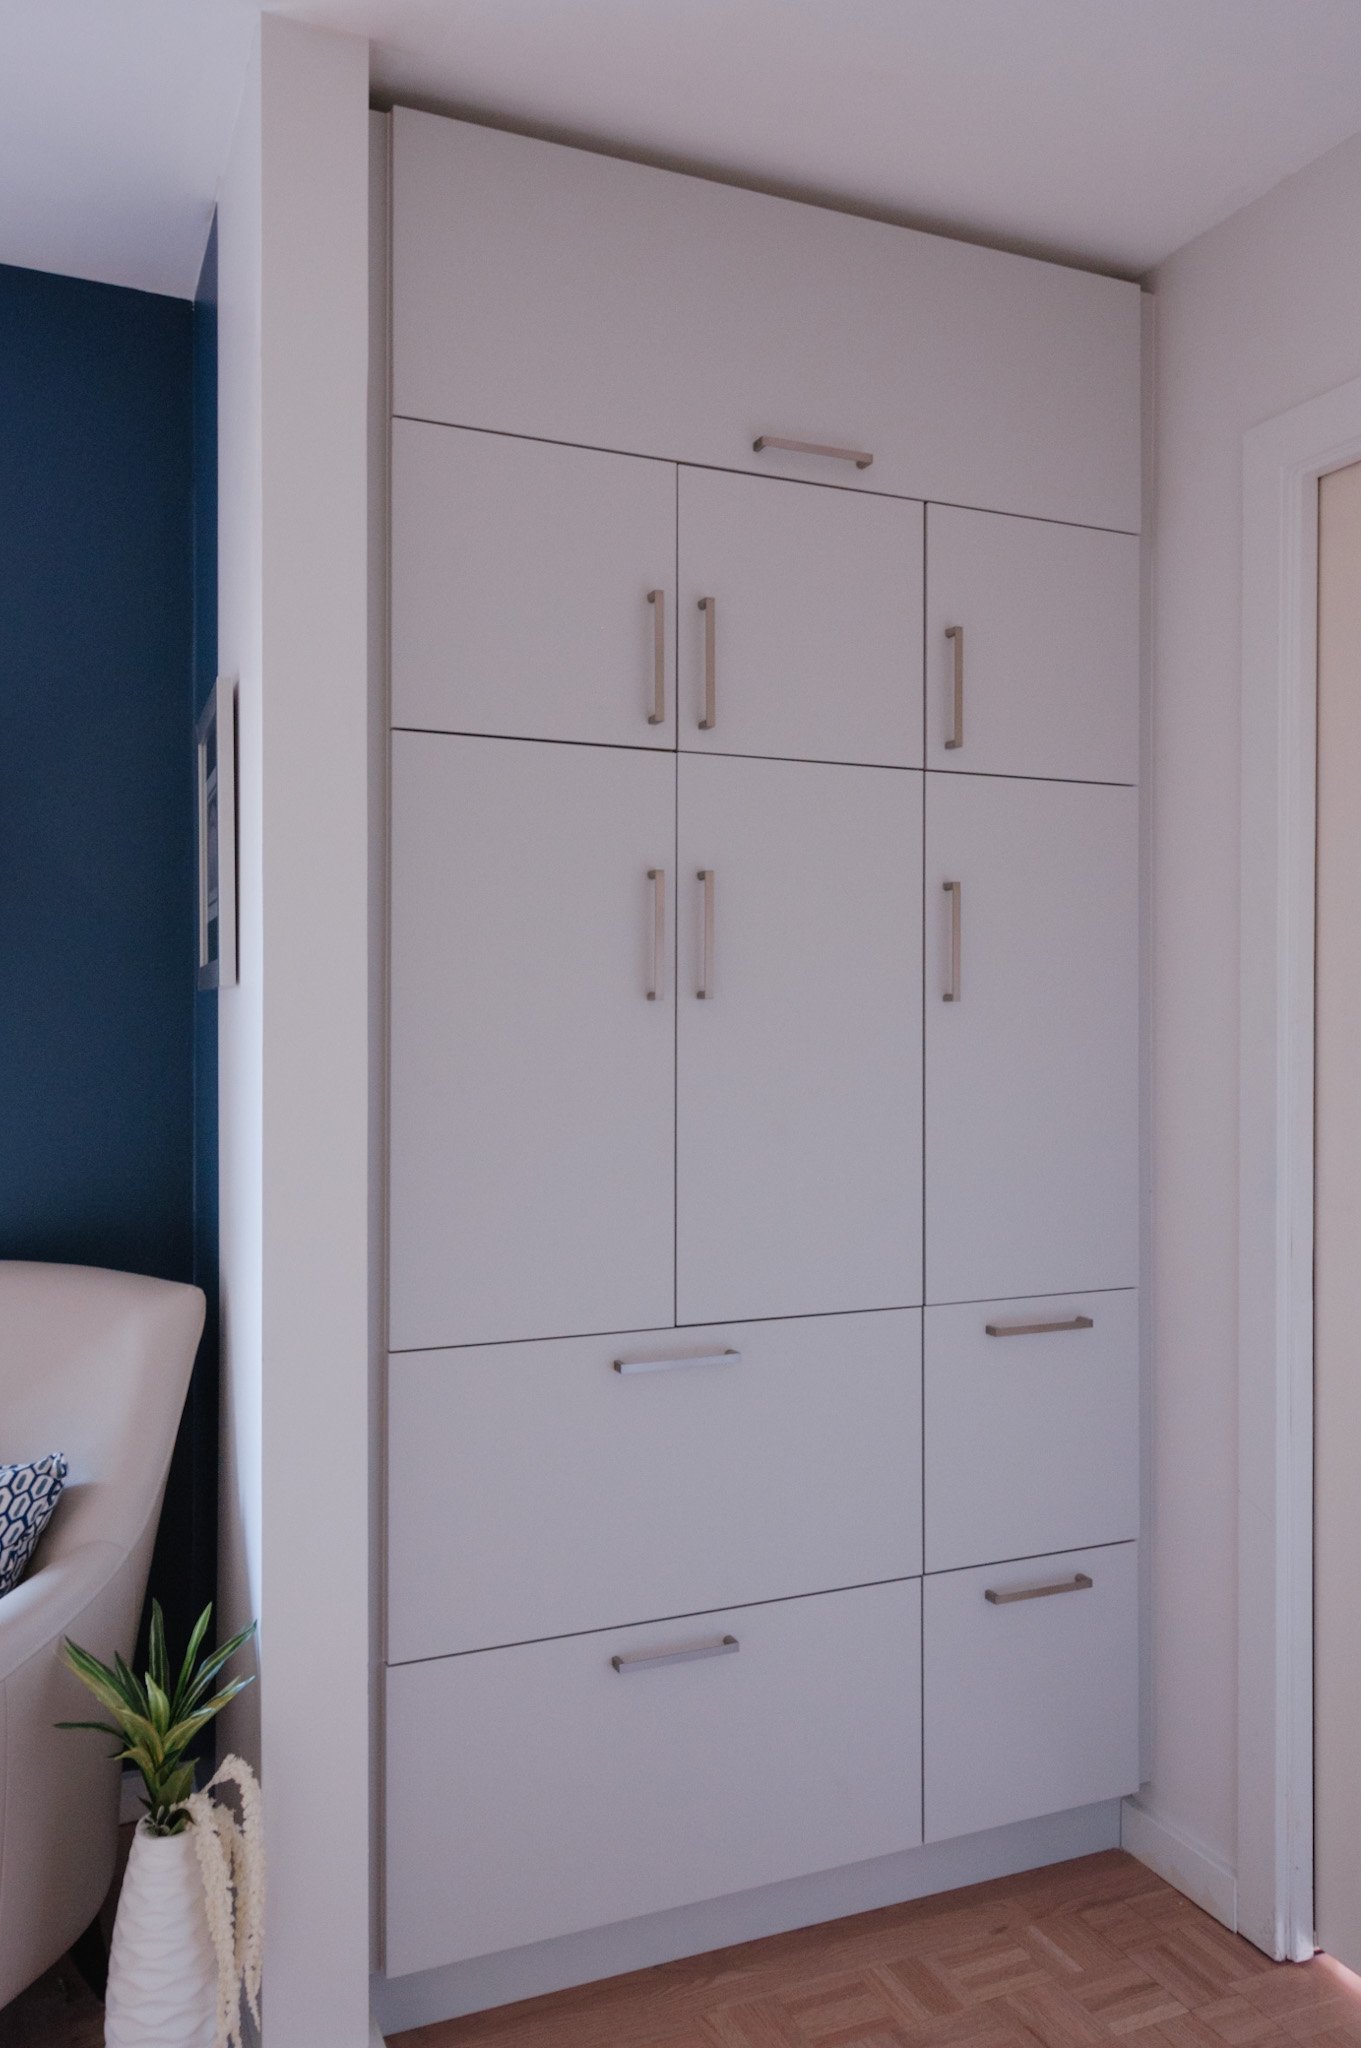
Around the wall oven, we made some shifts to free up the previously unused space so that a custom shelving could be installed to fit wine, cookbooks and their step stool. We had to get creative with the pantry area as when we initially planned the kitchen, it appeared as though there was a bulkhead stopping us from doing a full height cabinetry at the very top. However, once demo was underway, we realized this wasn’t a functional bulkhead and so I had to get creative with making adjustments to the original plan (and the items that had already been ordered) to make use of the new found space.


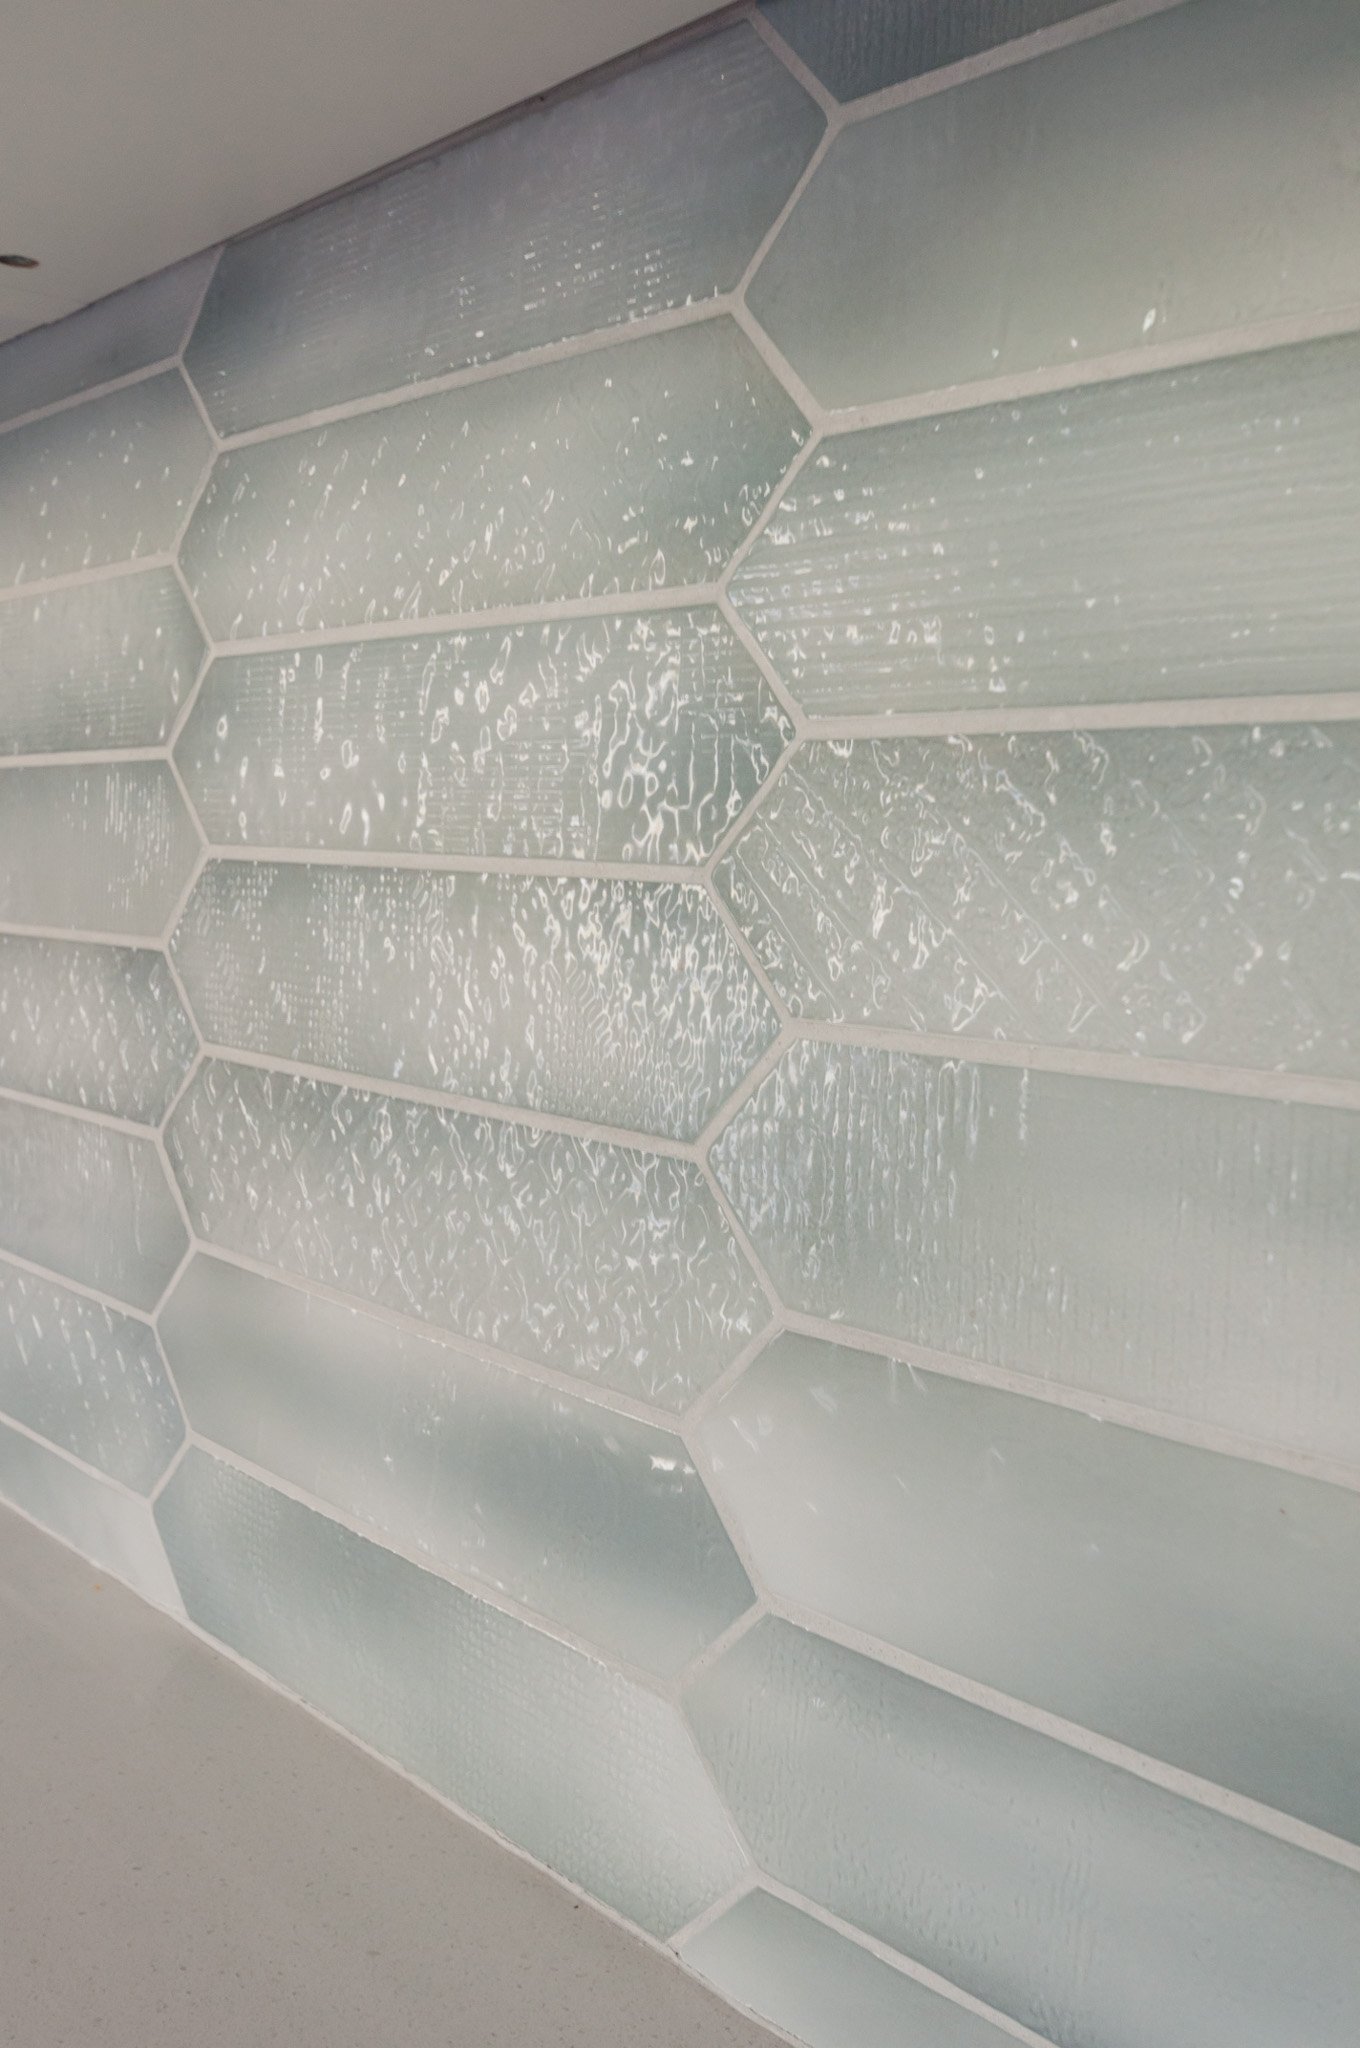
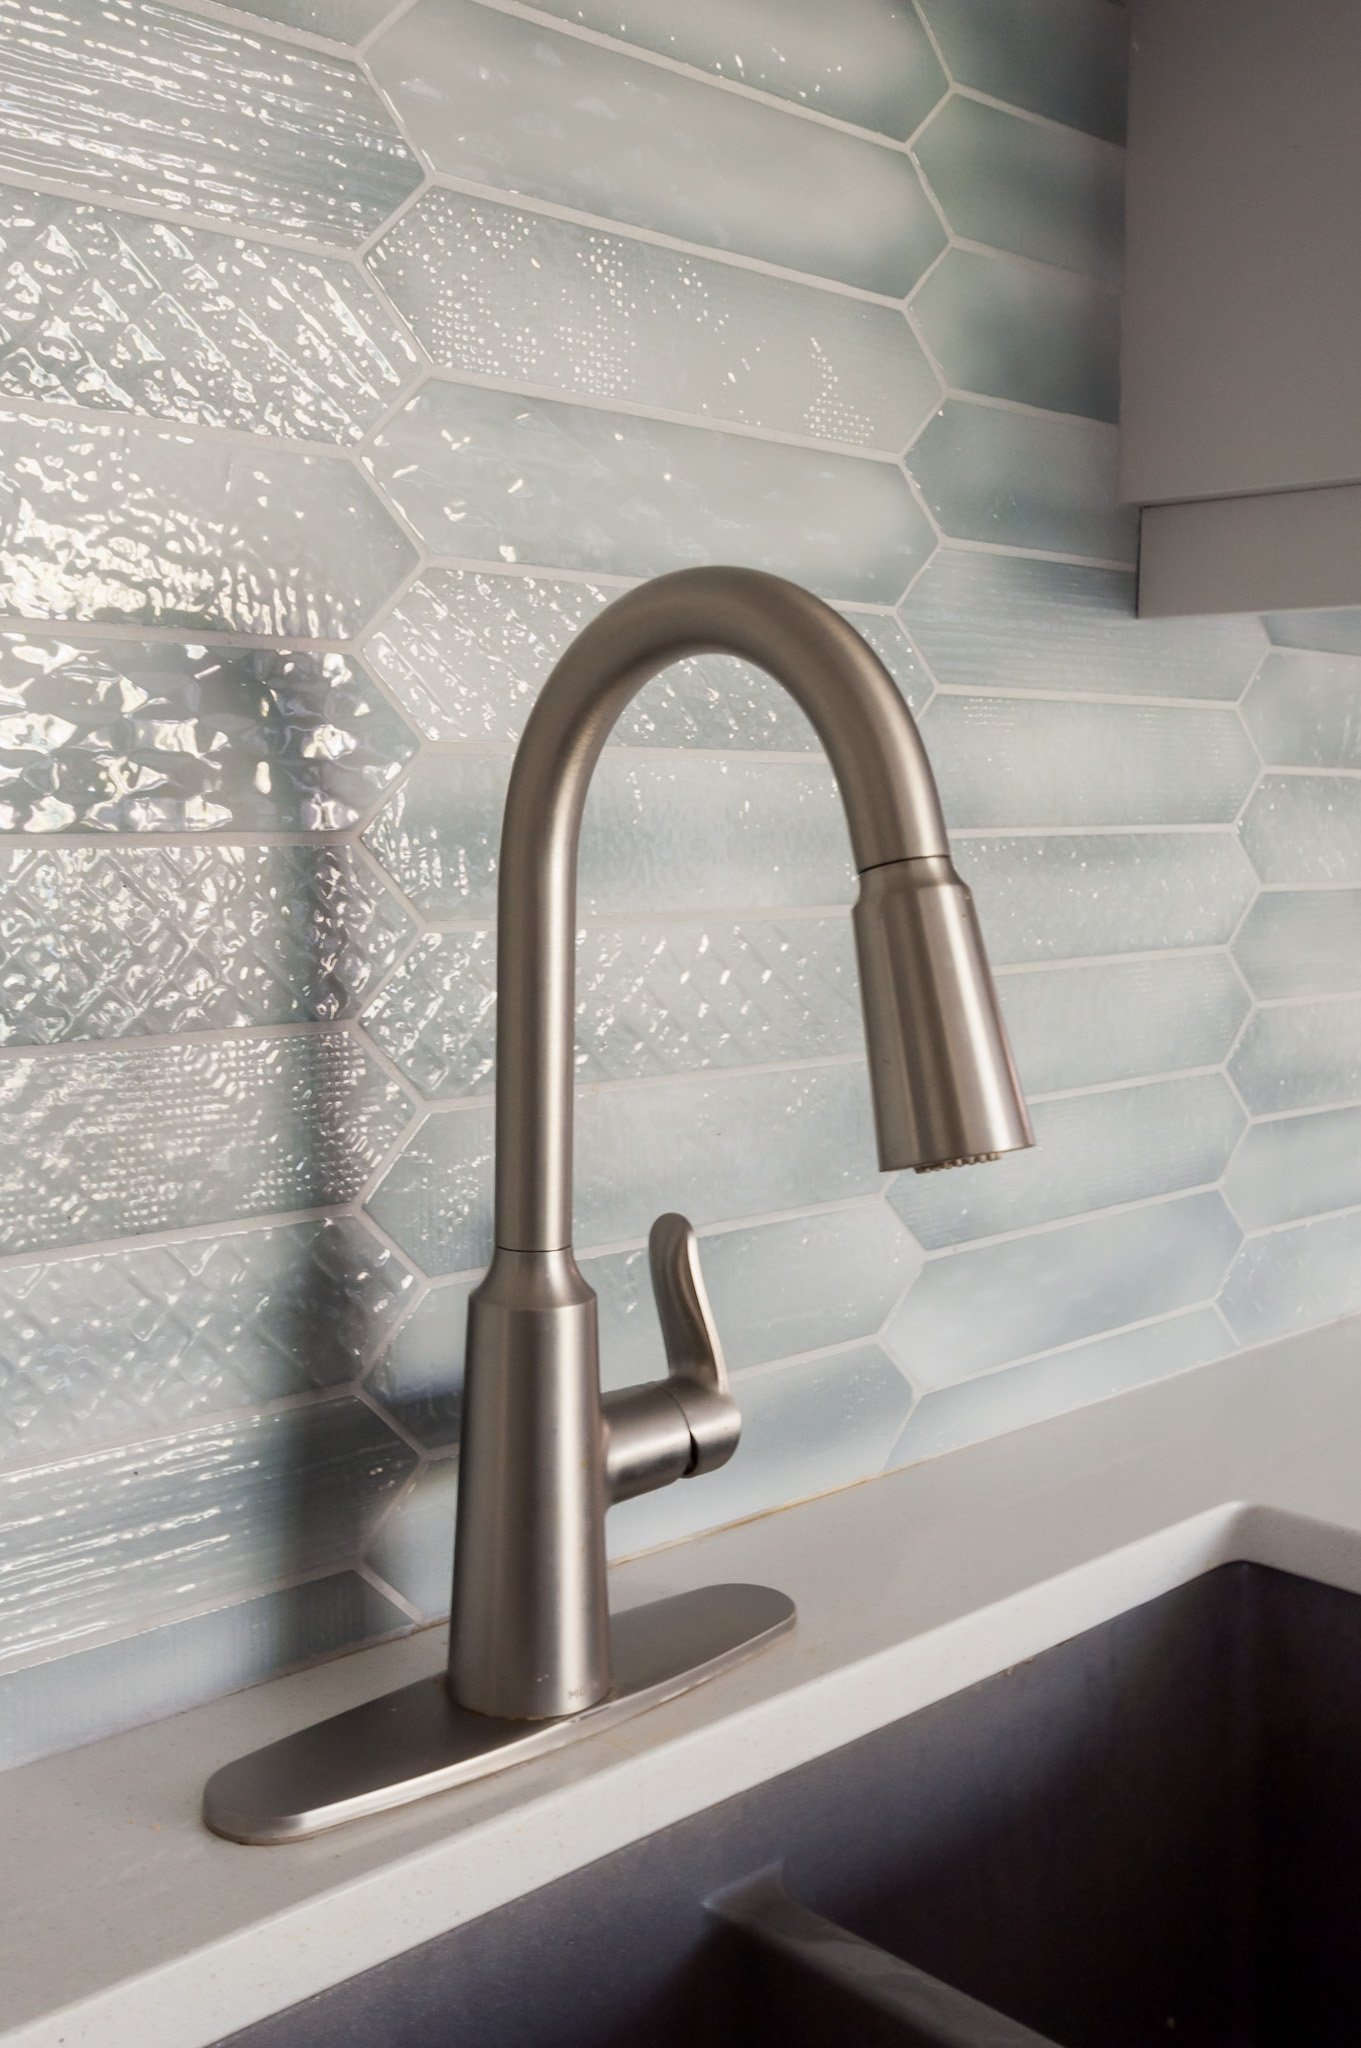
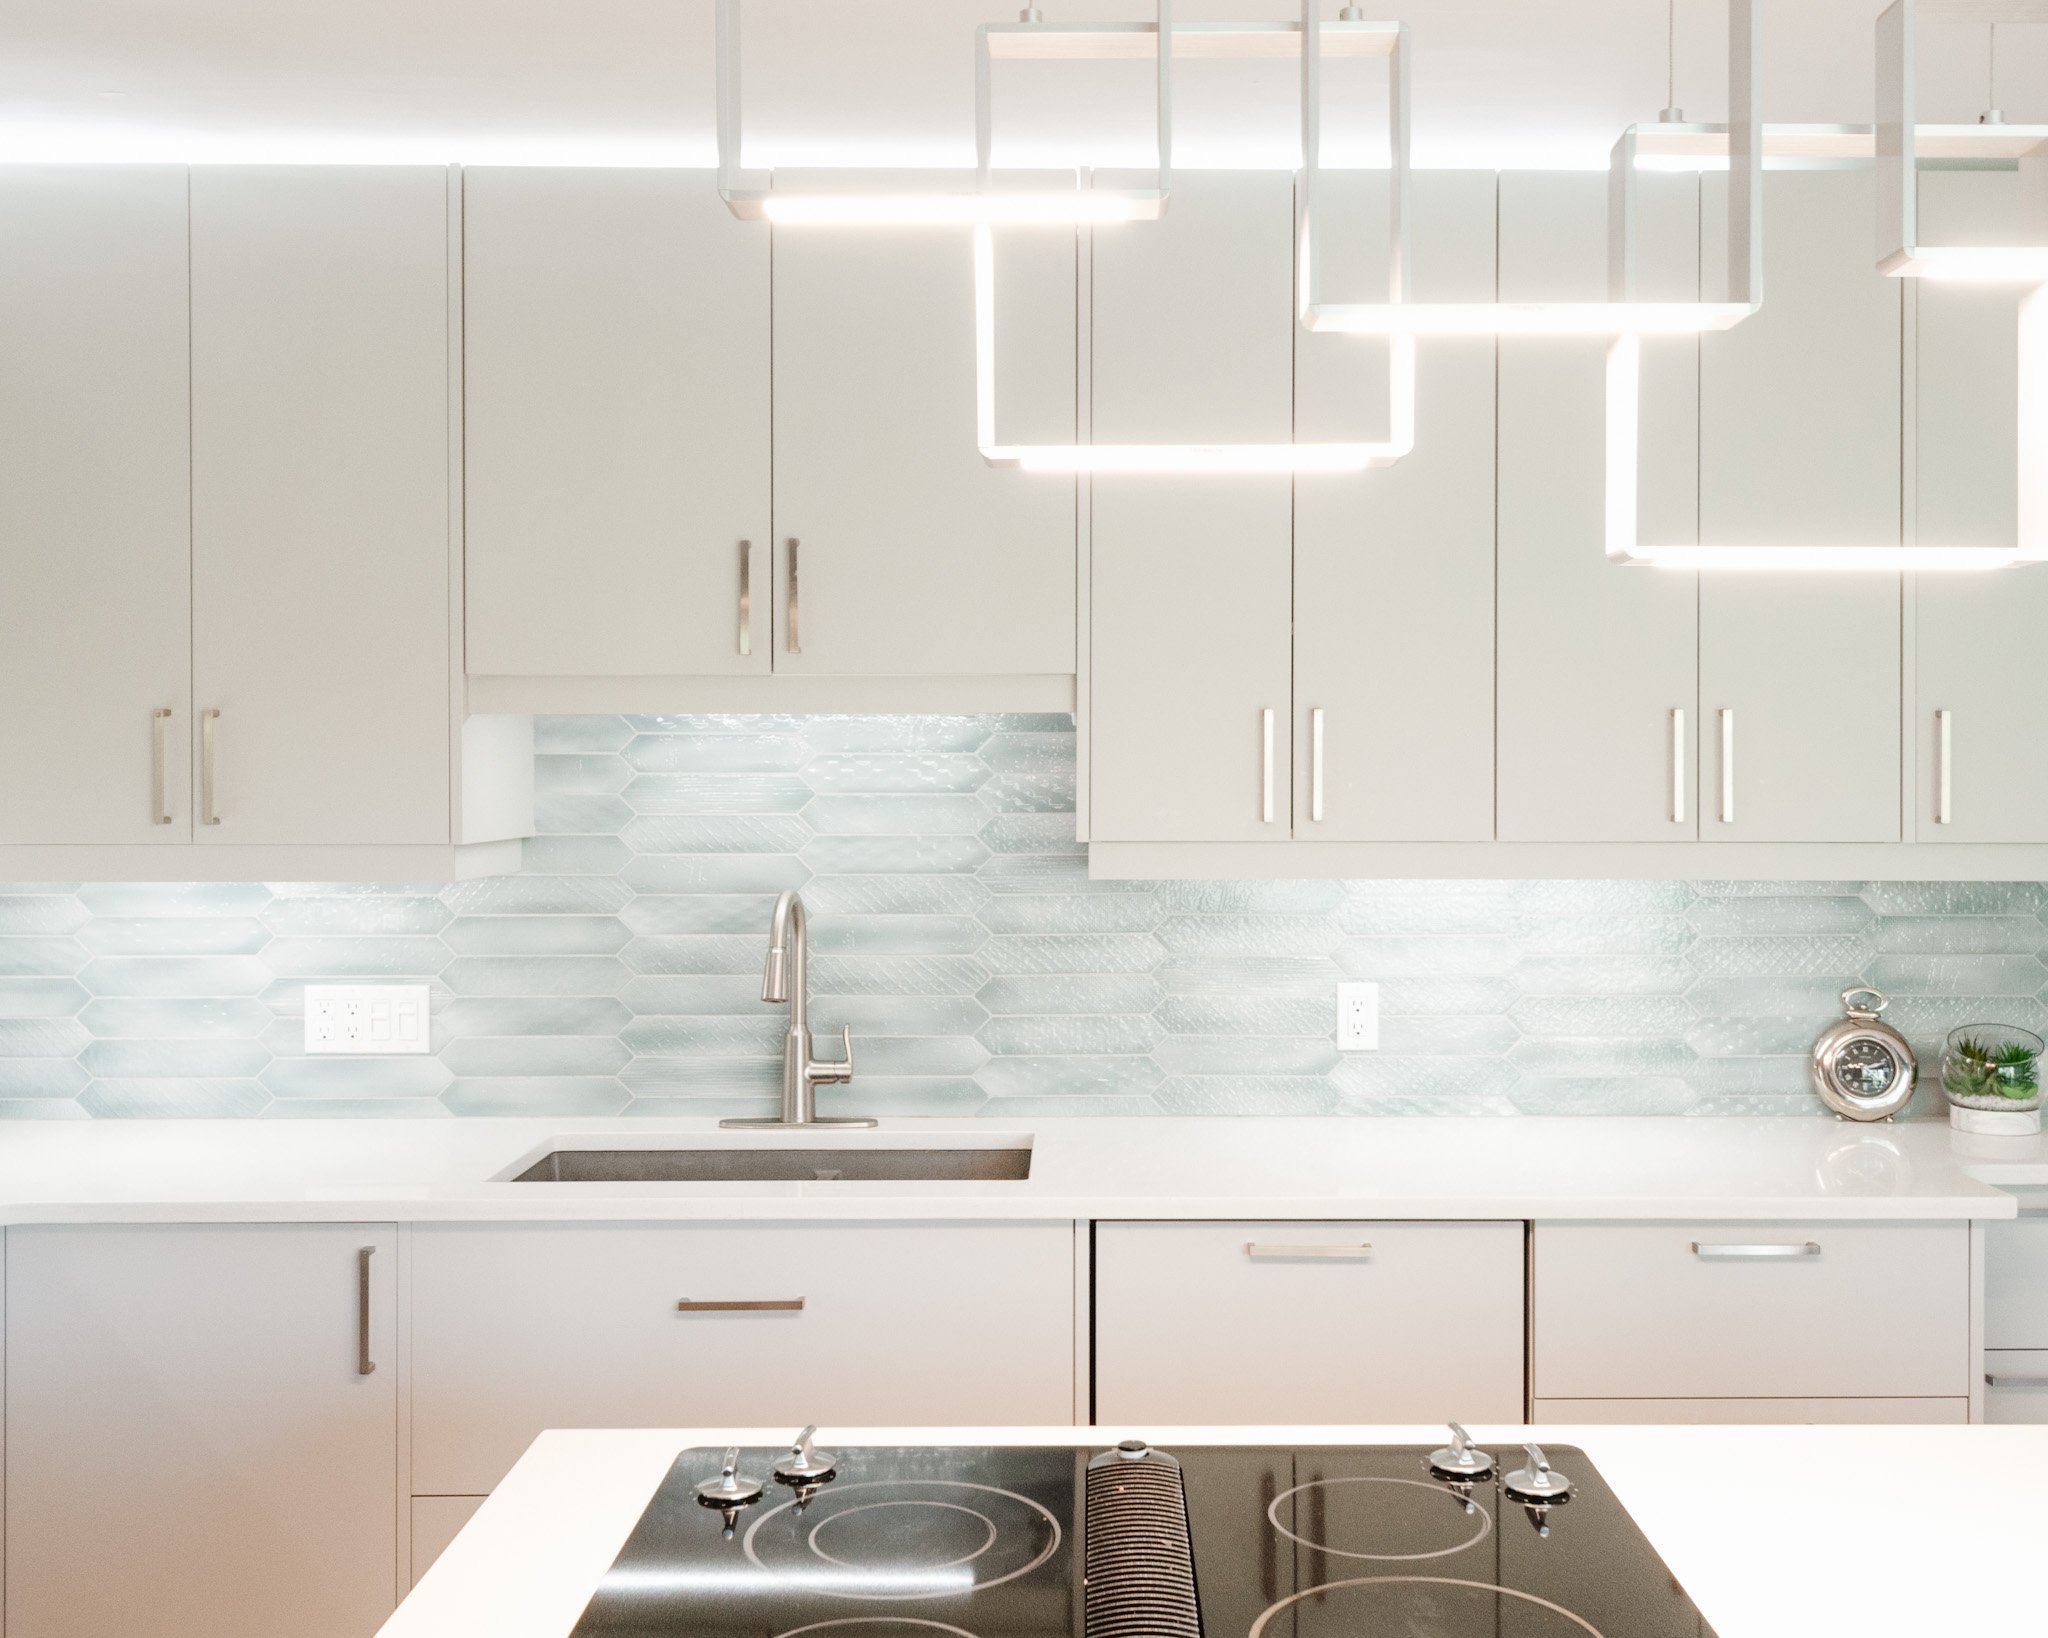
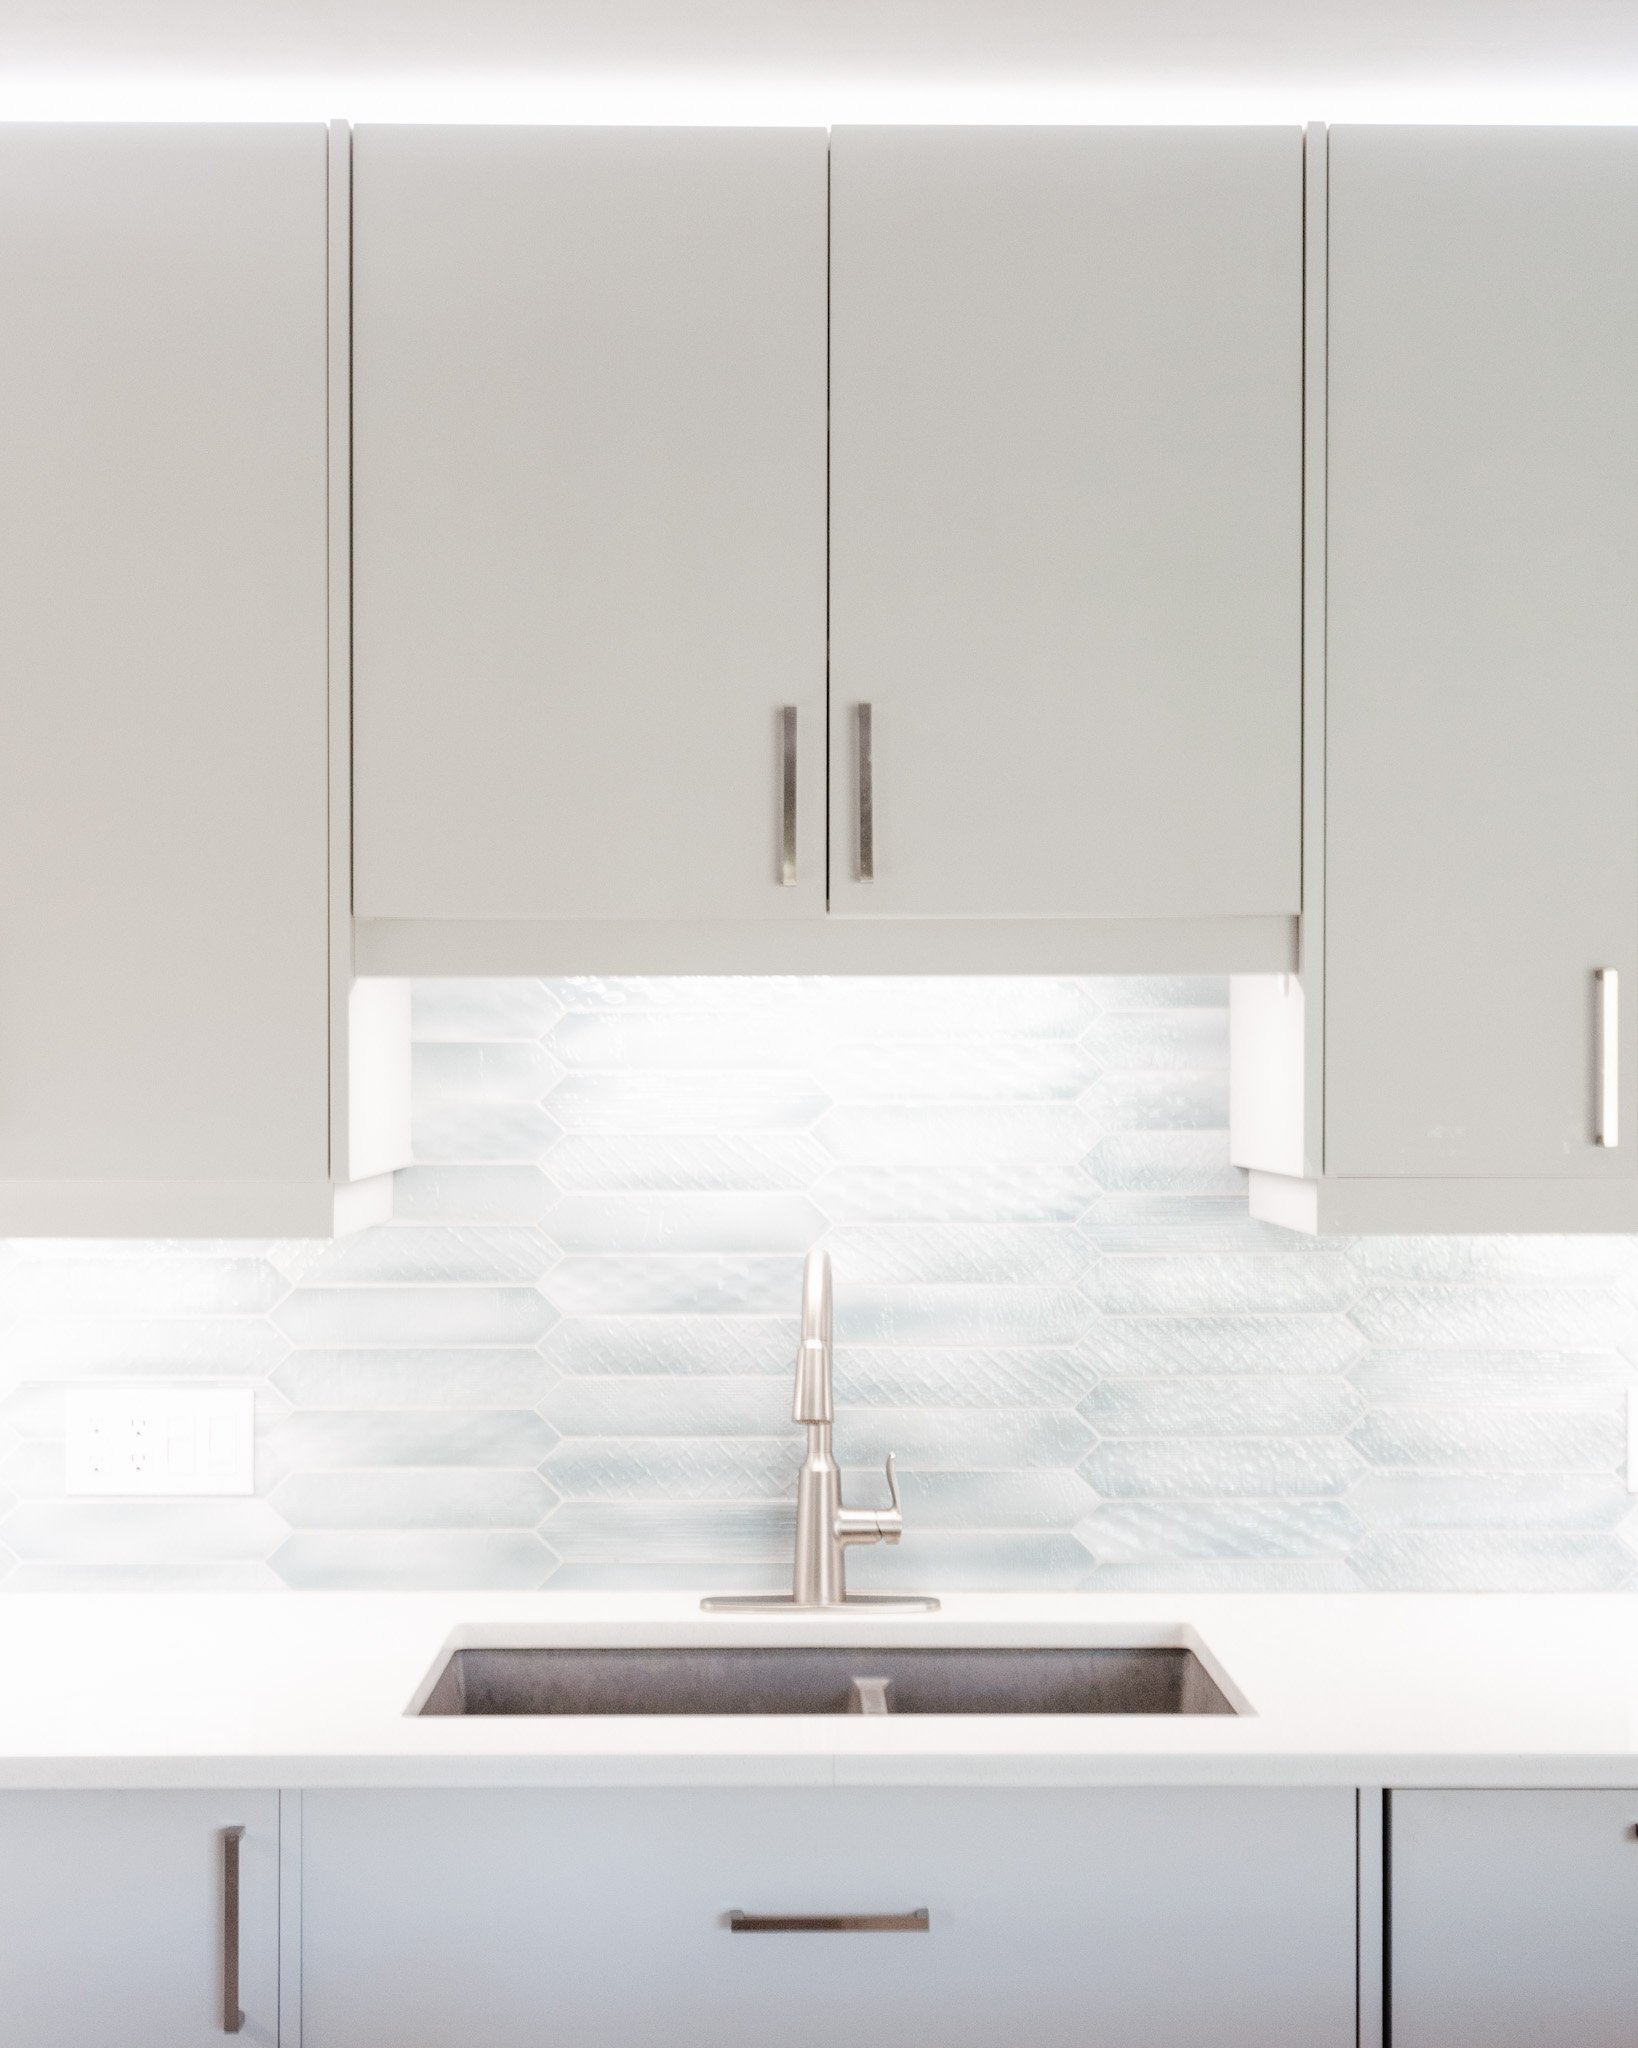
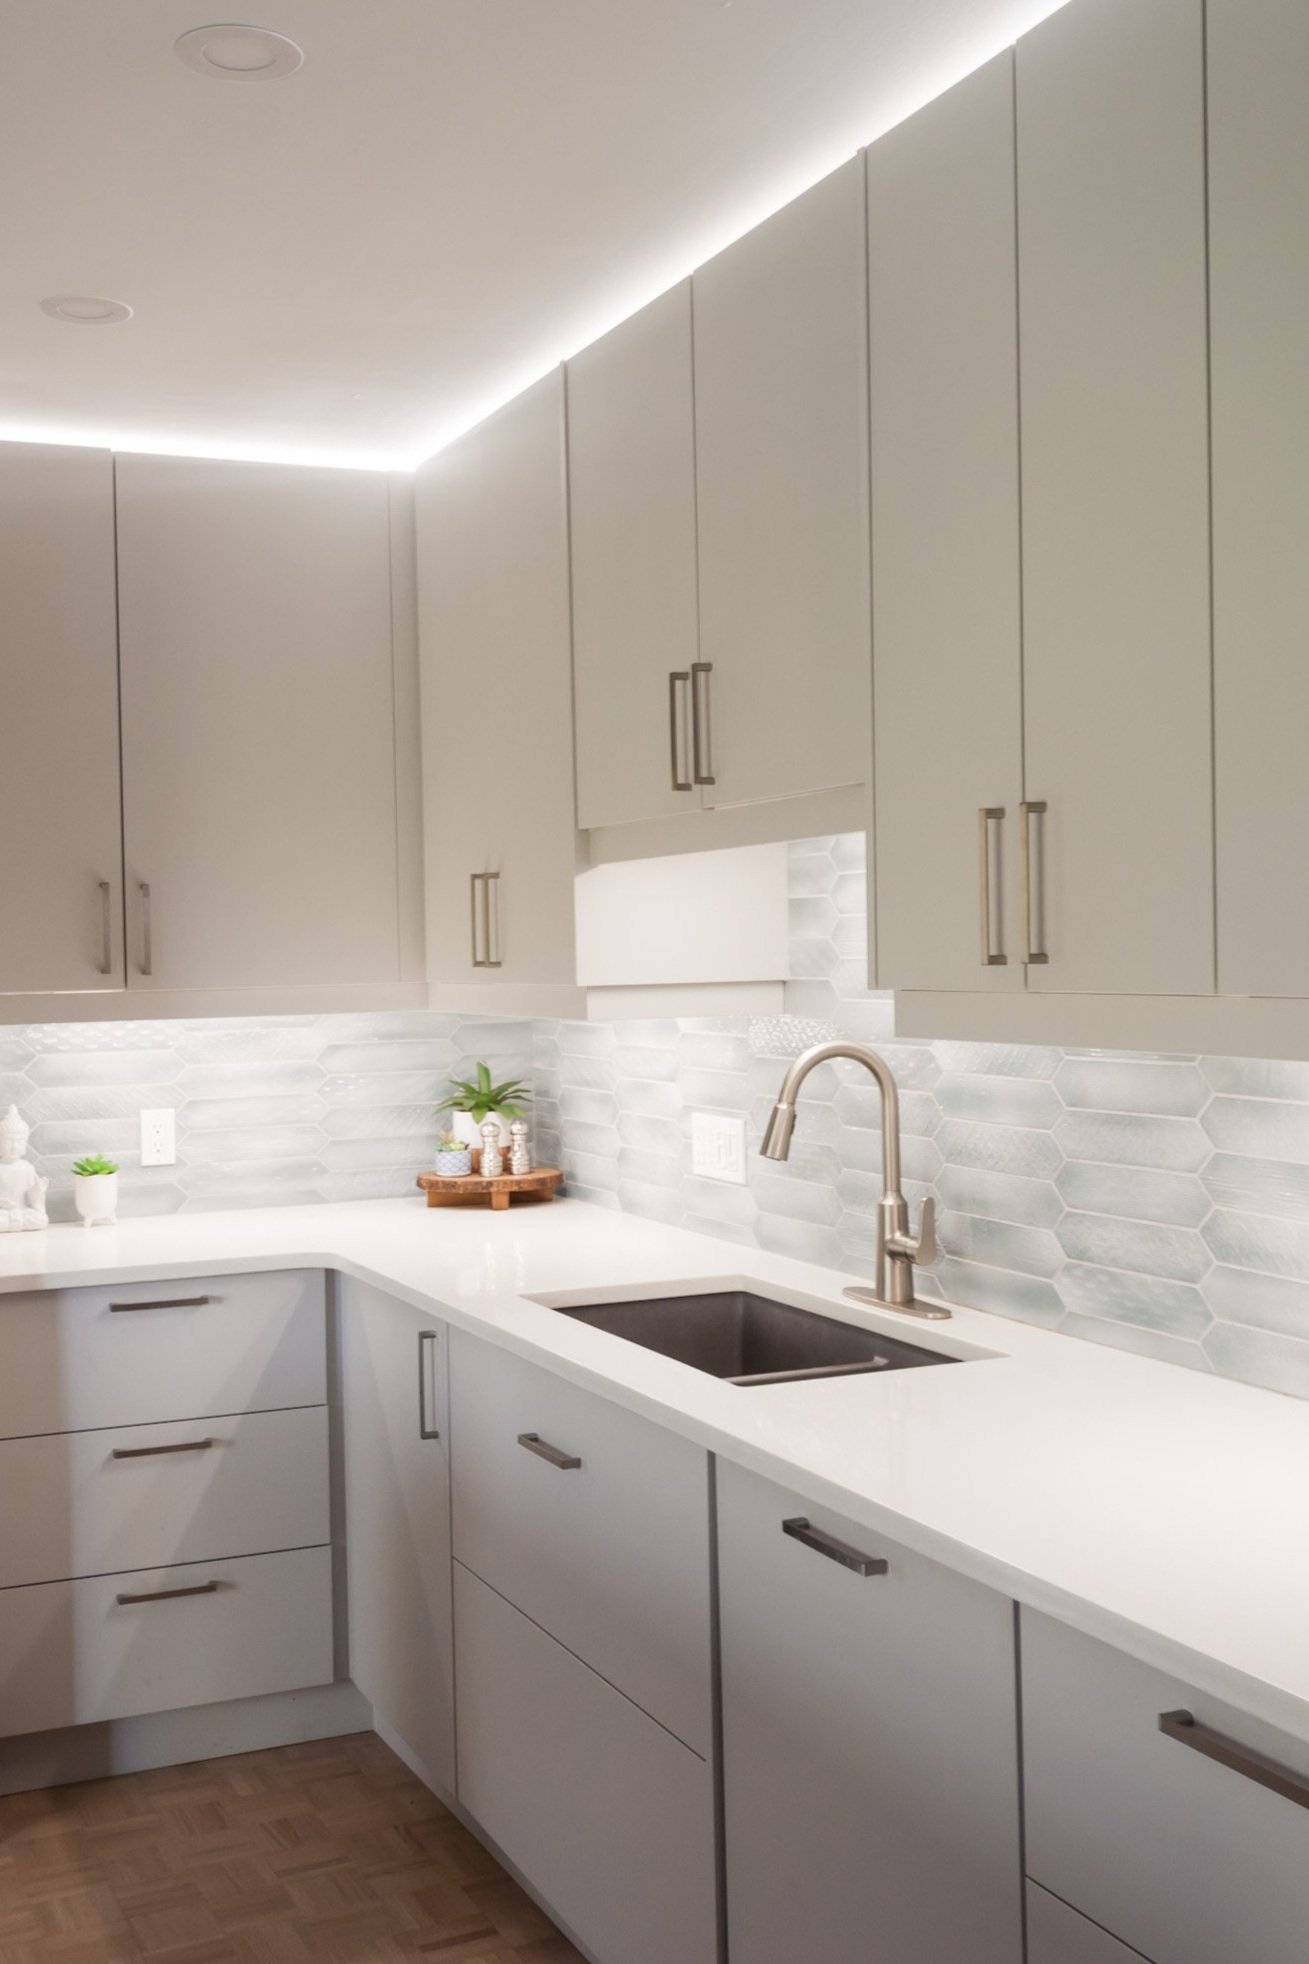
My clients prefer a more minimal, modern and clean look. Their original choice for painting the cabinetry was a light grey and that’s what we stuck with for the new cabinetry too (it is Kitch’s Perfect Sense Light Grey, which is no longer available). We also had chosen to do a dark blue feature on the window wall and wanted that blue repeated in the space. We considered a softer blue tile (which was the one they chose) as well as a bolder dark blue. We chose a classic white flecked quartz from Caesarstone and accented the space with brushed metals.

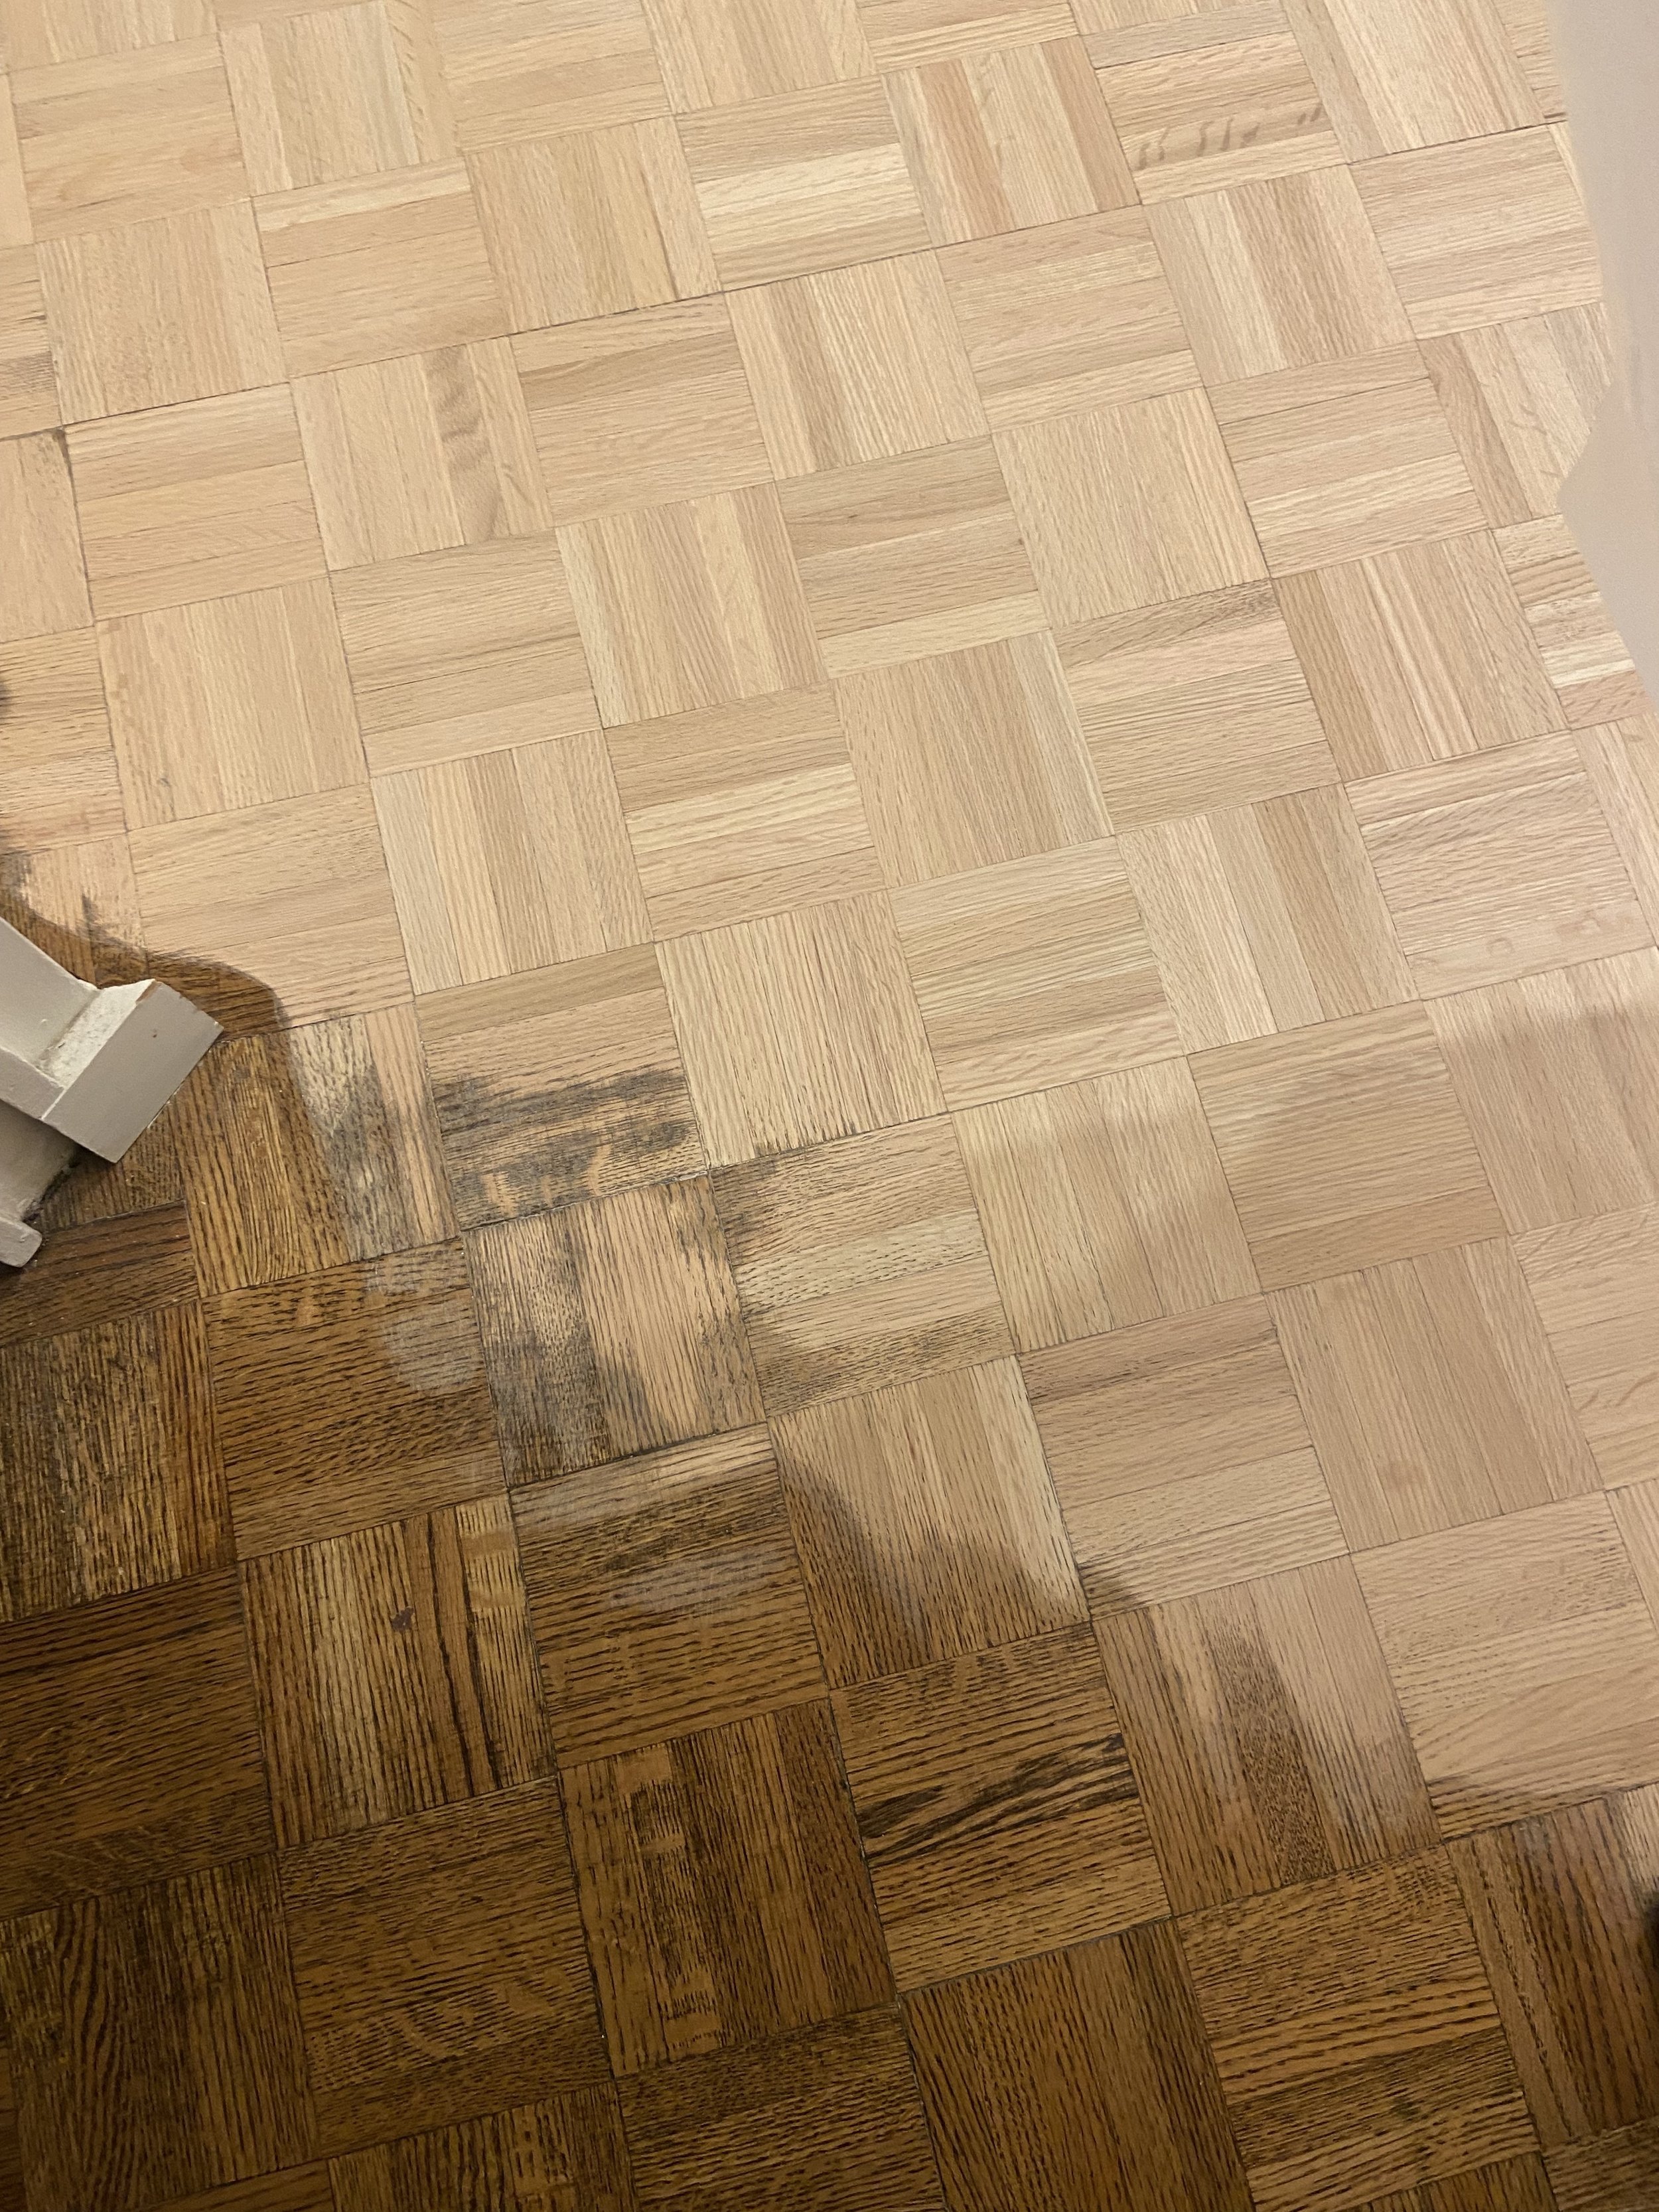
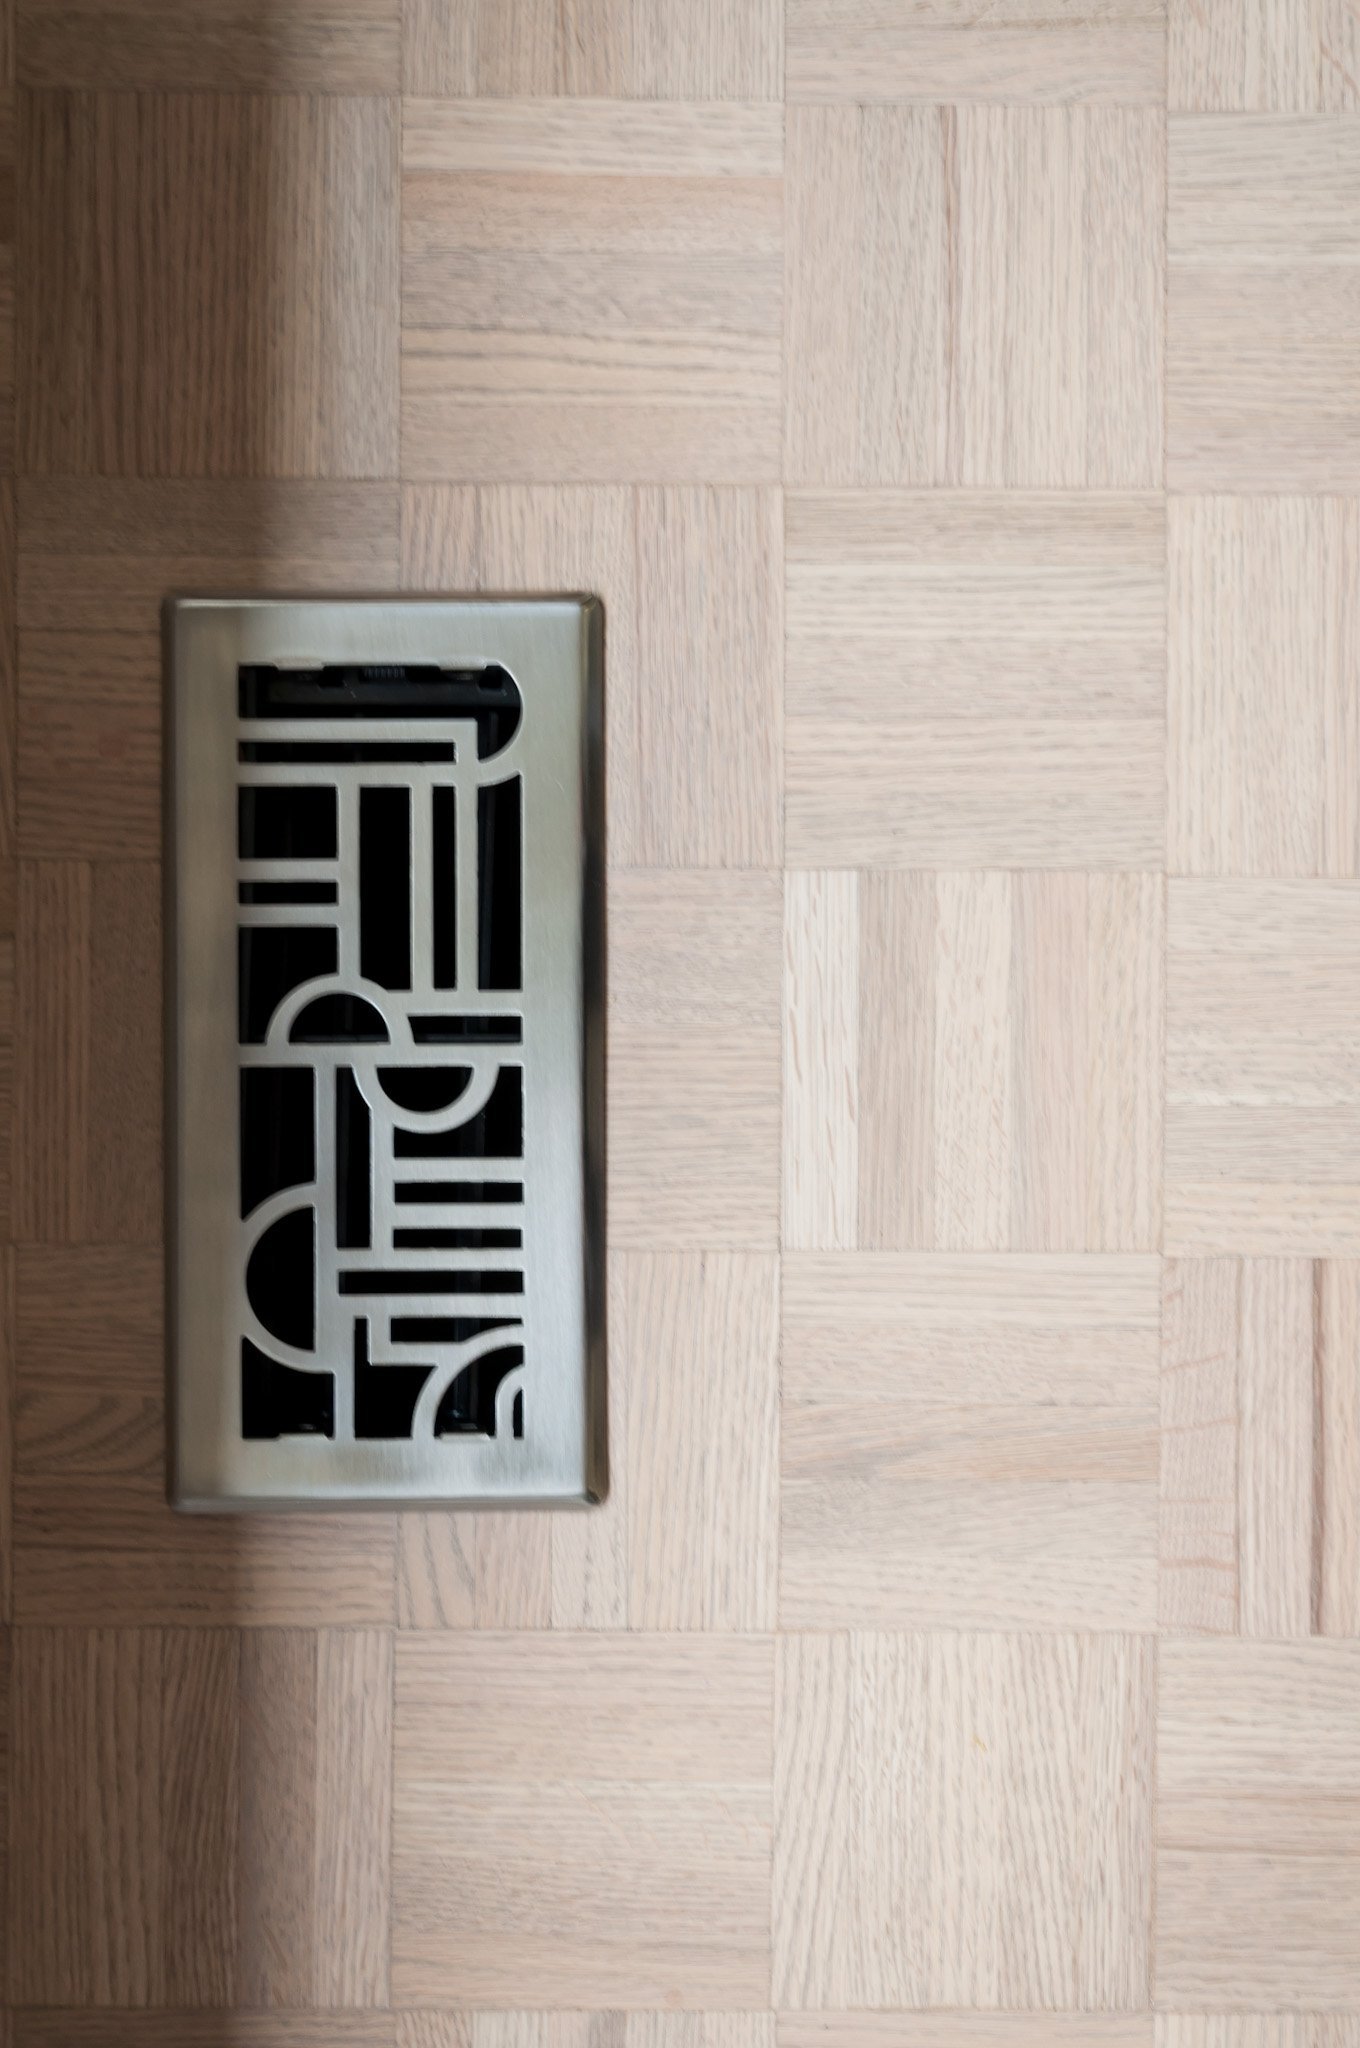
One recommendation that I’m so glad my clients decided to take was to keep the existing flooring and have it refinished. I absolutely love how it turned out.
Let the work begin
Since this project started a few months into COVID, the struggle to find IKEA cabinets was beginning to get difficult. My clients even made a trip down to Calgary when a couple of the missing ones came in stock there! But we managed to get everything we needed and away the renovation went!
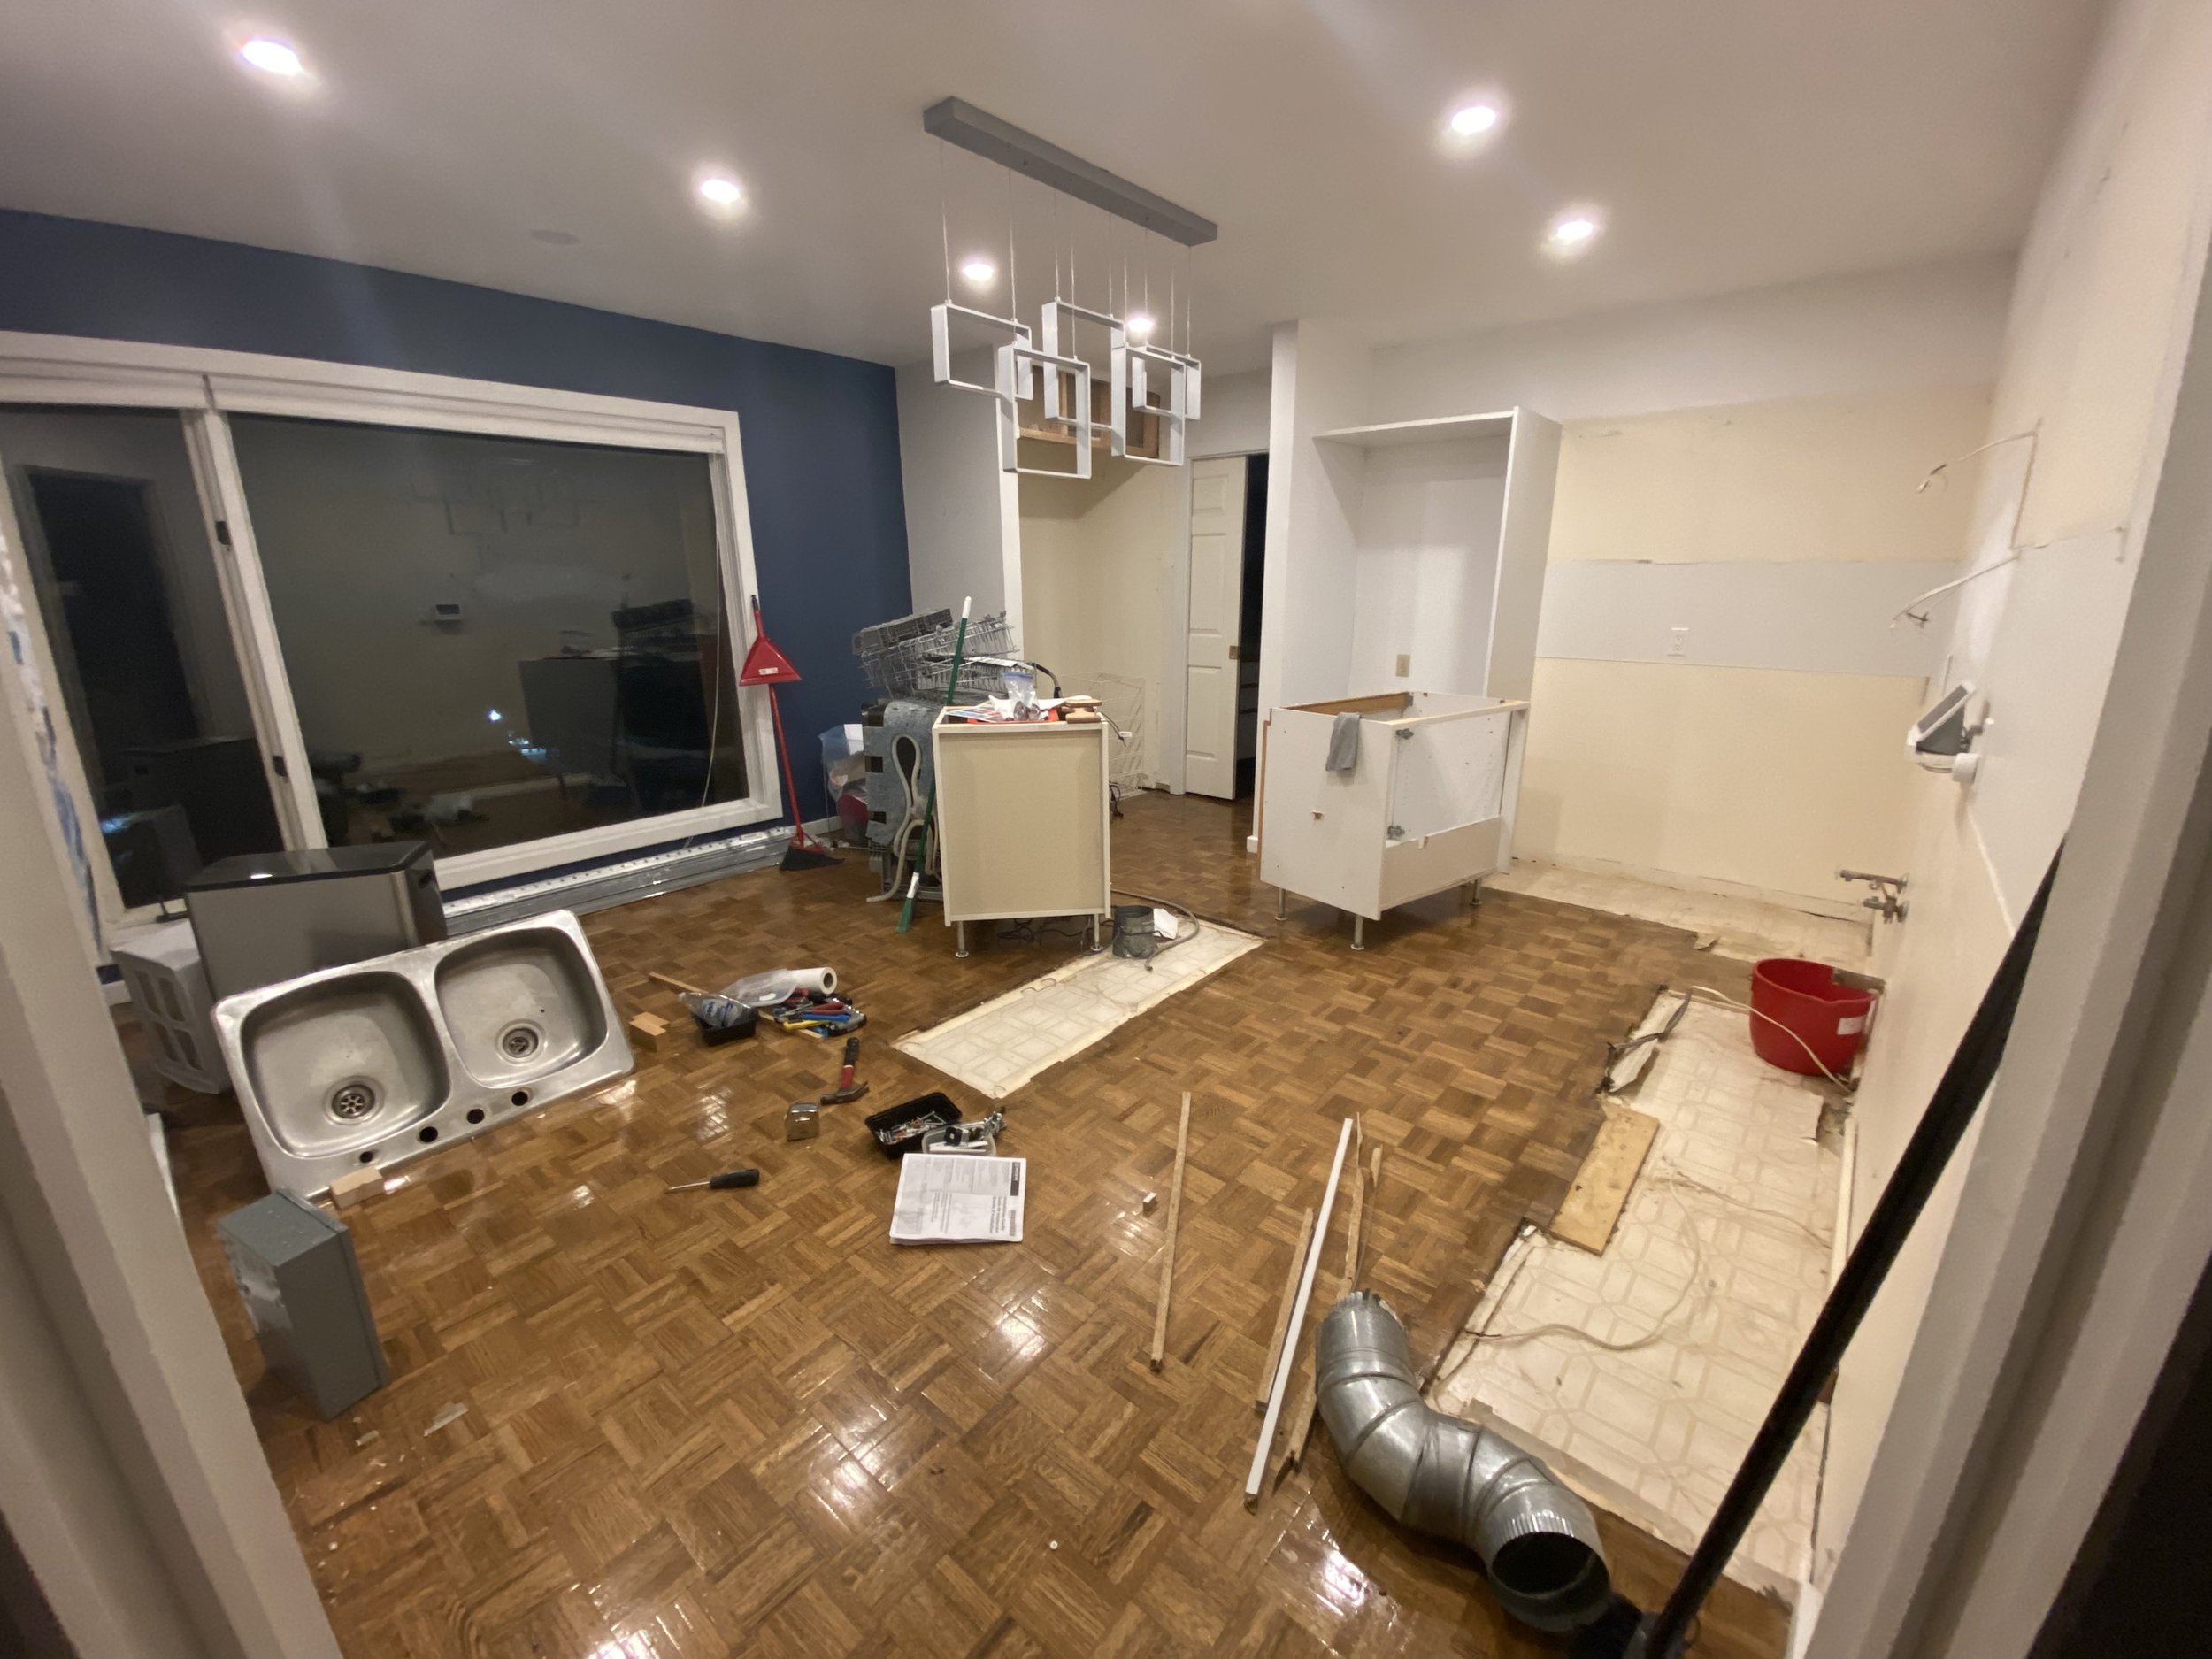
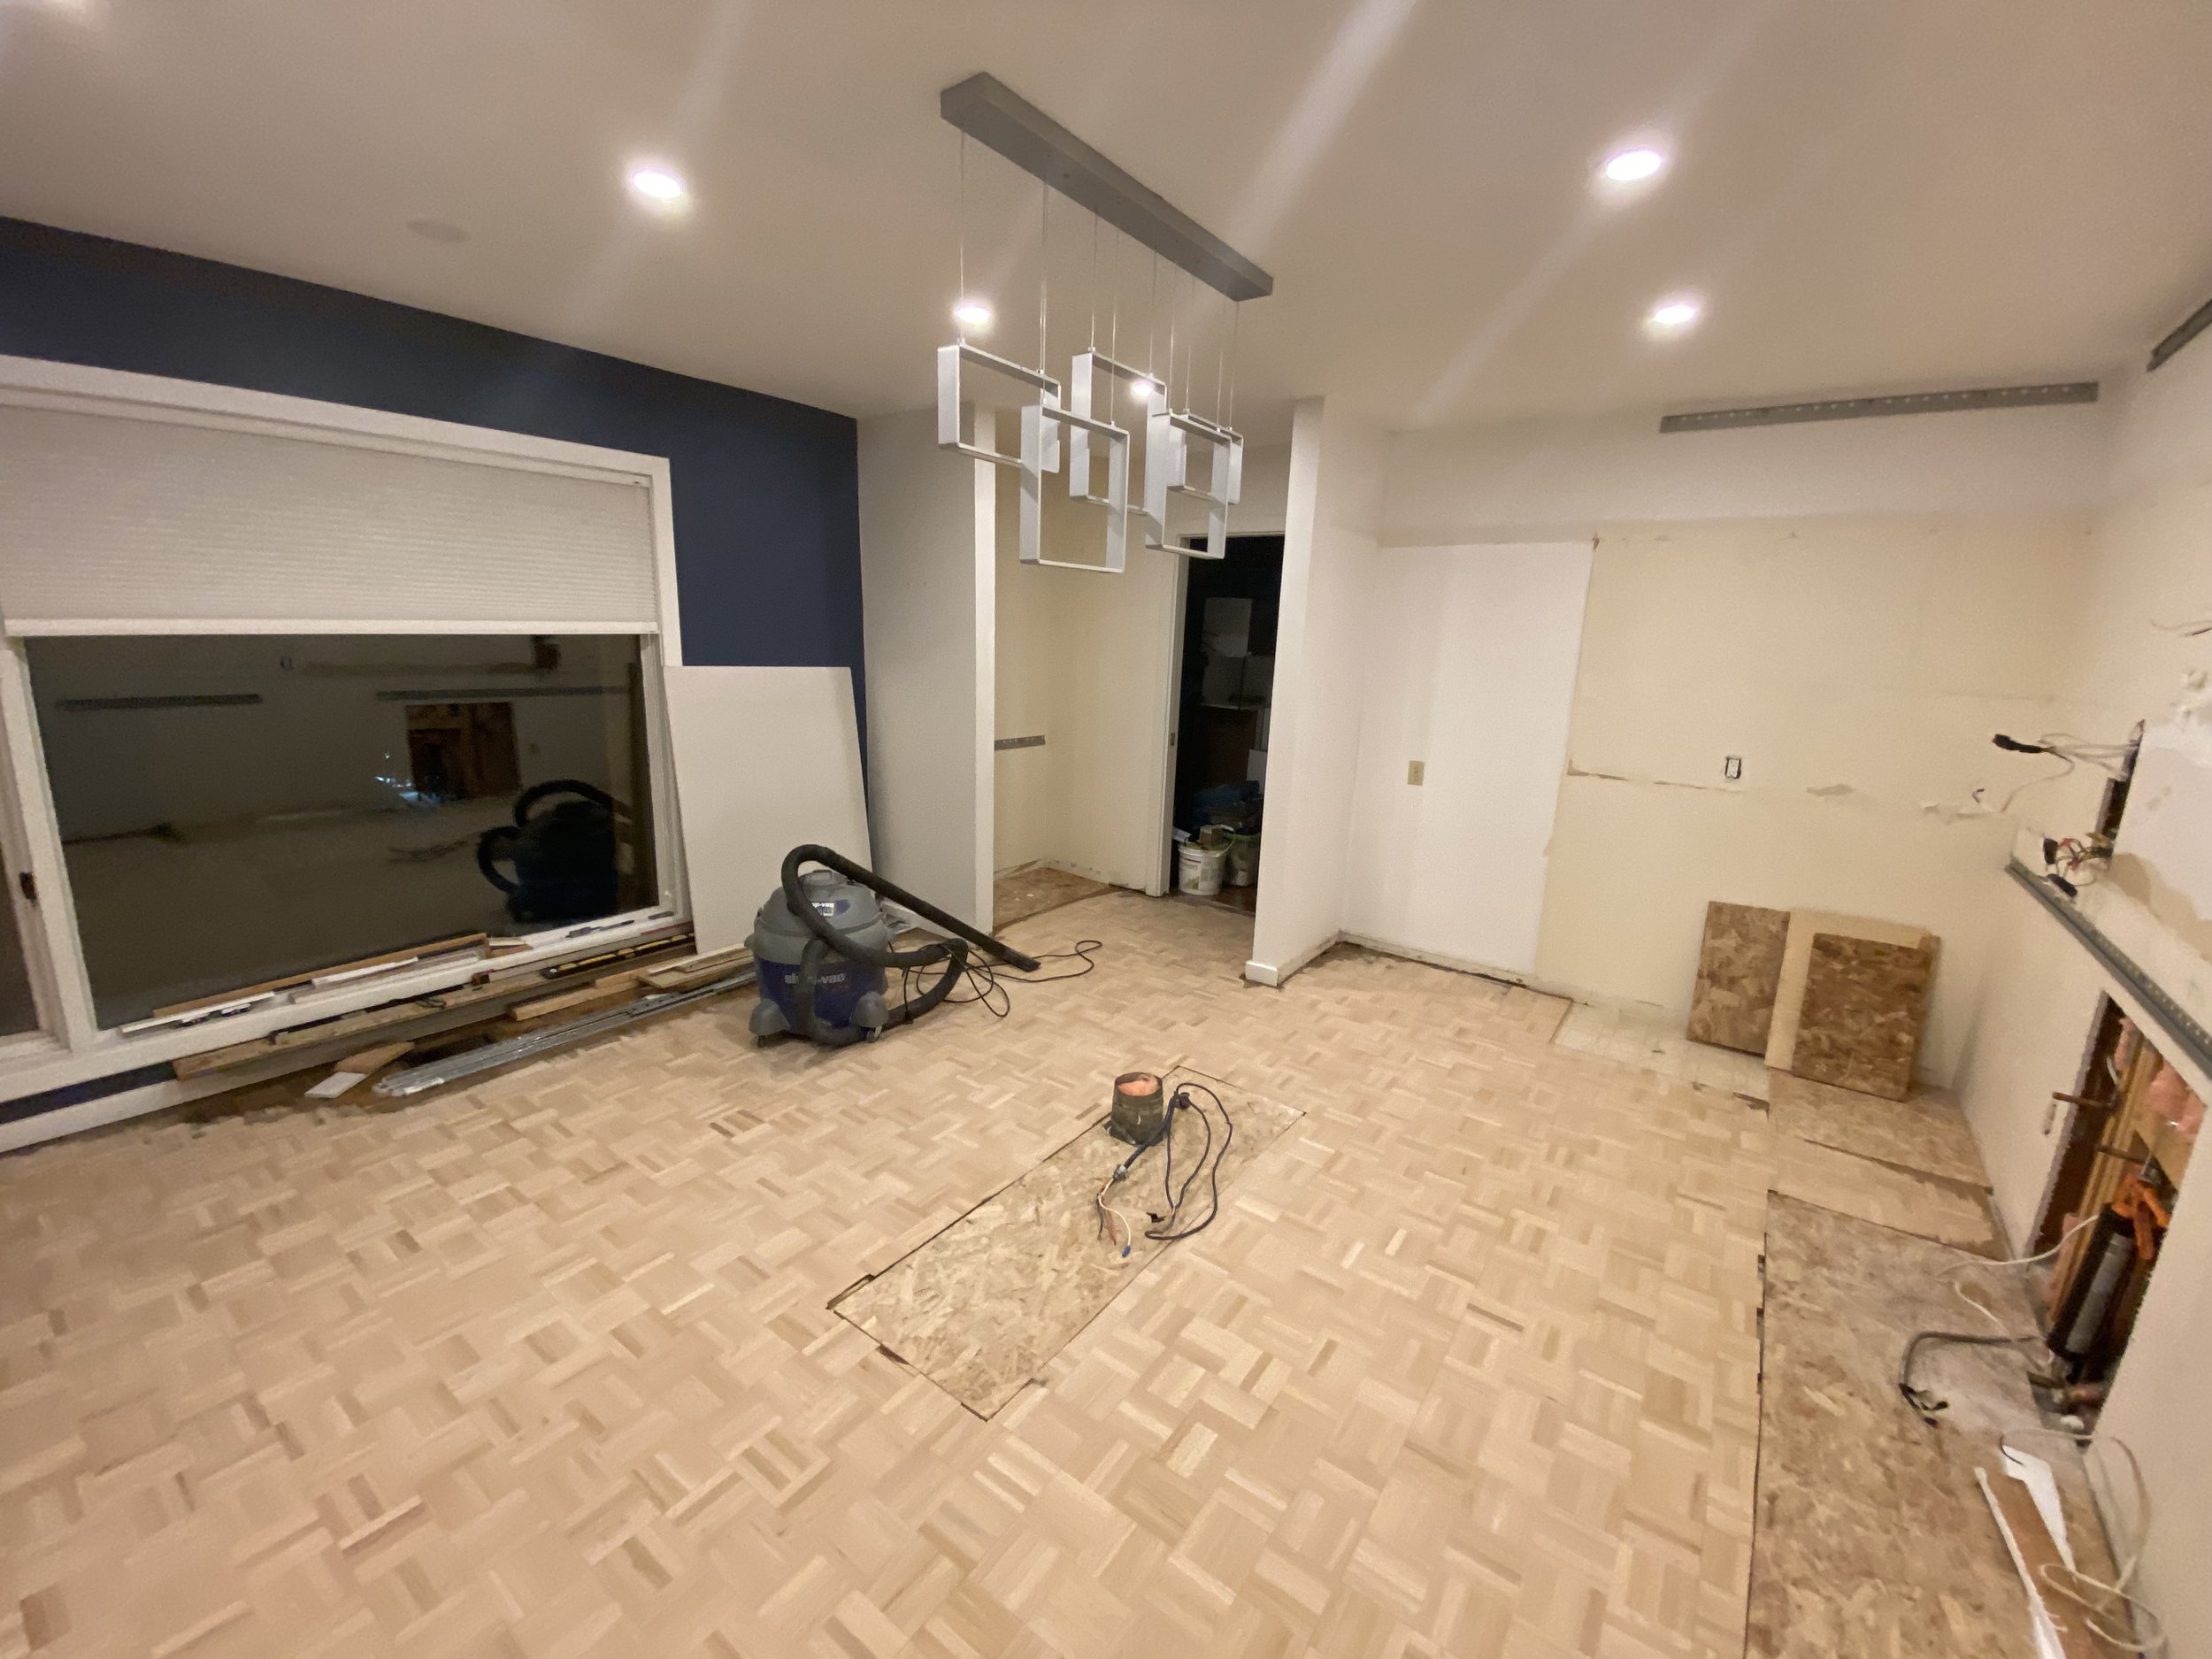
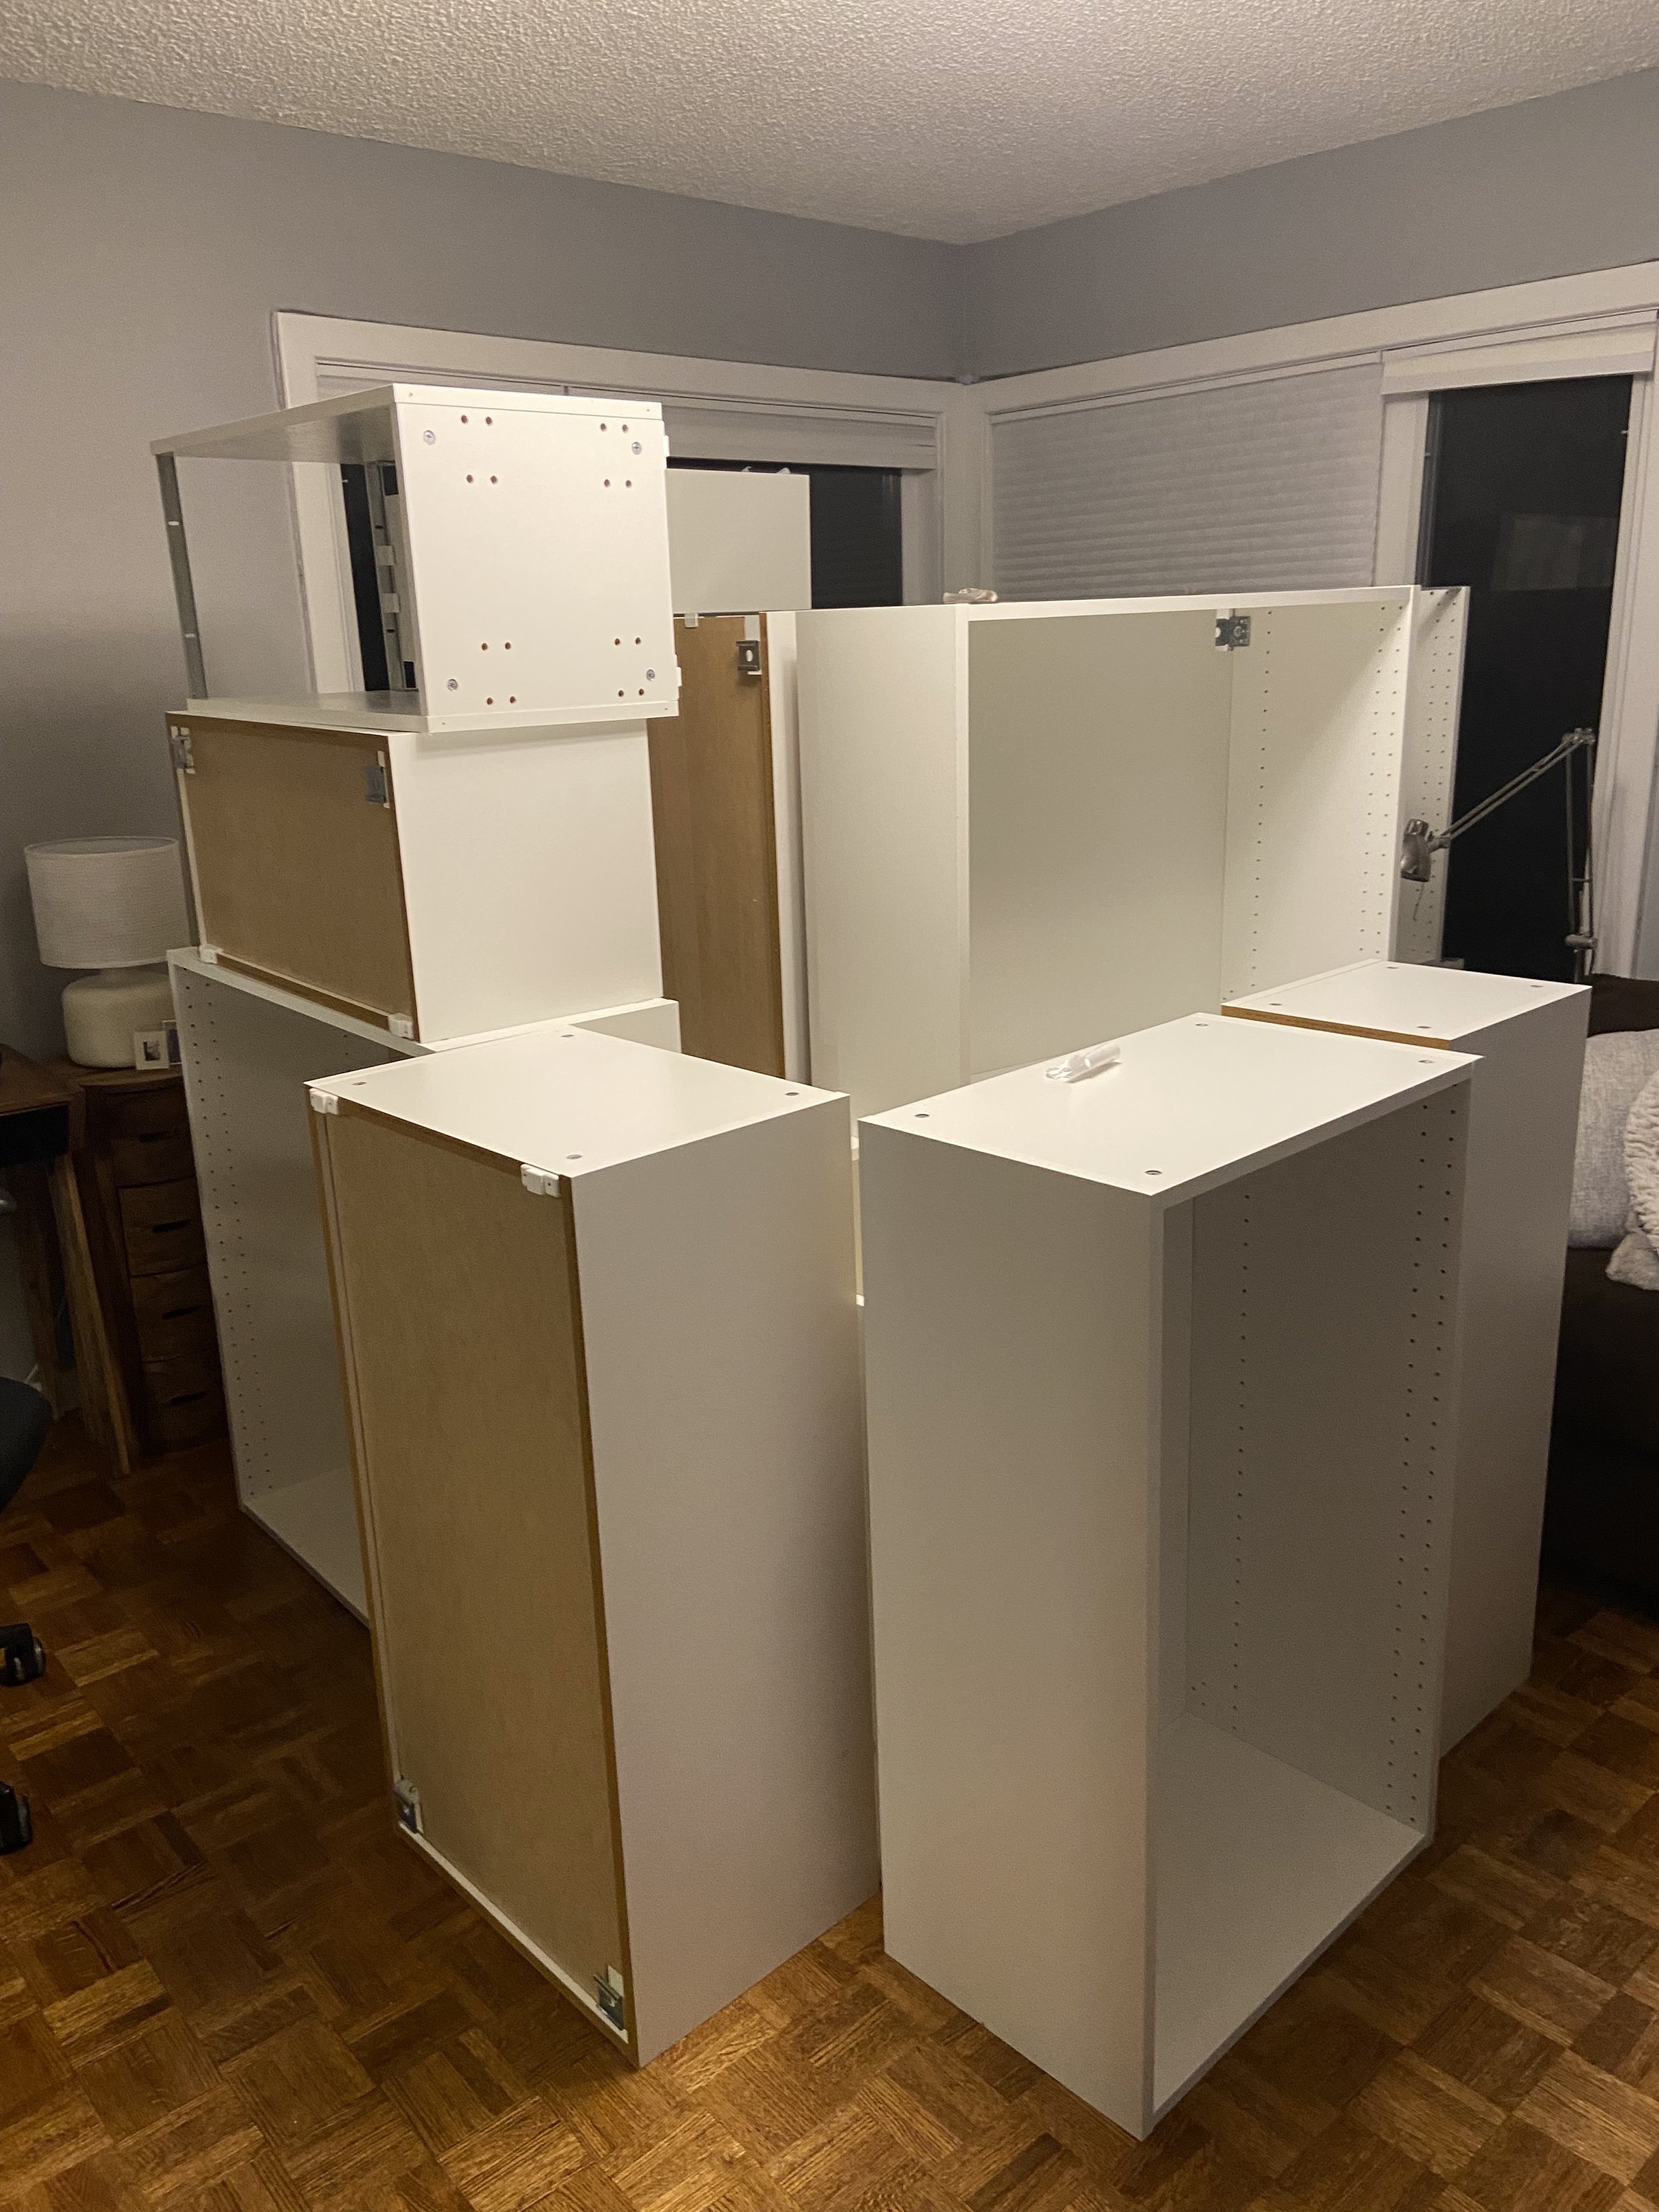
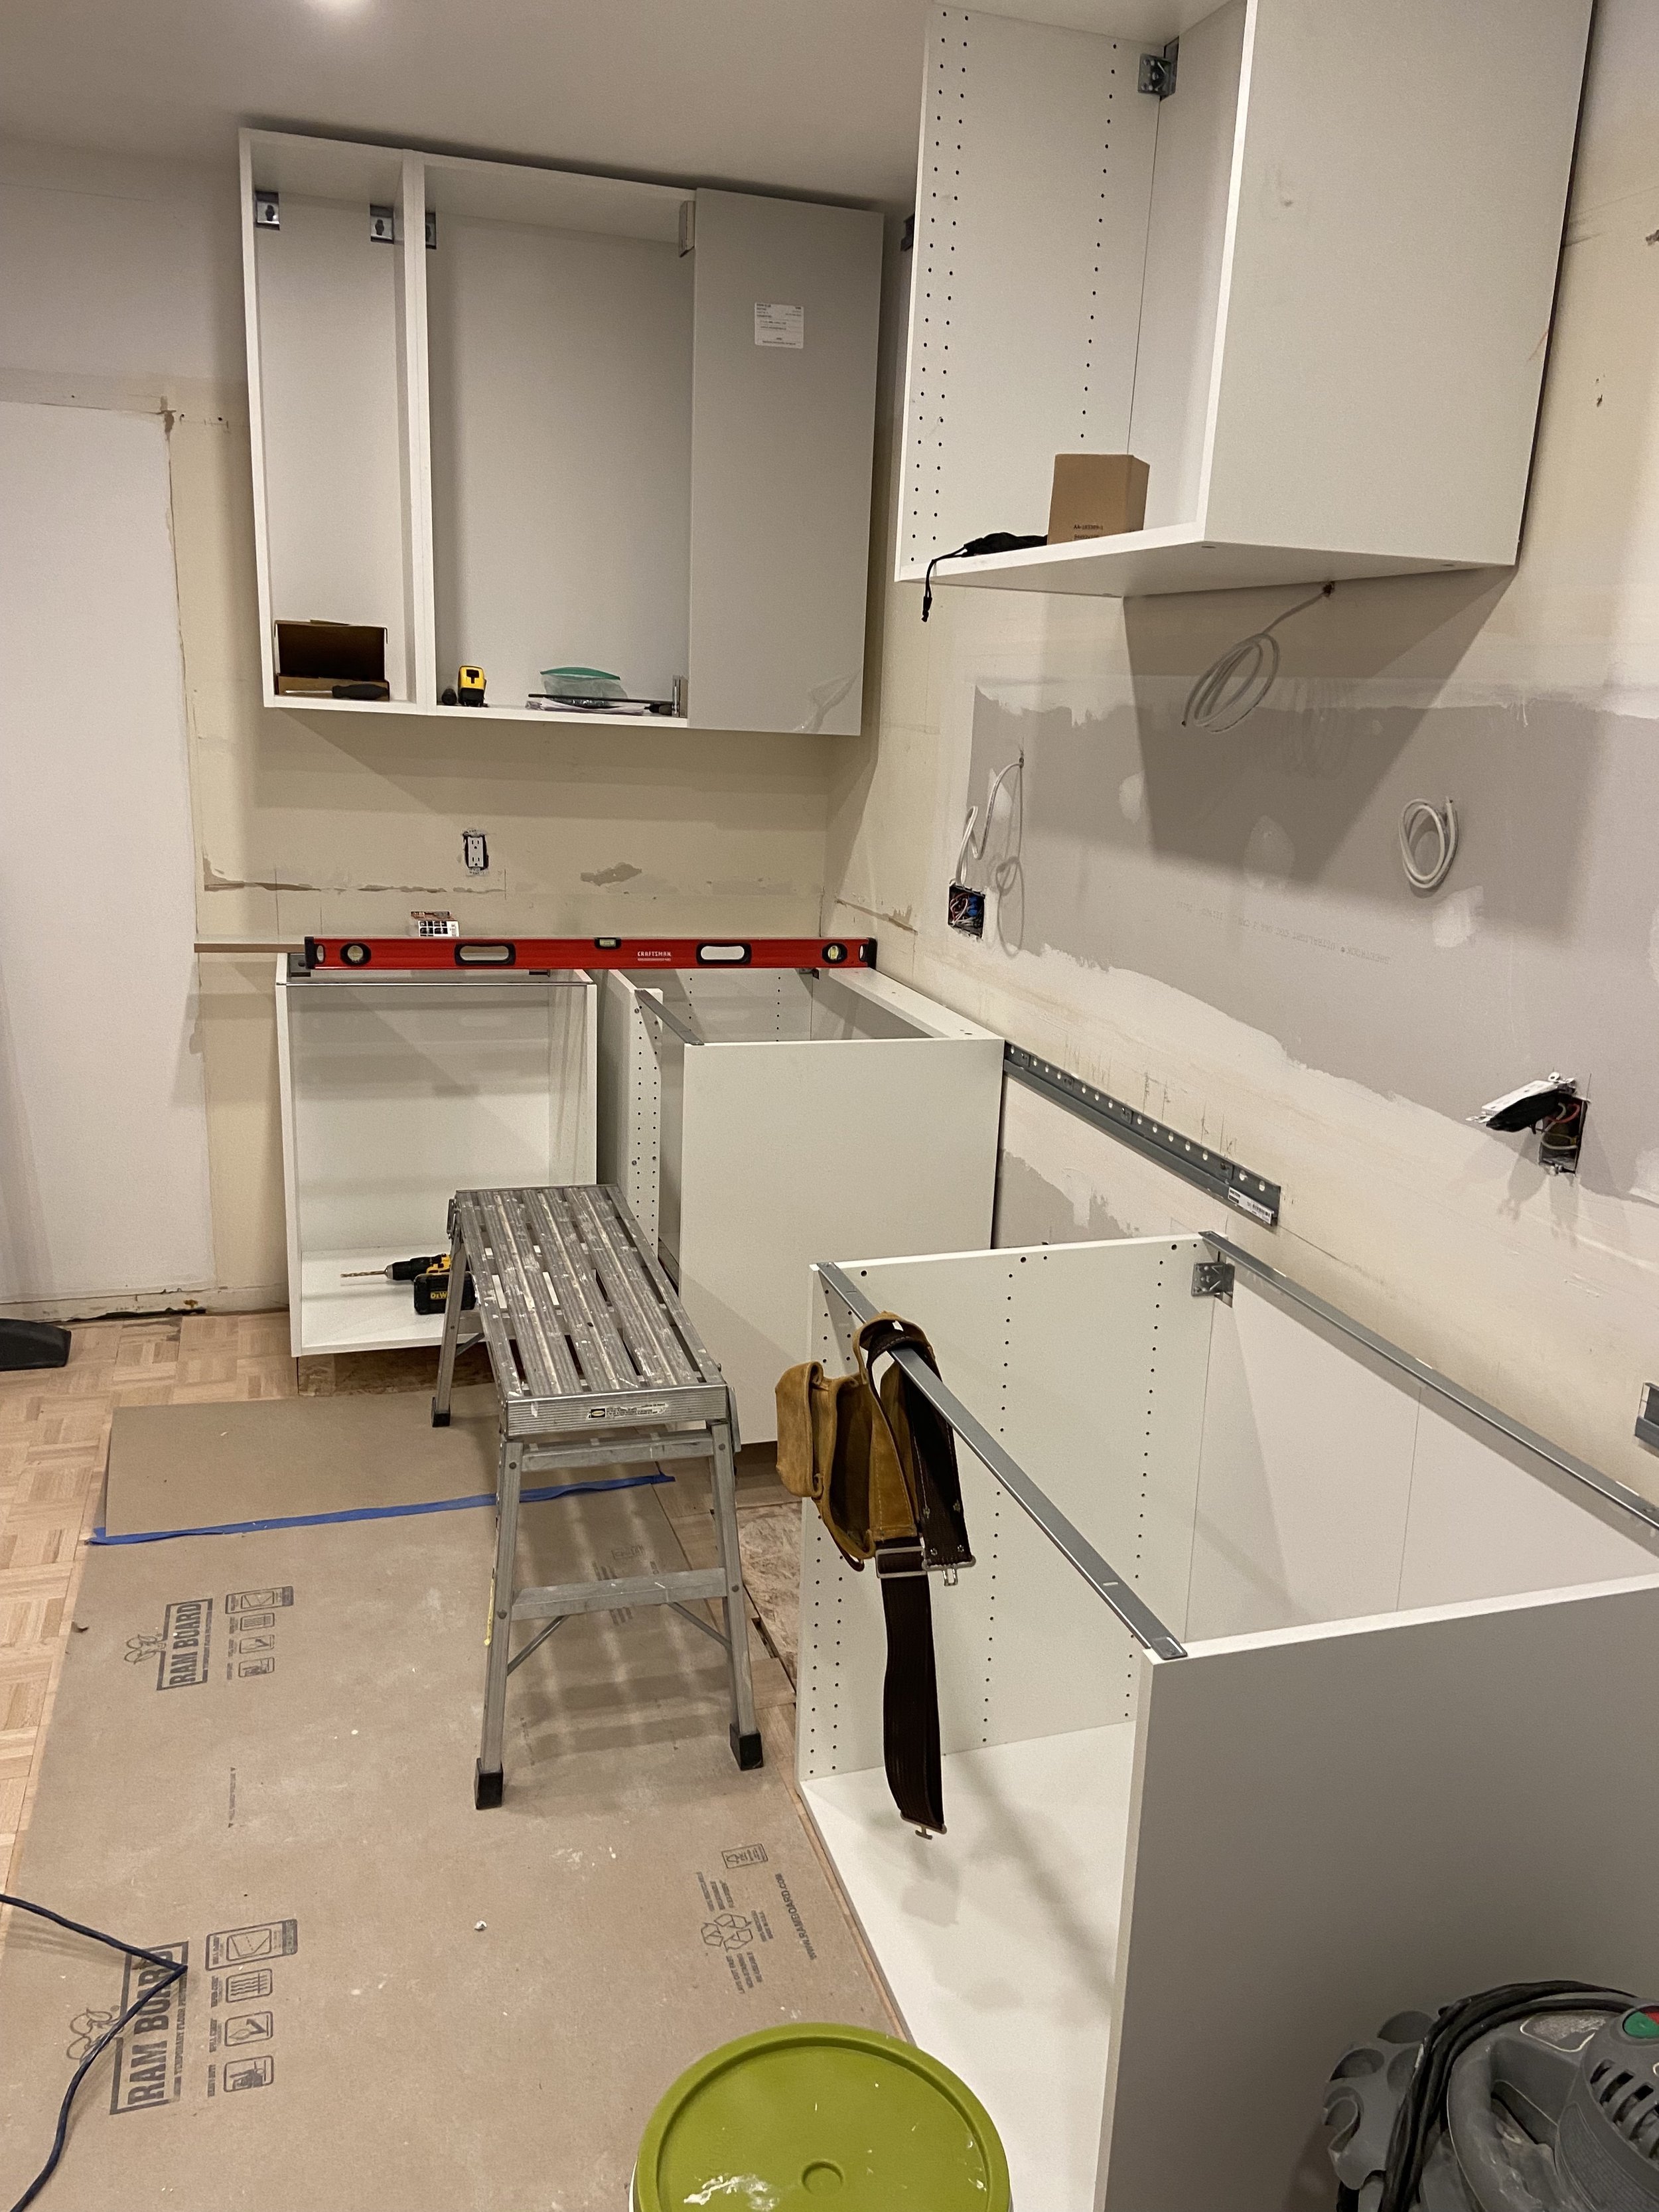
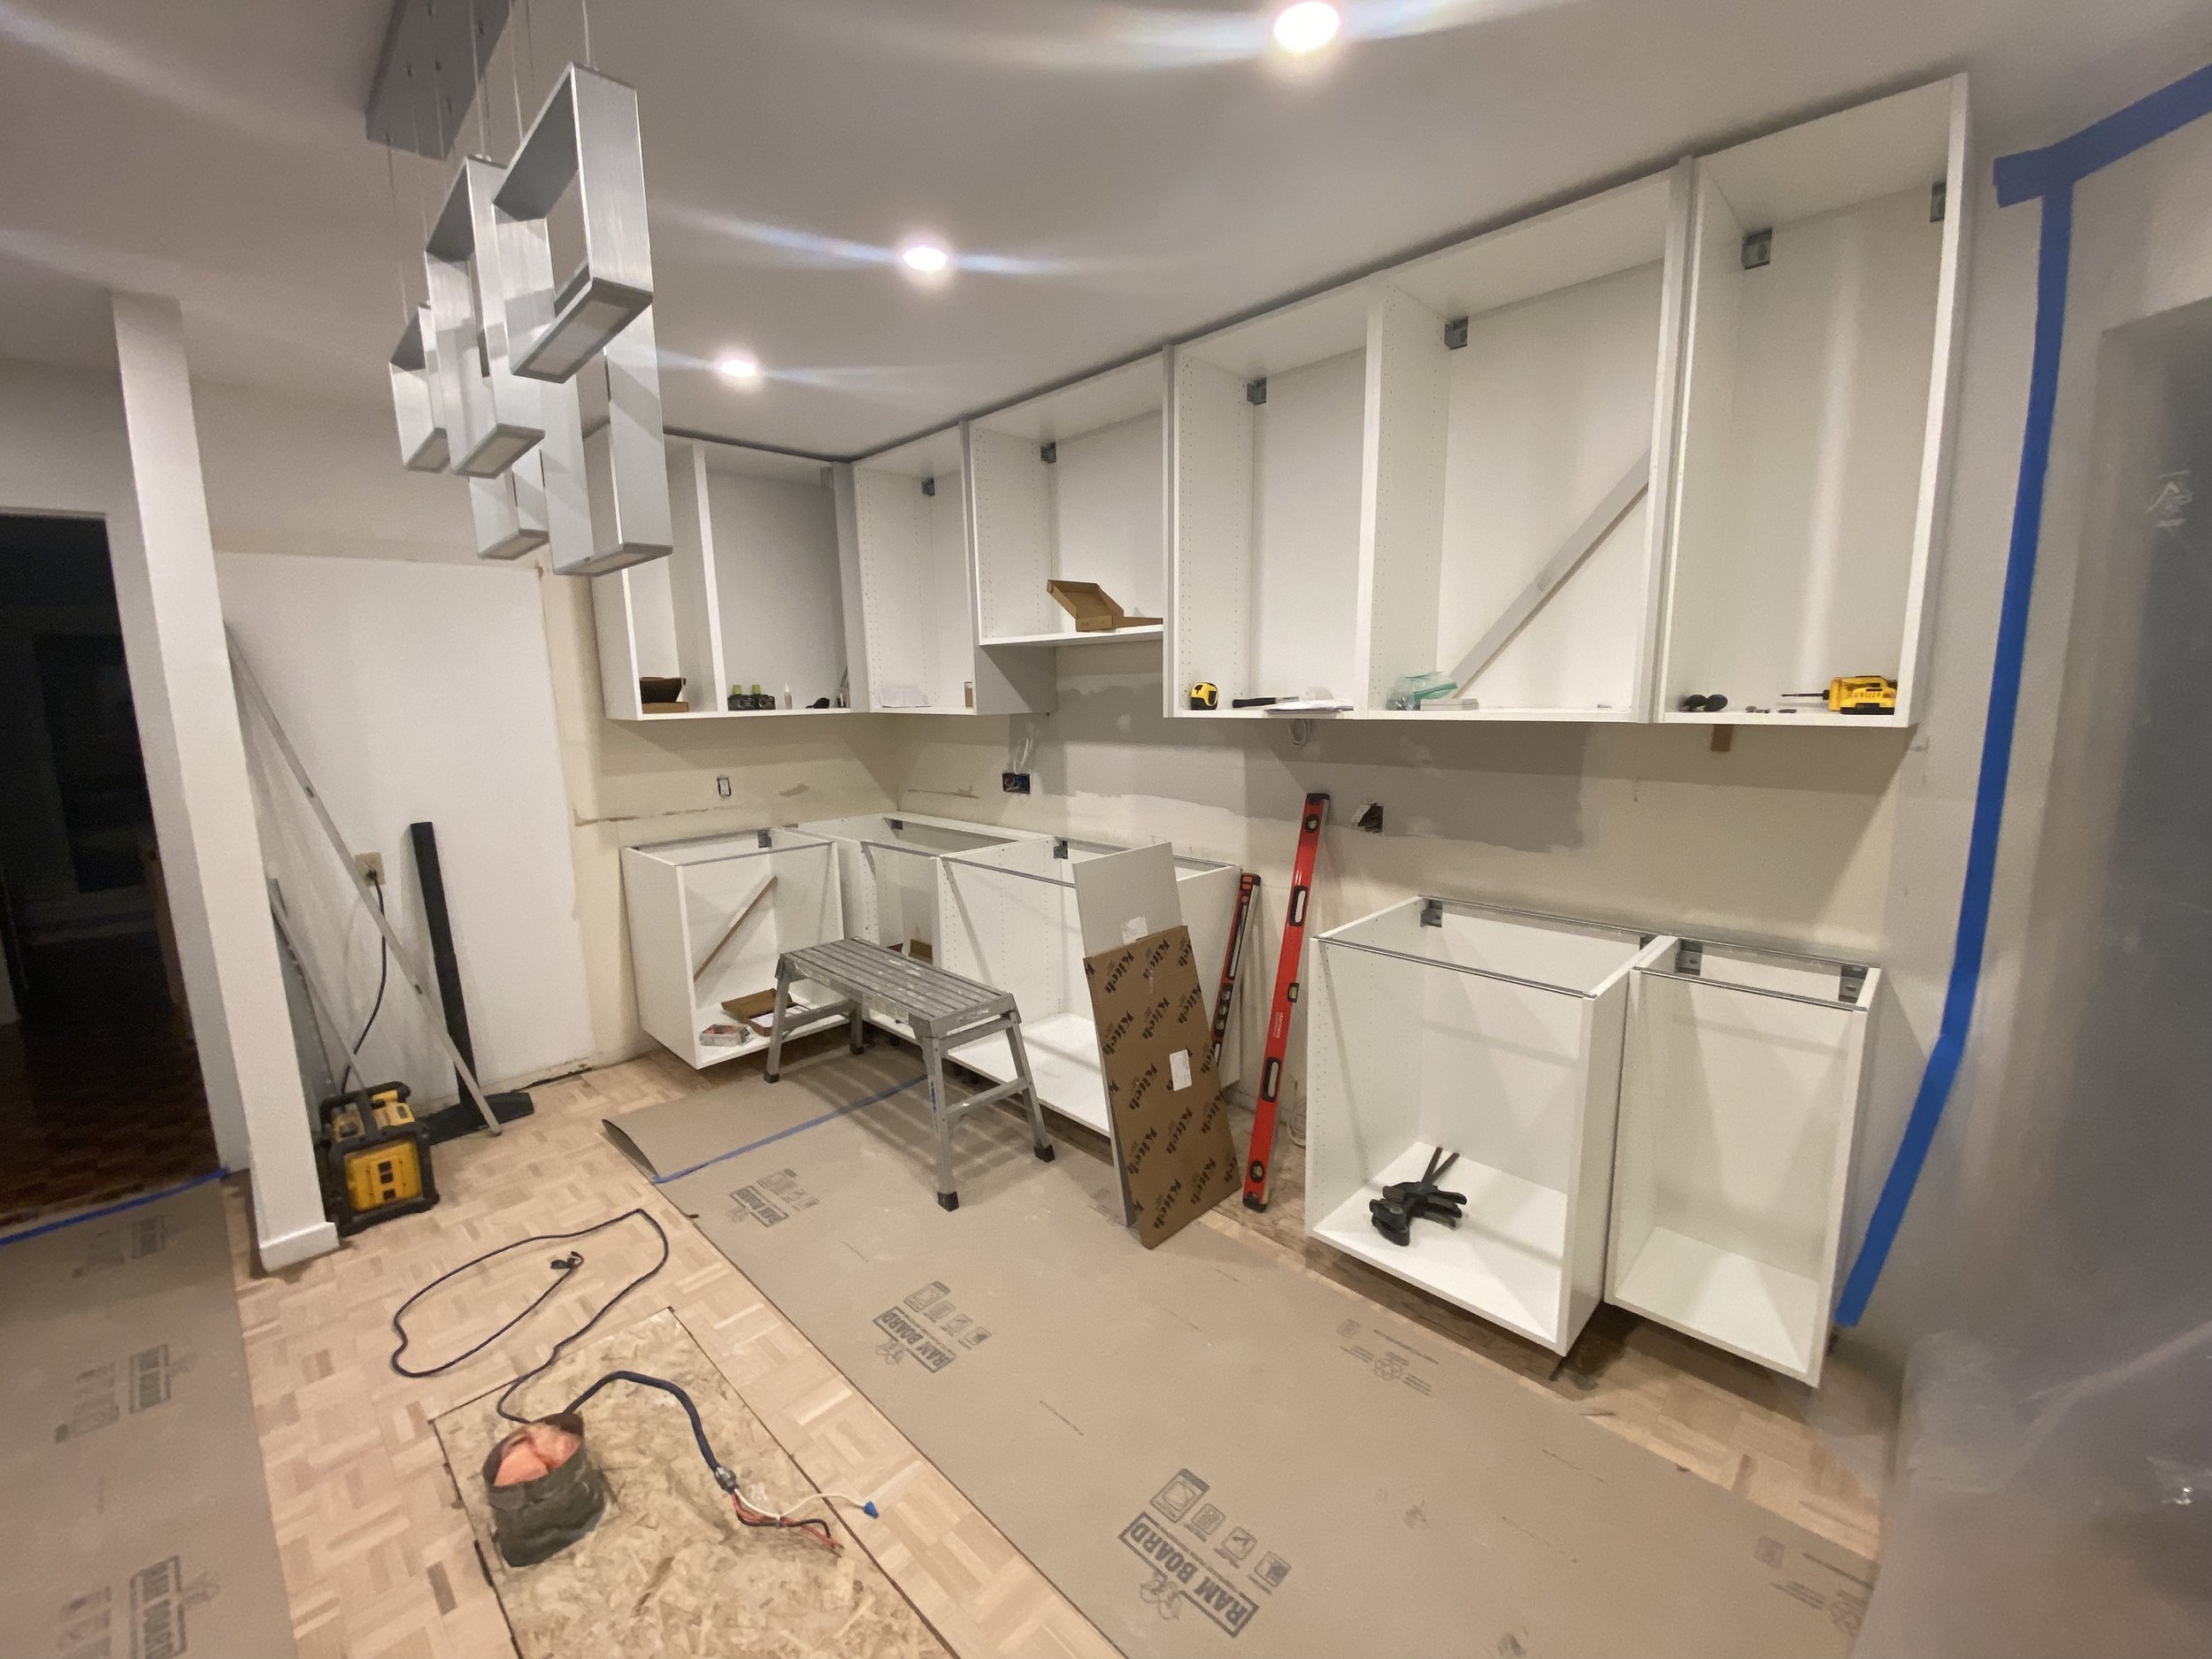
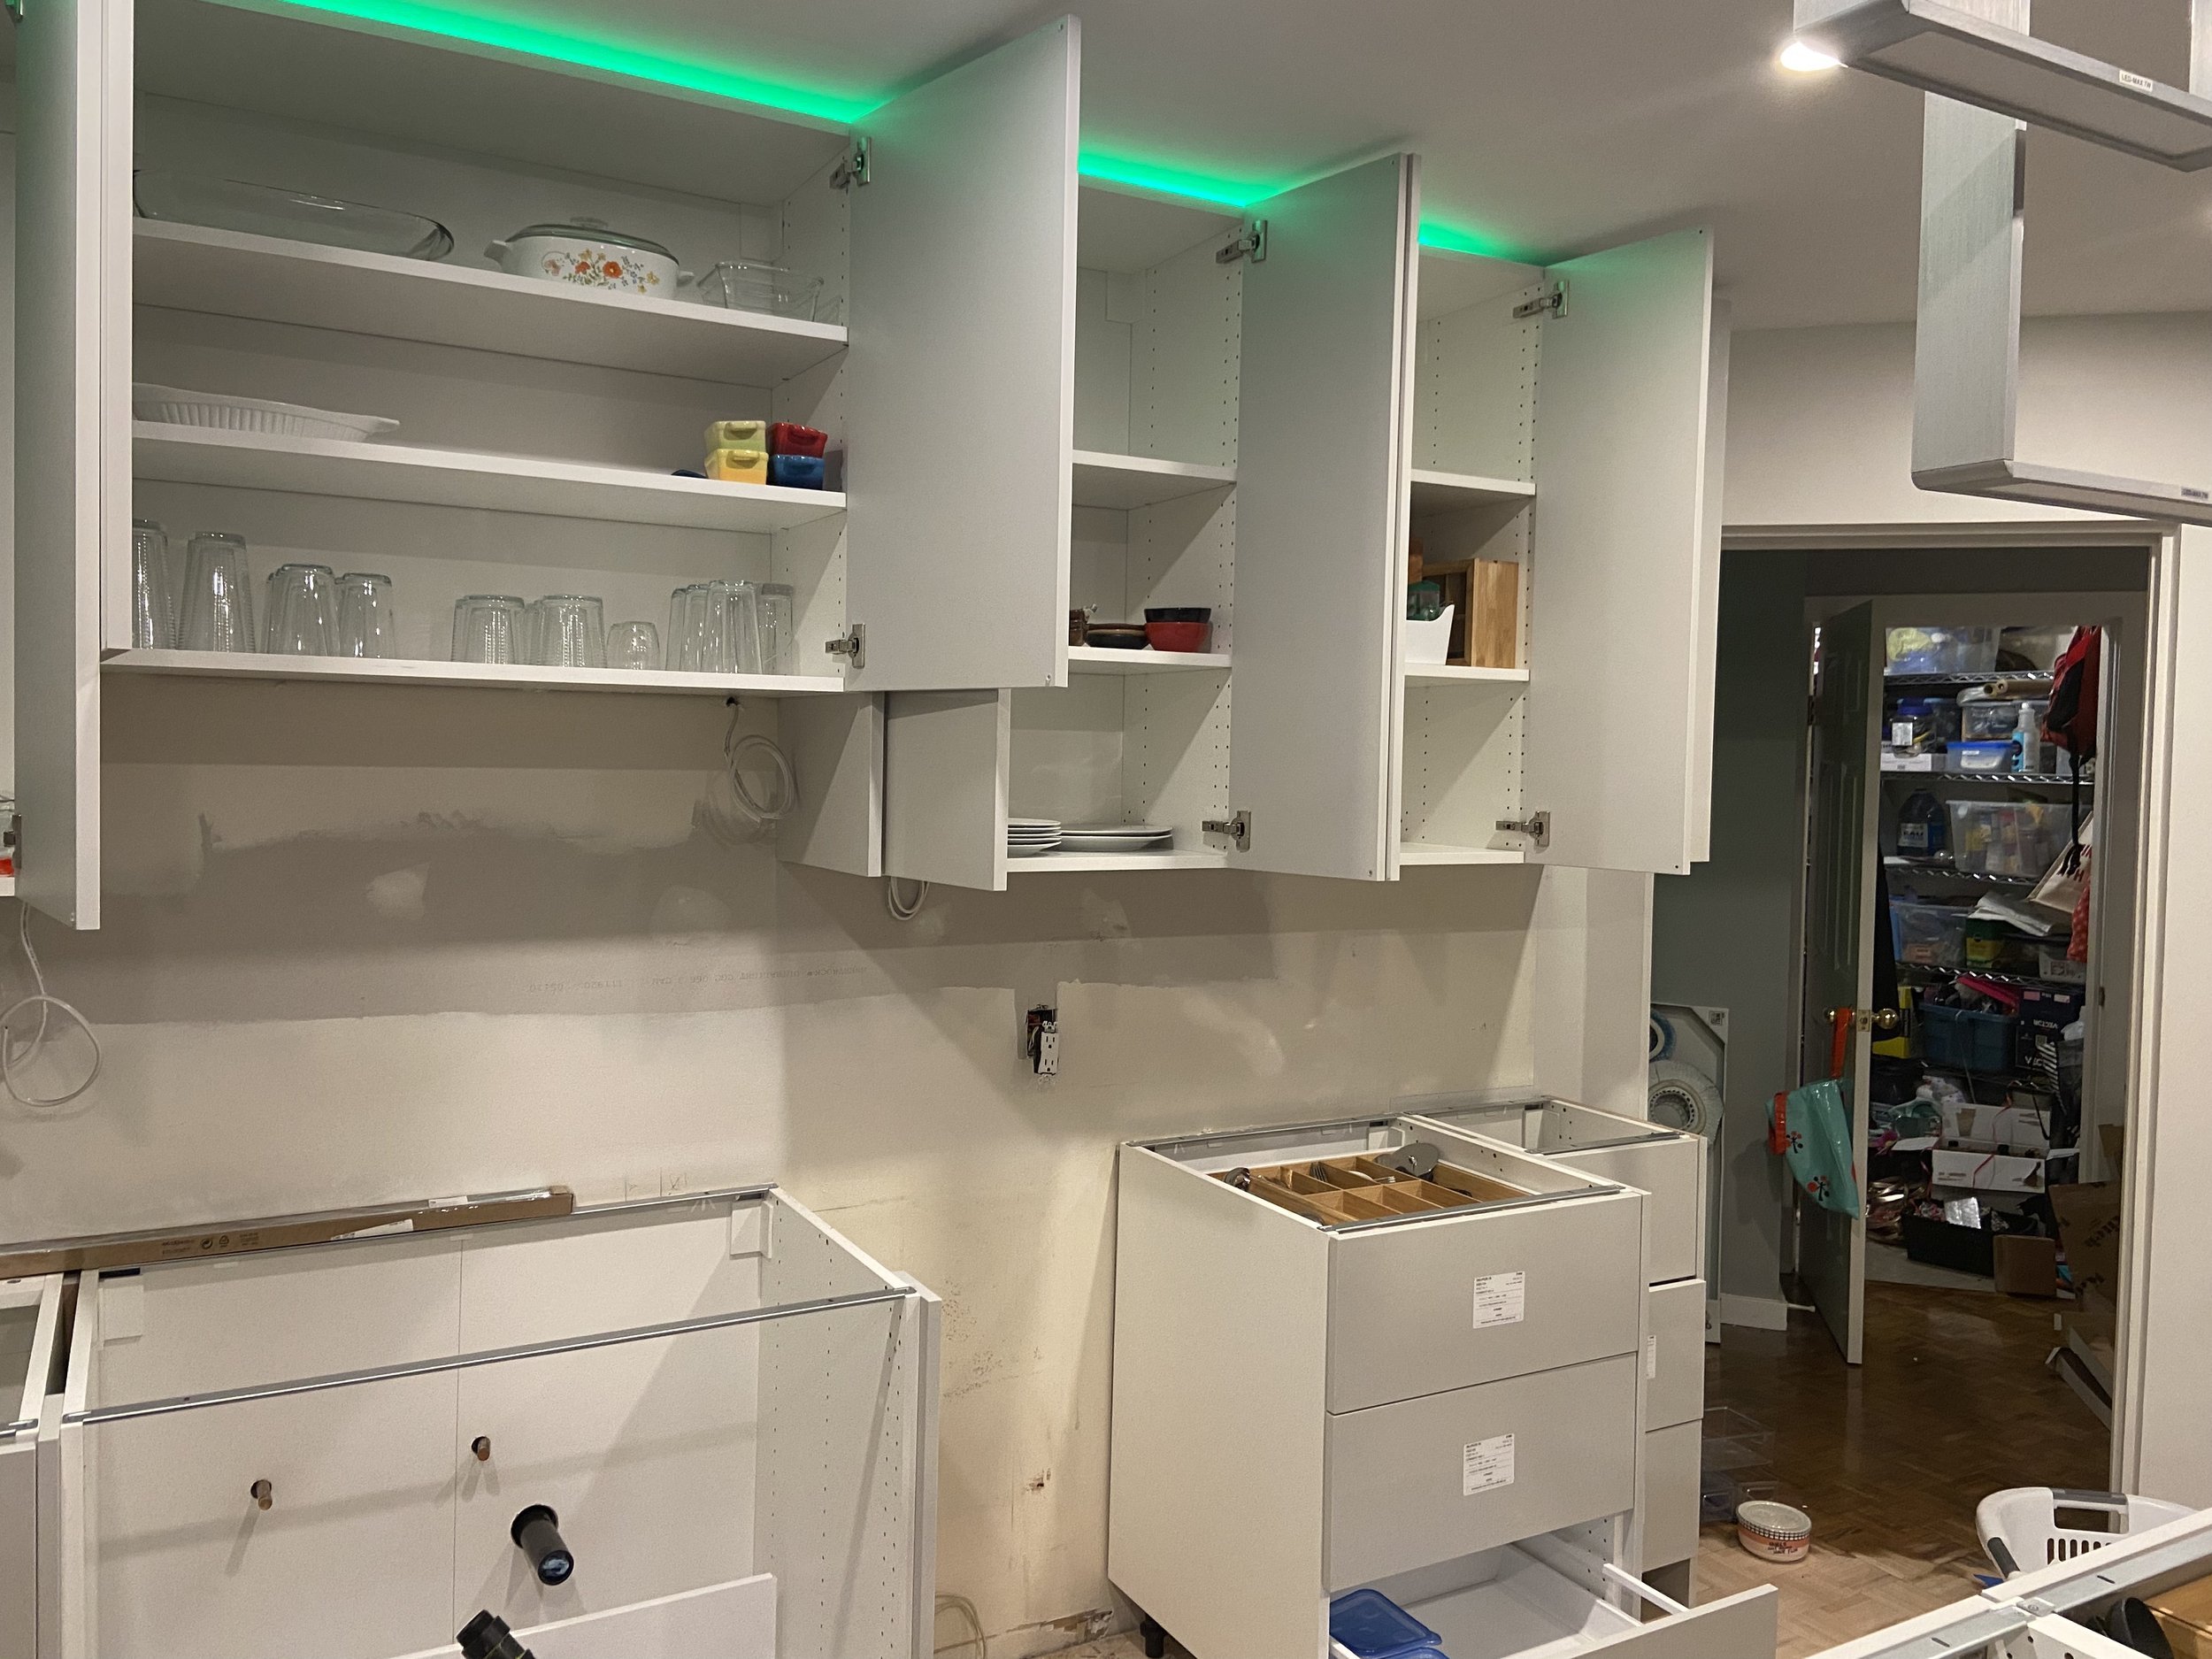
As far as renovations go, this one was fairly straightforward. There were a few plumbing and electrical items that had to be dealt with, along with some less than level walls. But nothing too major. My clients were also quite hands on, helping out by building the cabinetry, installing the doors and drawers once the frames were installed and installing the handles!
The end result
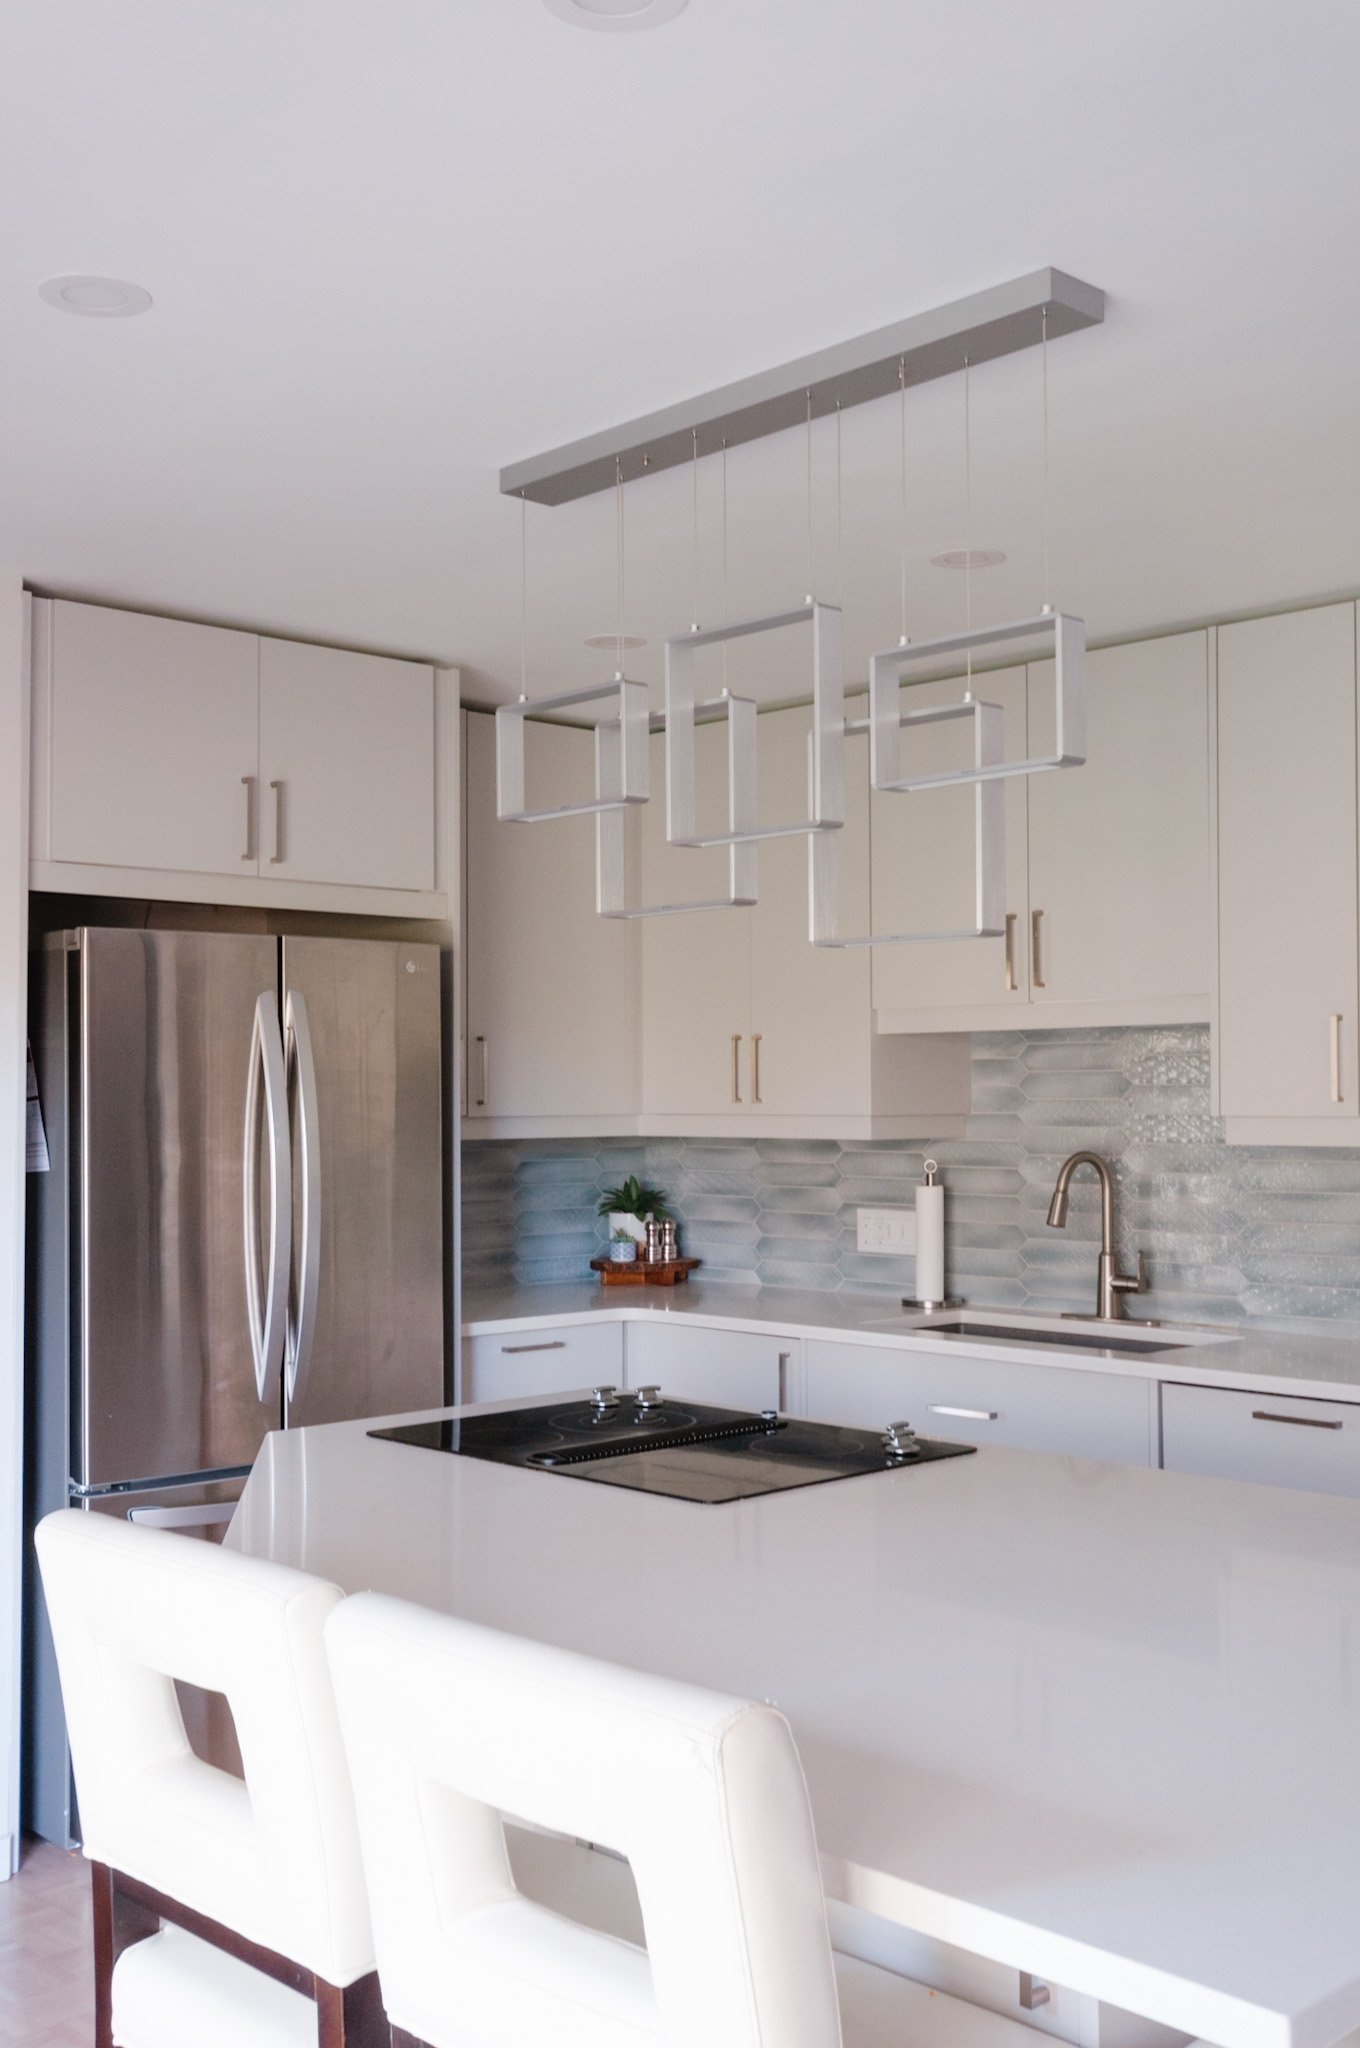
The final space meets the goal of being clean, modern and sleek while still being interesting and inviting.

The large island can technically seat up to 6 people around it, with overhangs on the oven, window and angled side.

Following the renovation, my clients also worked with a local artist to choose pieces for the space and they also added some colour blocking within the kitchen (as well as some of the other areas of the home).

This wall of the kitchen saw some upgrades to storage and function. The custom open shelving was added to the extra space that wasn’t utilized previously beside the oven. On the other side the previous desk style space became a super functional bar area with a lot more storage!
While the pantry area ended up looking a bit busier than I would have liked, it was the best option to avoid significant cost increases and waste increases while making use of the space we didn’t realize was available until the wall was opened up. But there are so many other details that I just love. Including the refinished floor and this tile. I truly love this tile.
The increased size of the island also meant an increase to the storage. And if you look closely, you’ll notice on of my favourite tricks for more off-season storage - the cupboard hidden under the overhang.
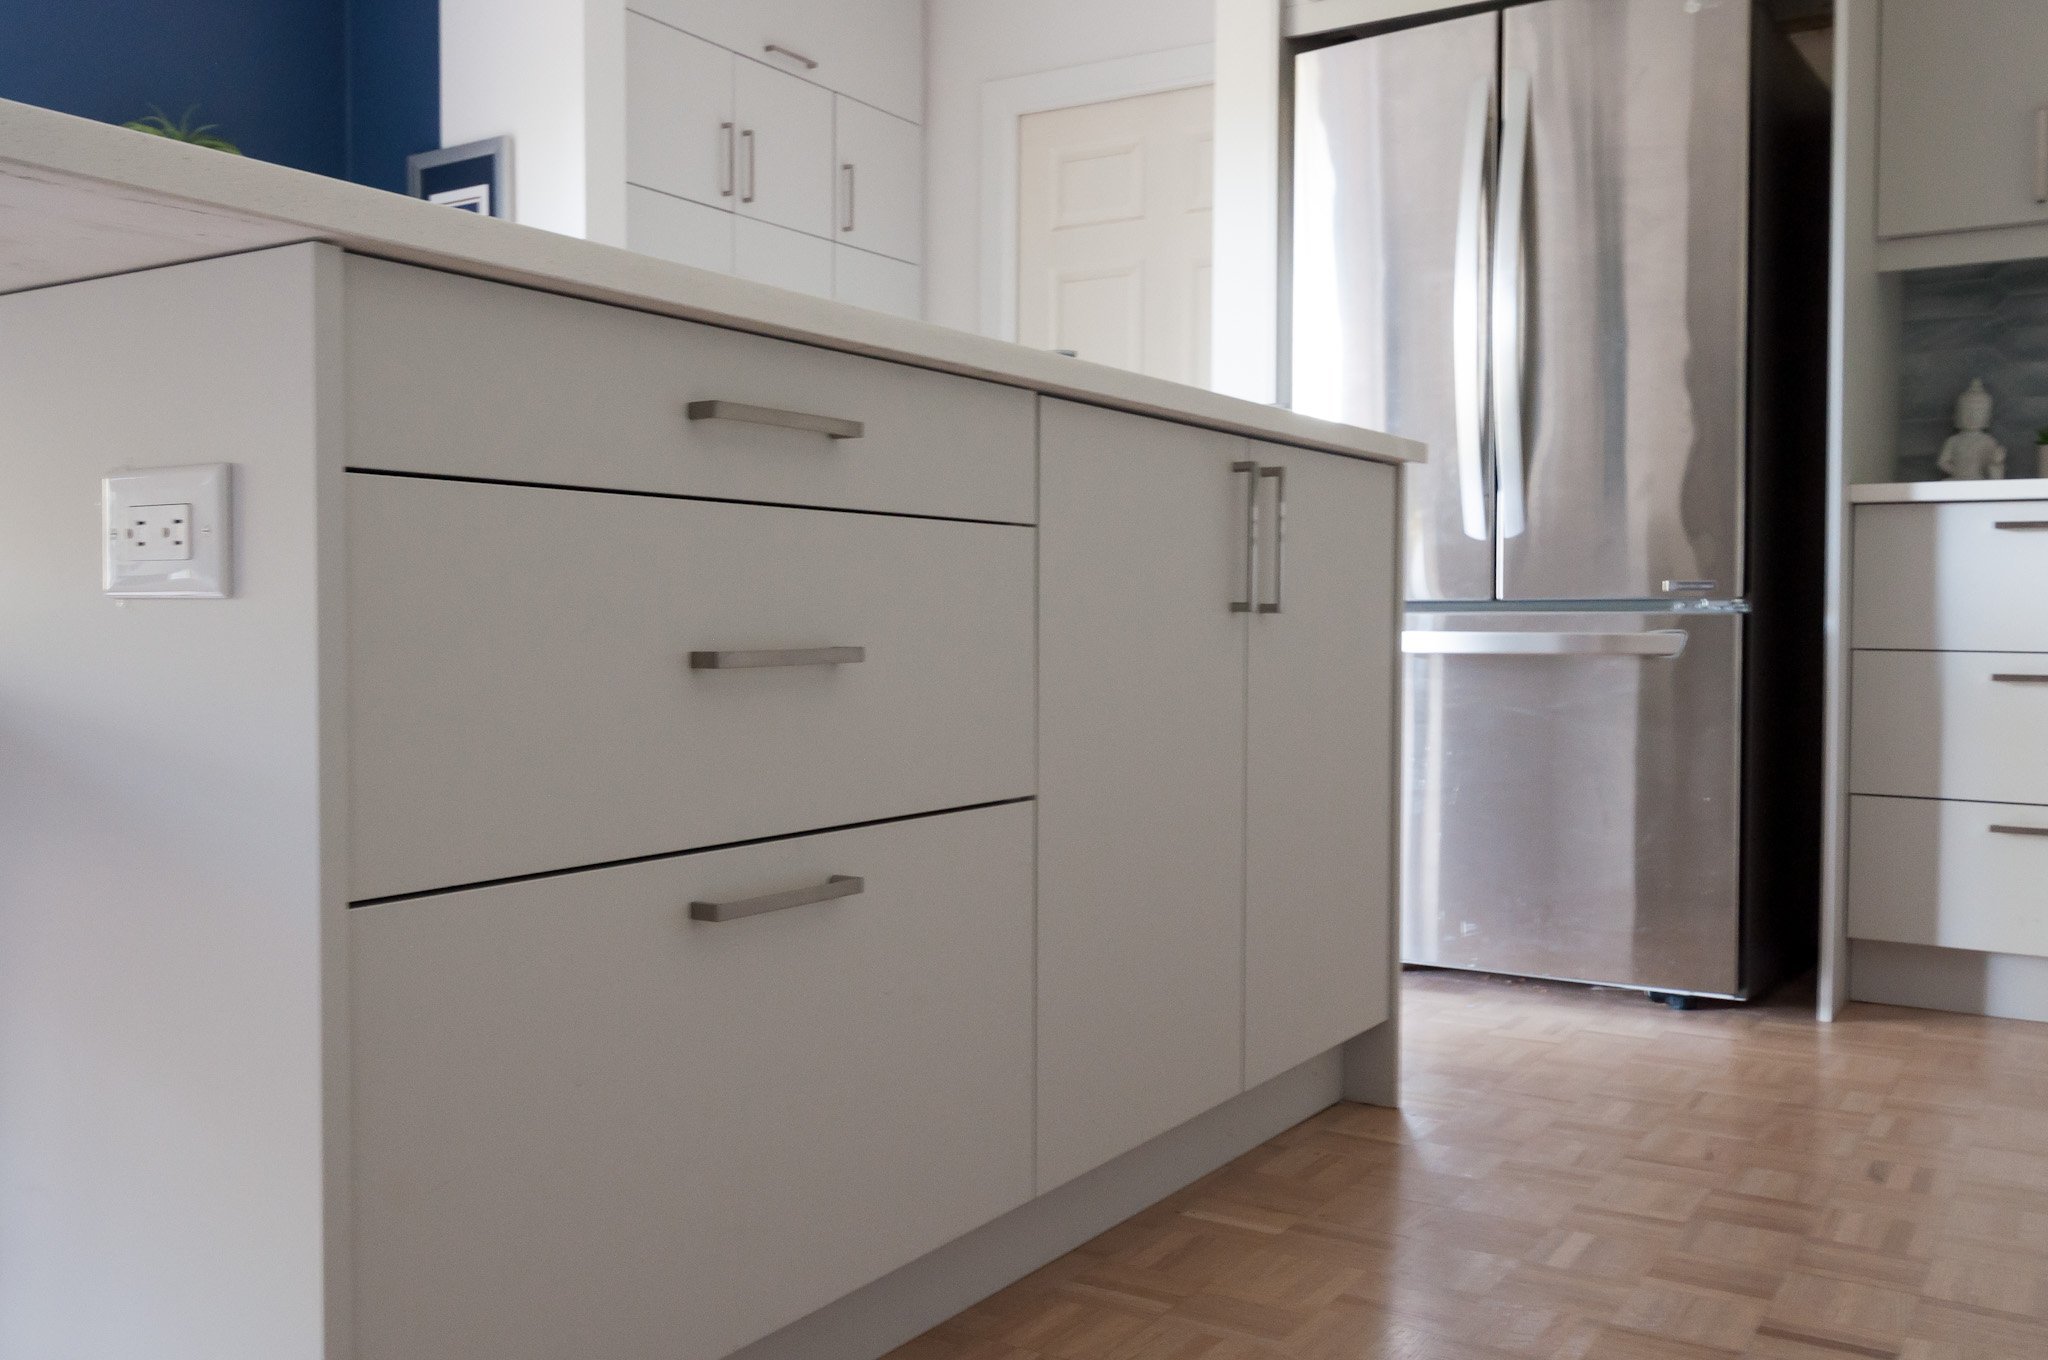
The angled doorway isn’t ideal for maximizing cabinetry and storage space, but we made it work by stepping back the base cupboard next to the entry so that the width of the pathway was maintained.

And did I mention that my clients really love having fun with lighting?
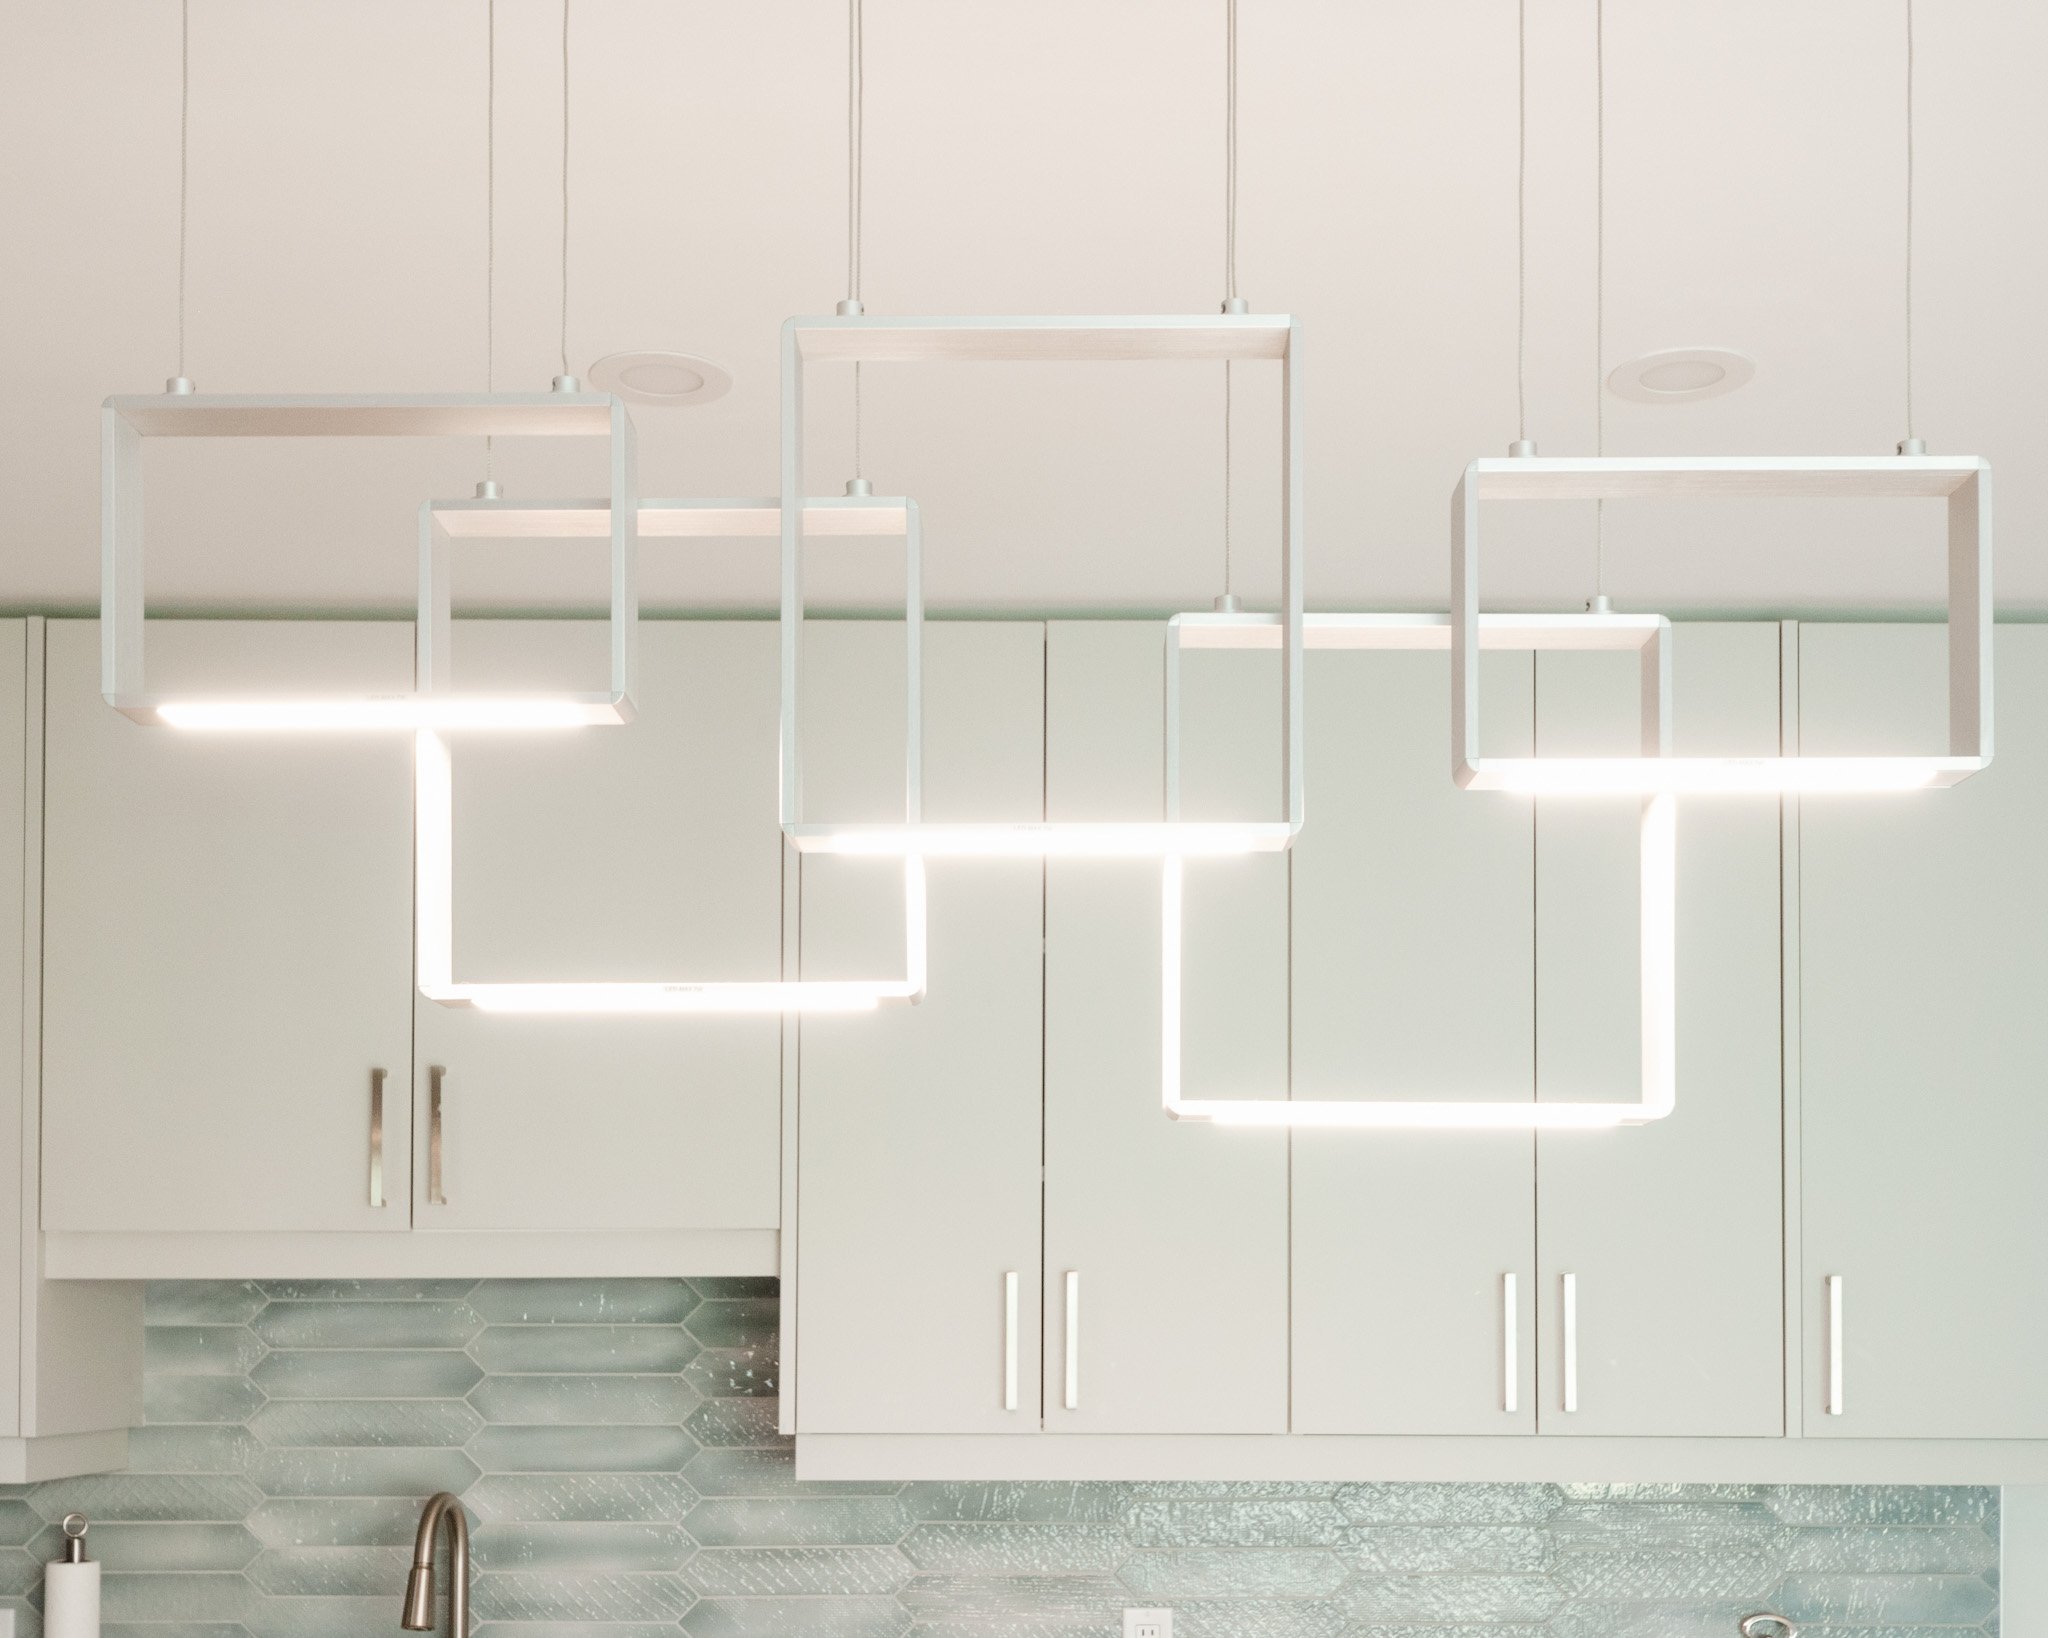
And there you have it - another beautiful kitchen renovation and more happy clients!
Ready for your own renovation? We’re now booking into 2022! Reach out to secure your spot on our design roster.