Behind the Design: Oxford Condo
Wanted to share a bit more information on the process of prepping this condo for sale - and of course, including some before photos!
The overall goal for this design and renovation was to create a more modern, bright space, without investing more than needed, in order to have it sell quickly and for a good price. One of the things about getting a condo ready for sale is that you almost always have direct competition when it comes time to go onto the market. When this one was listed, there were 4 other properties in the same building that was also for sale. When you make appropriate updates, stage a home and price it correctly, it is so much more likely that it will sell faster than something that isn't staged (even when updated) or has been updated with too specific of a look or, of course, when its overpriced. Happily, this place sold within a few weeks and for just shy of the asking price.
Before Shots
(some are original photos of the home and others are pre-renos)


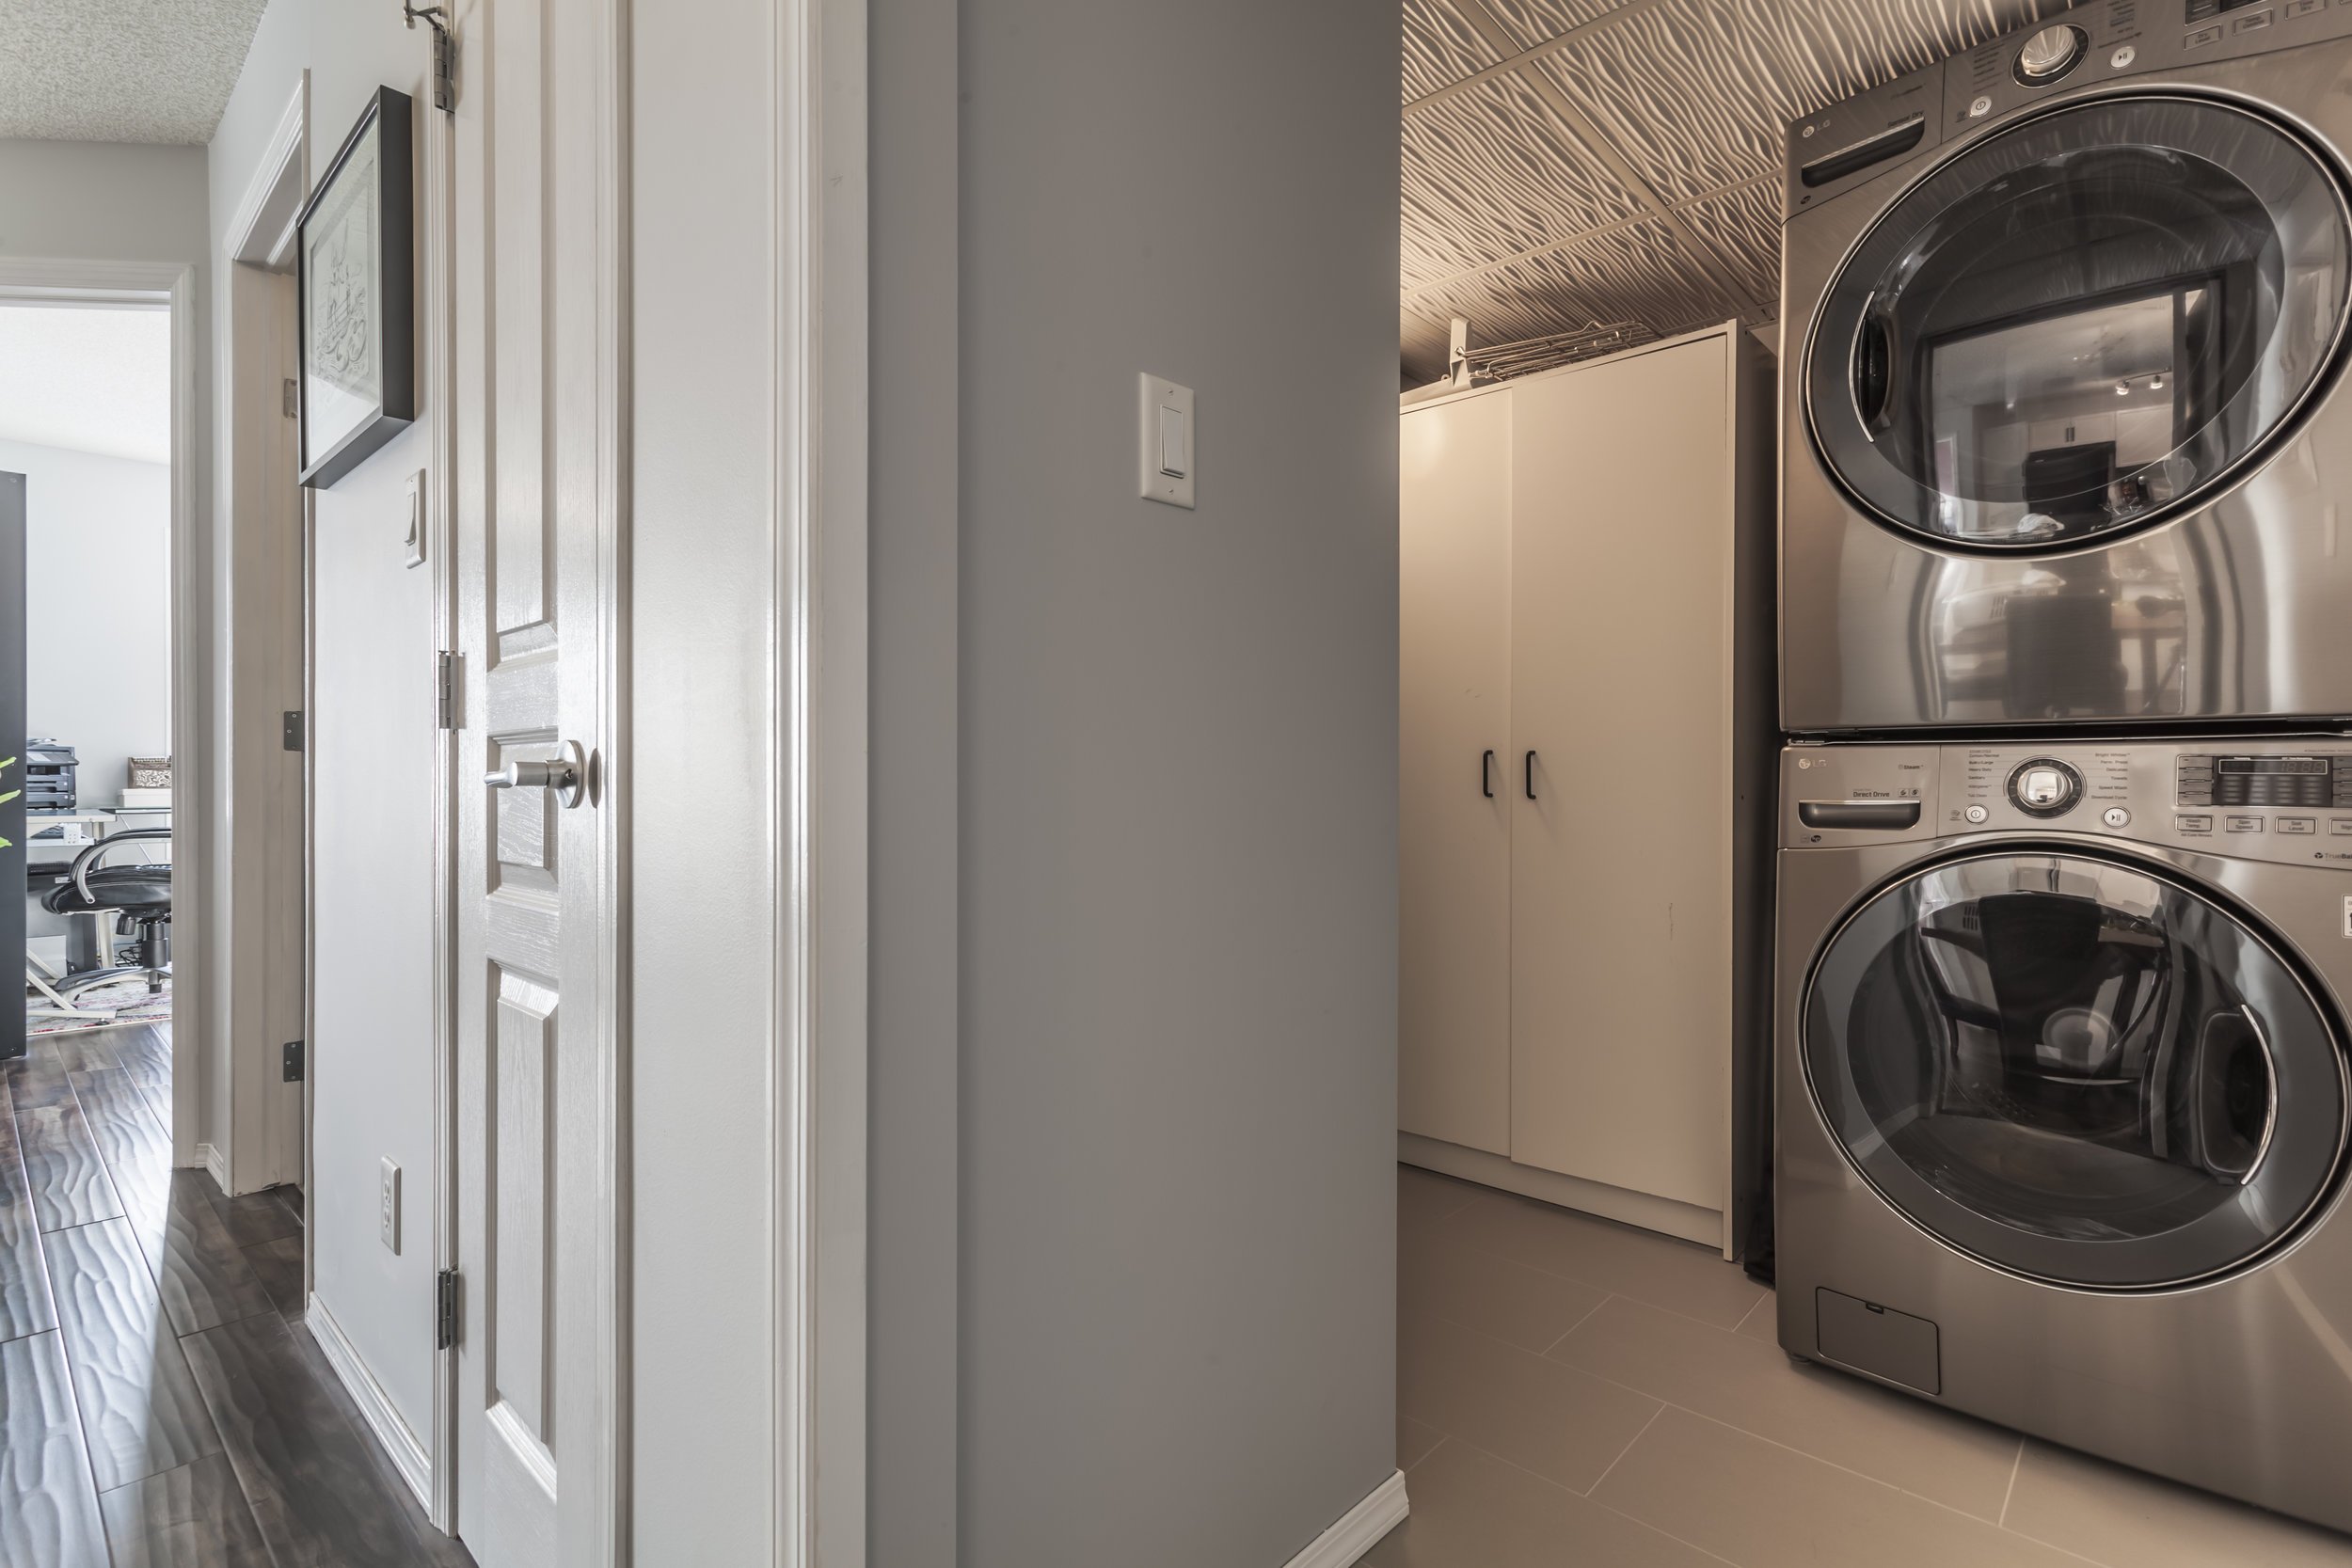
Flooring, paint and countertops were the 3 main elements to the renovation. In the original space a combination of lino and carpet were used. Because the carpet, in particular, was showing wear in the high traffic areas, it was important to change that out. Typically, when a buyer sees something that needs to be fixed or replaced, they will often double the amount of that cost and mentally take it off the asking price. We chose a neutral brown laminate, that still had interest in the colour variation and also the "hand-scraped" finish, to be used in the main areas of the home, as well as the two bedrooms. A neutral, hint of grey, porcelain stoneware tile was used in the bathrooms and laundry rooms. The larger scale 12 x 24 tiles were used to elevate the look and were offset with white grout.
Flooring Progress


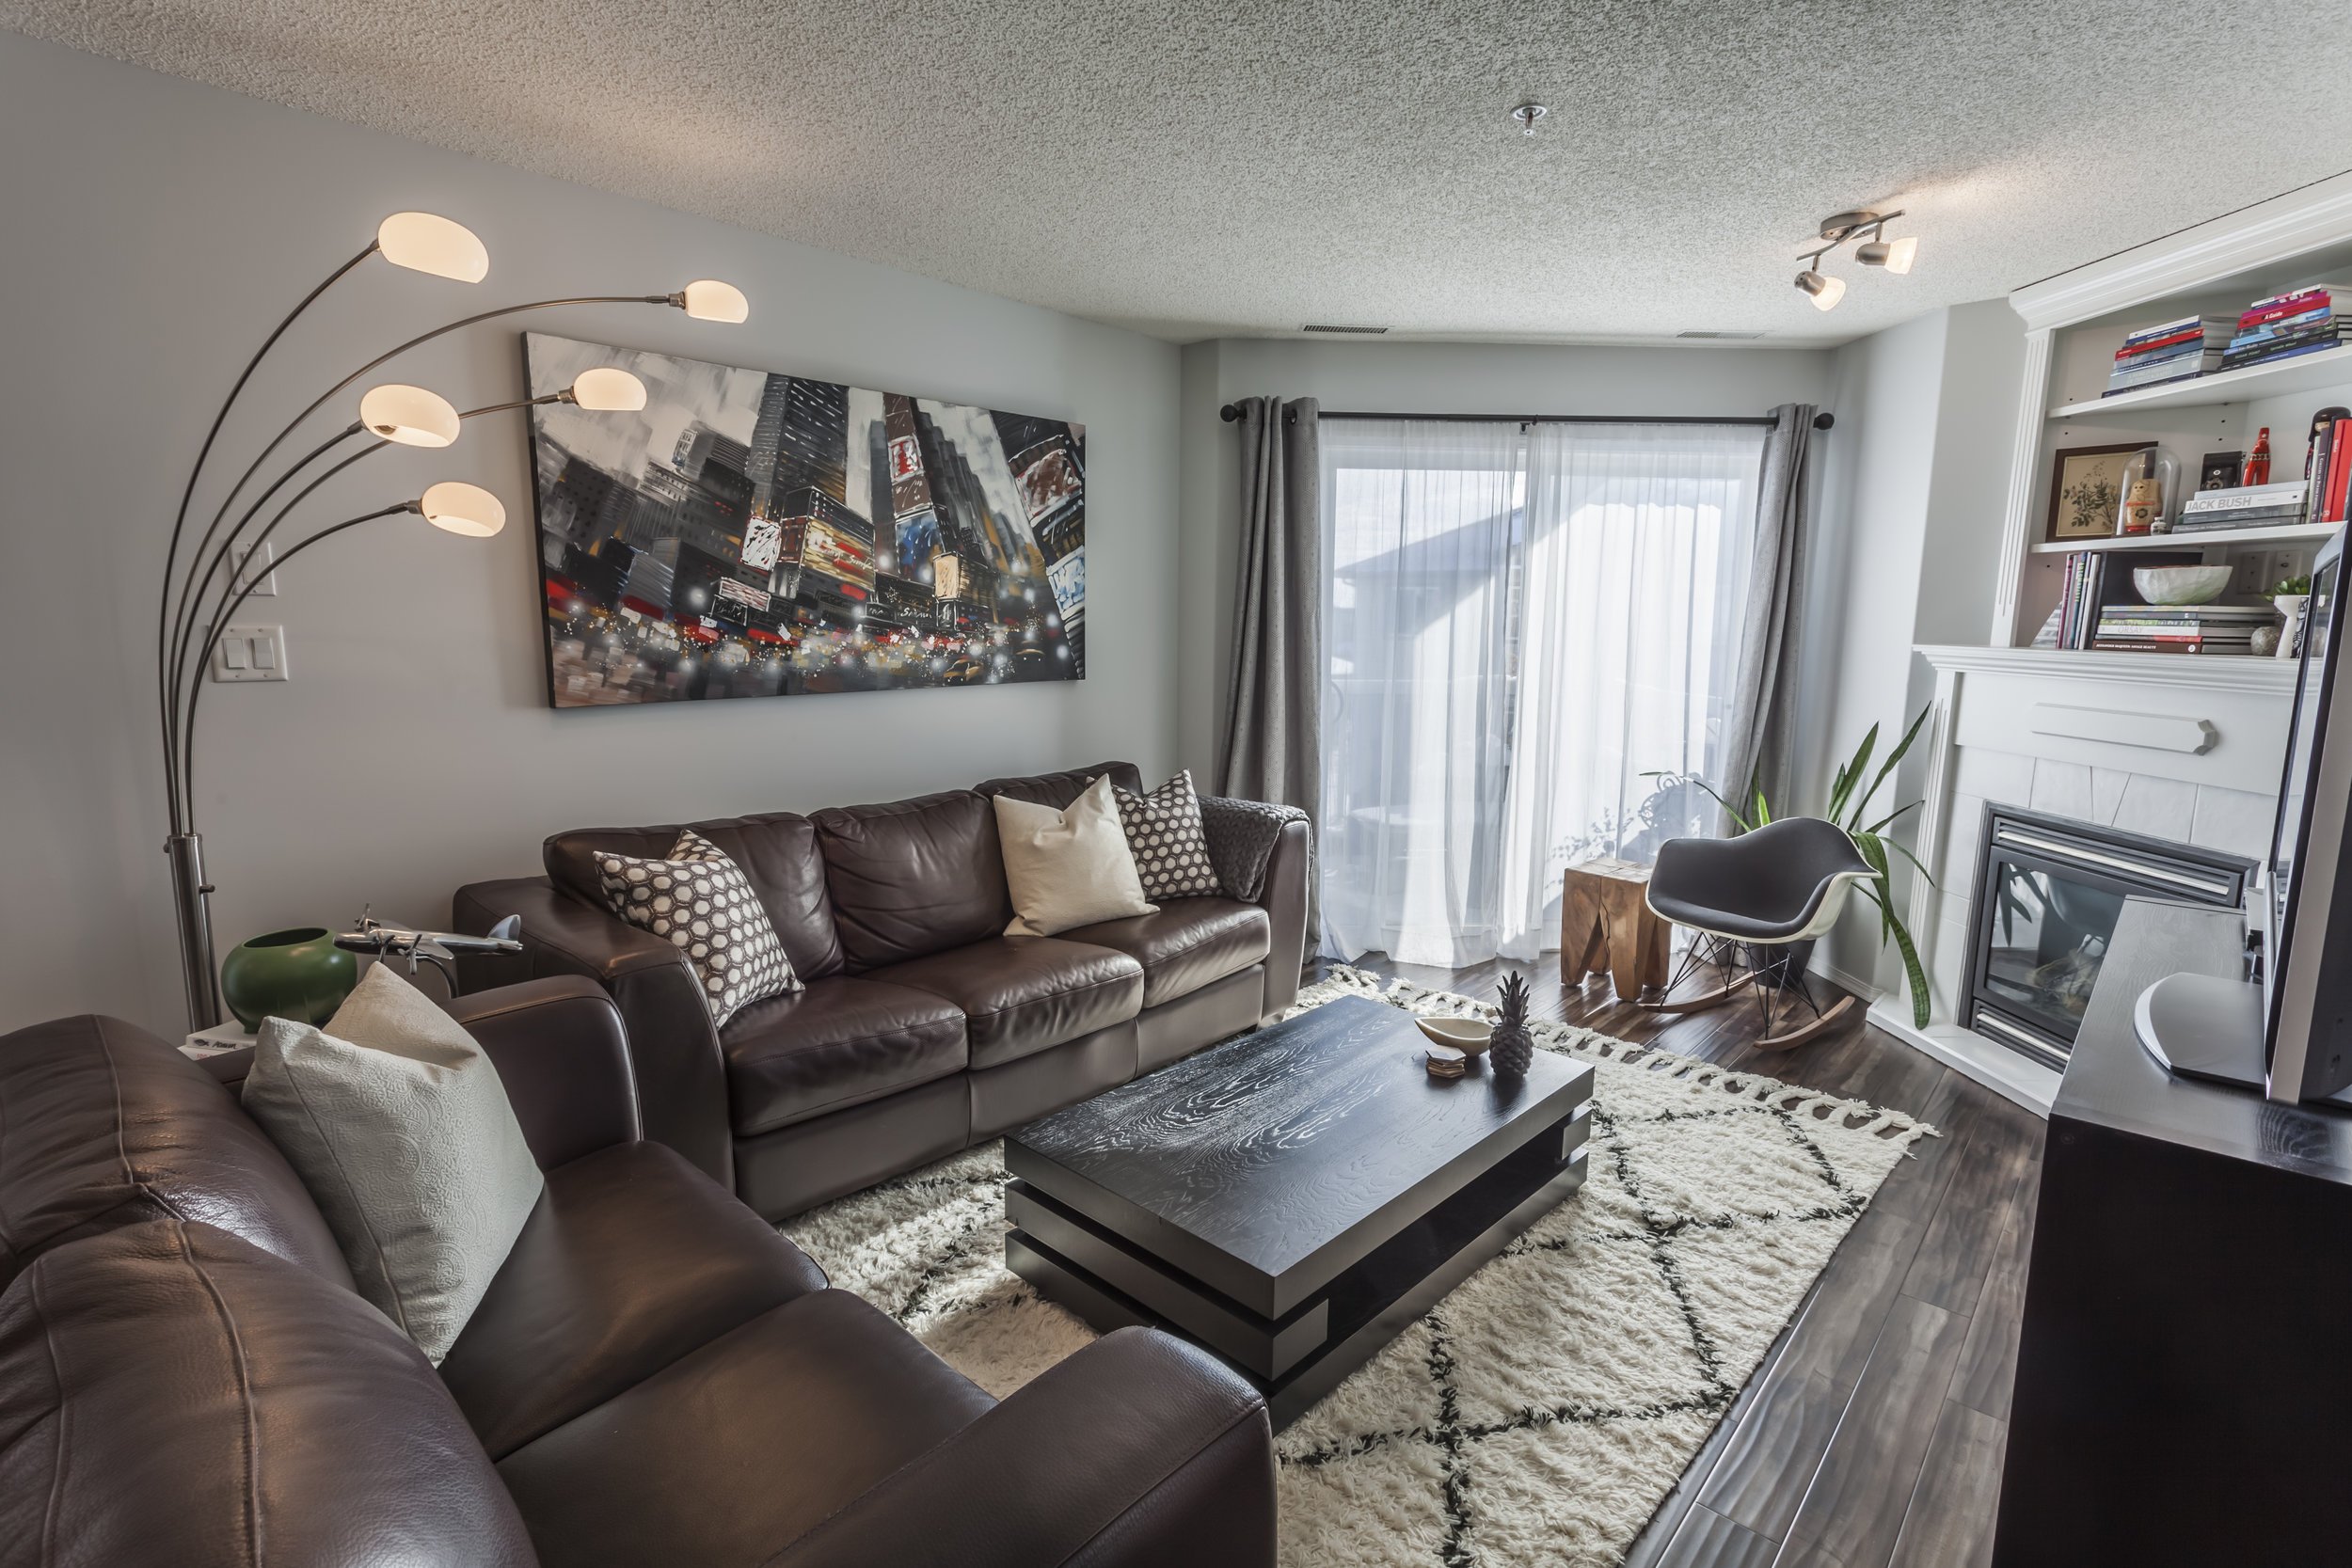
The cabinetry throughout dated the home (hello orange-y oak!) so it was also important to give it new life. All of the cabinetry was still in good shape and functioned well, so the decision was made to just give it a few coats of paint and update the hardware. This was the main DIY portion of the renovation and the time it took to complete was definitely underestimated. Despite the time commitment, it is a fairly straightforward process as long as you put in the hard work, have a good workspace and you don't cheap out on the paint (having a paint sprayer helps too!). The cabinetry was cleaned, original handle holes filled, sanded, cleaned again before getting two coats of primer and at least two coats of the final paint. The same treatment was given to the fireplace mantle (and tile!).
Cabinetry Painting


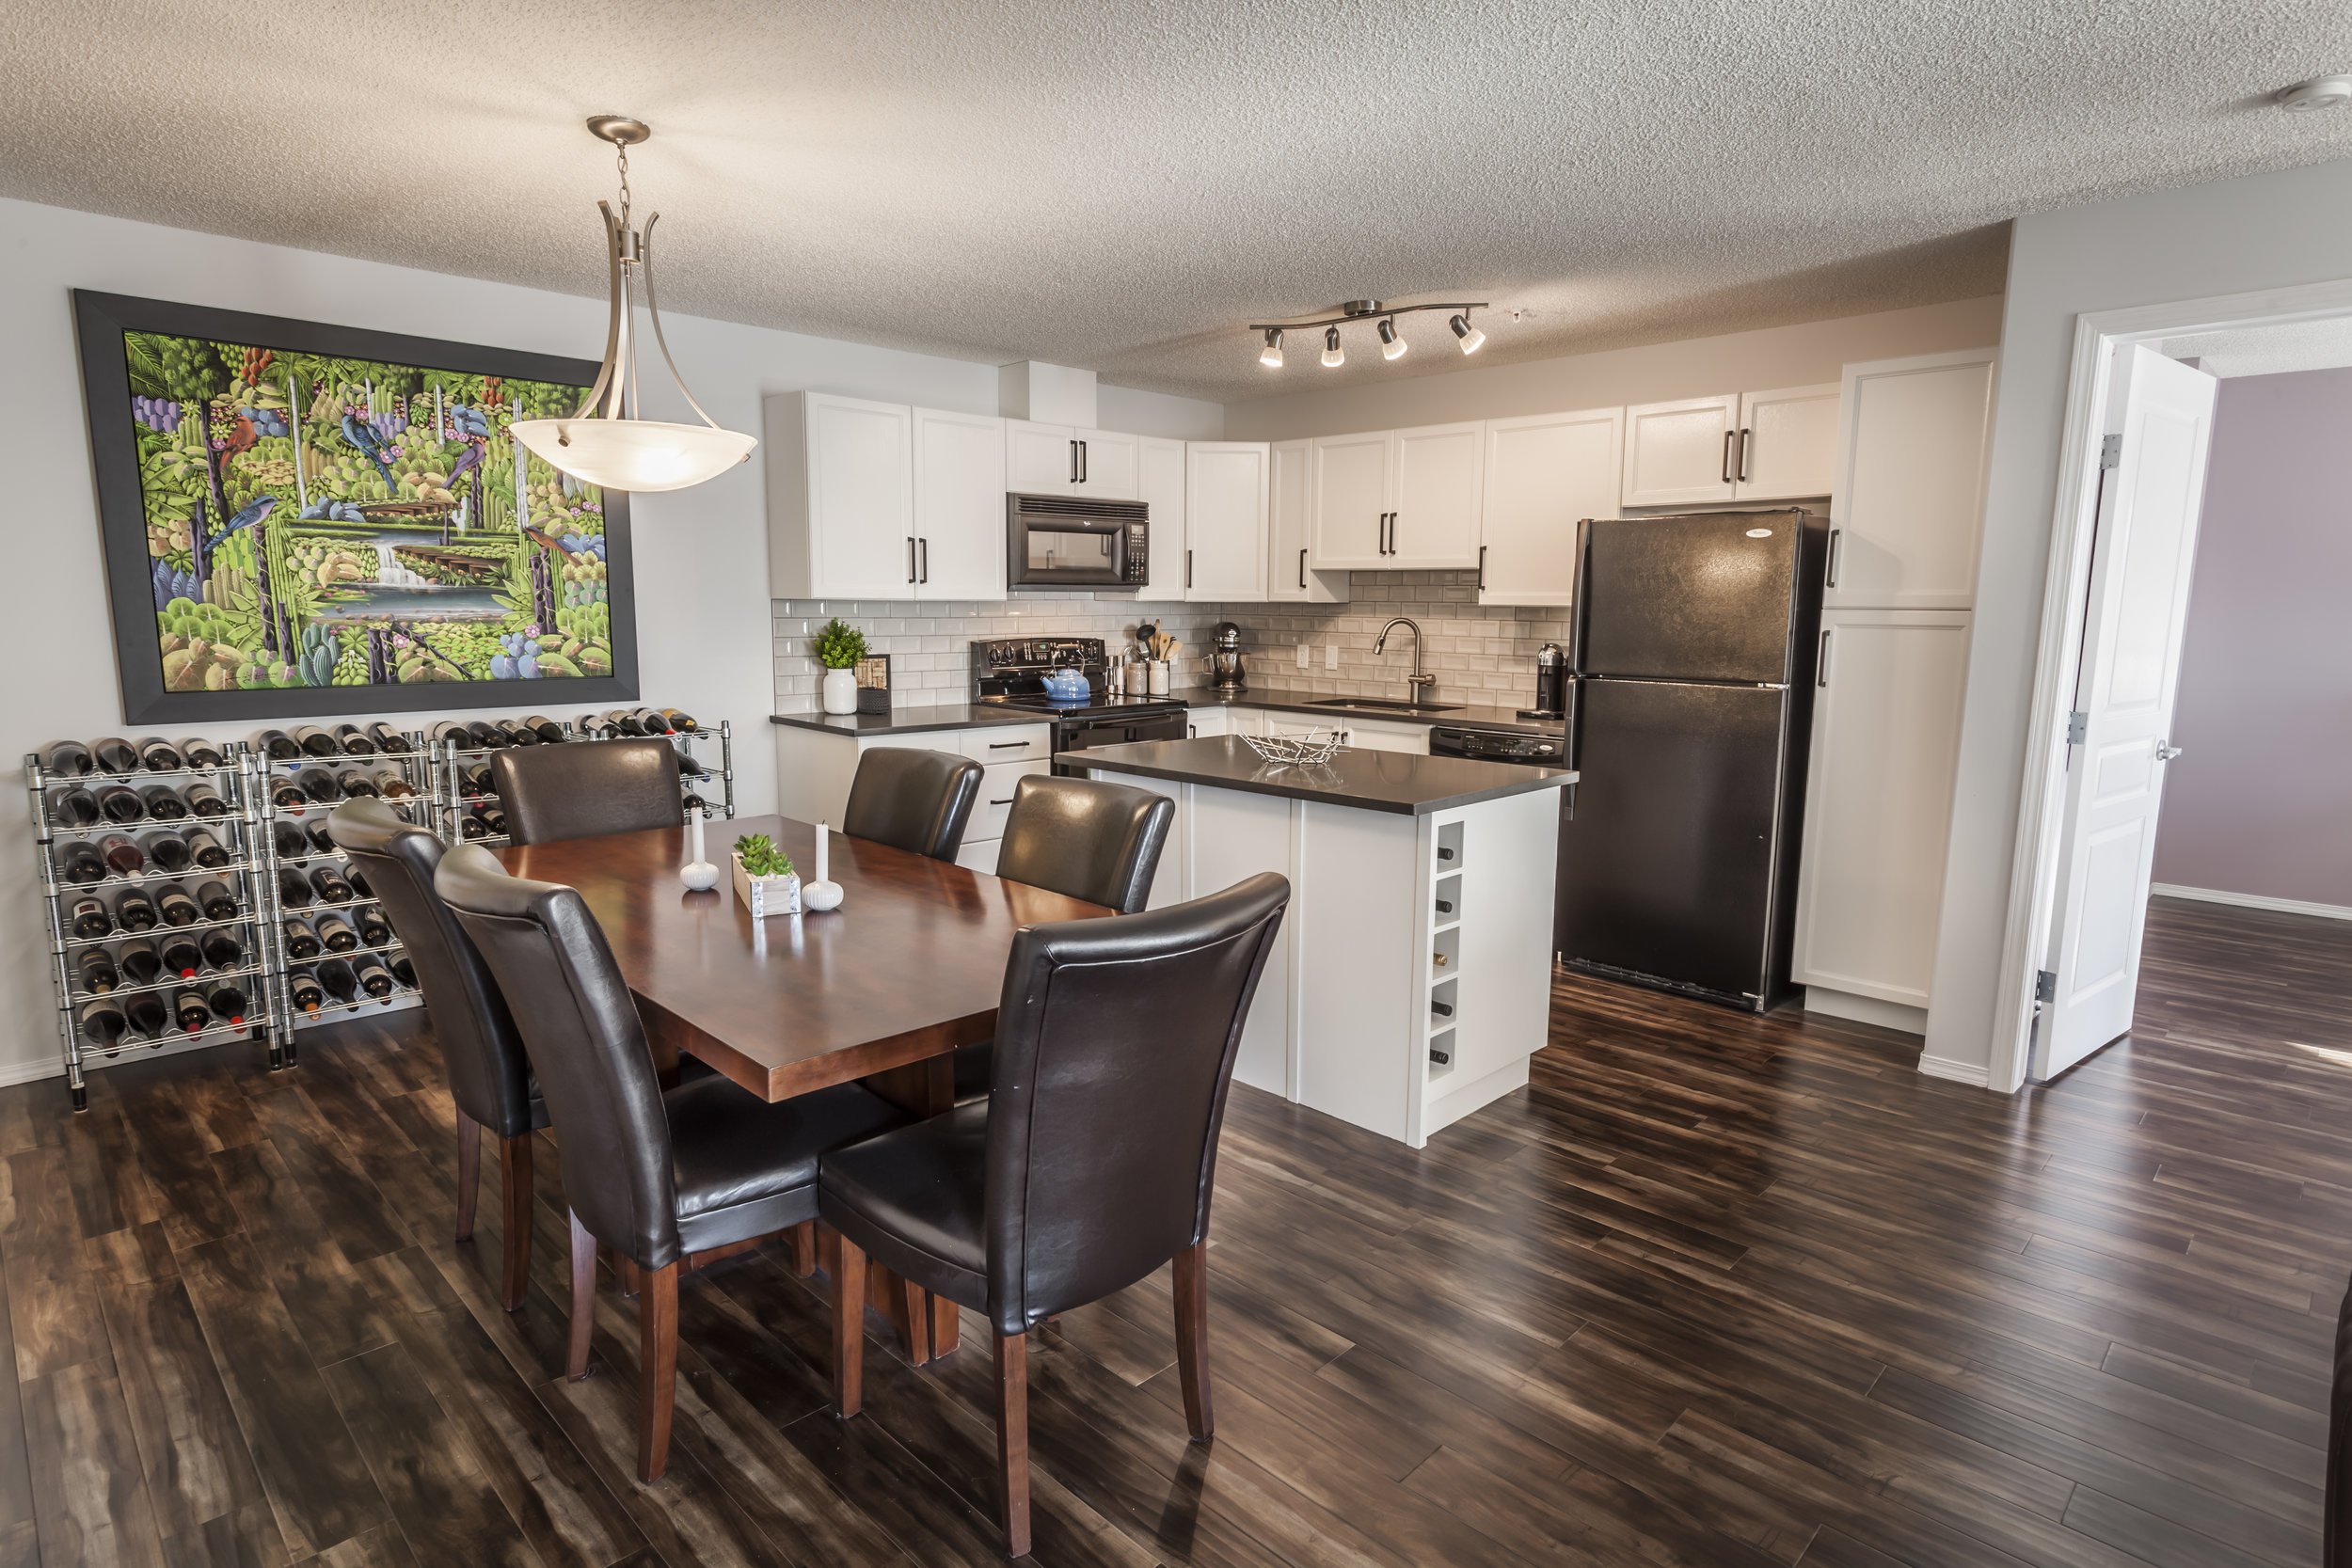
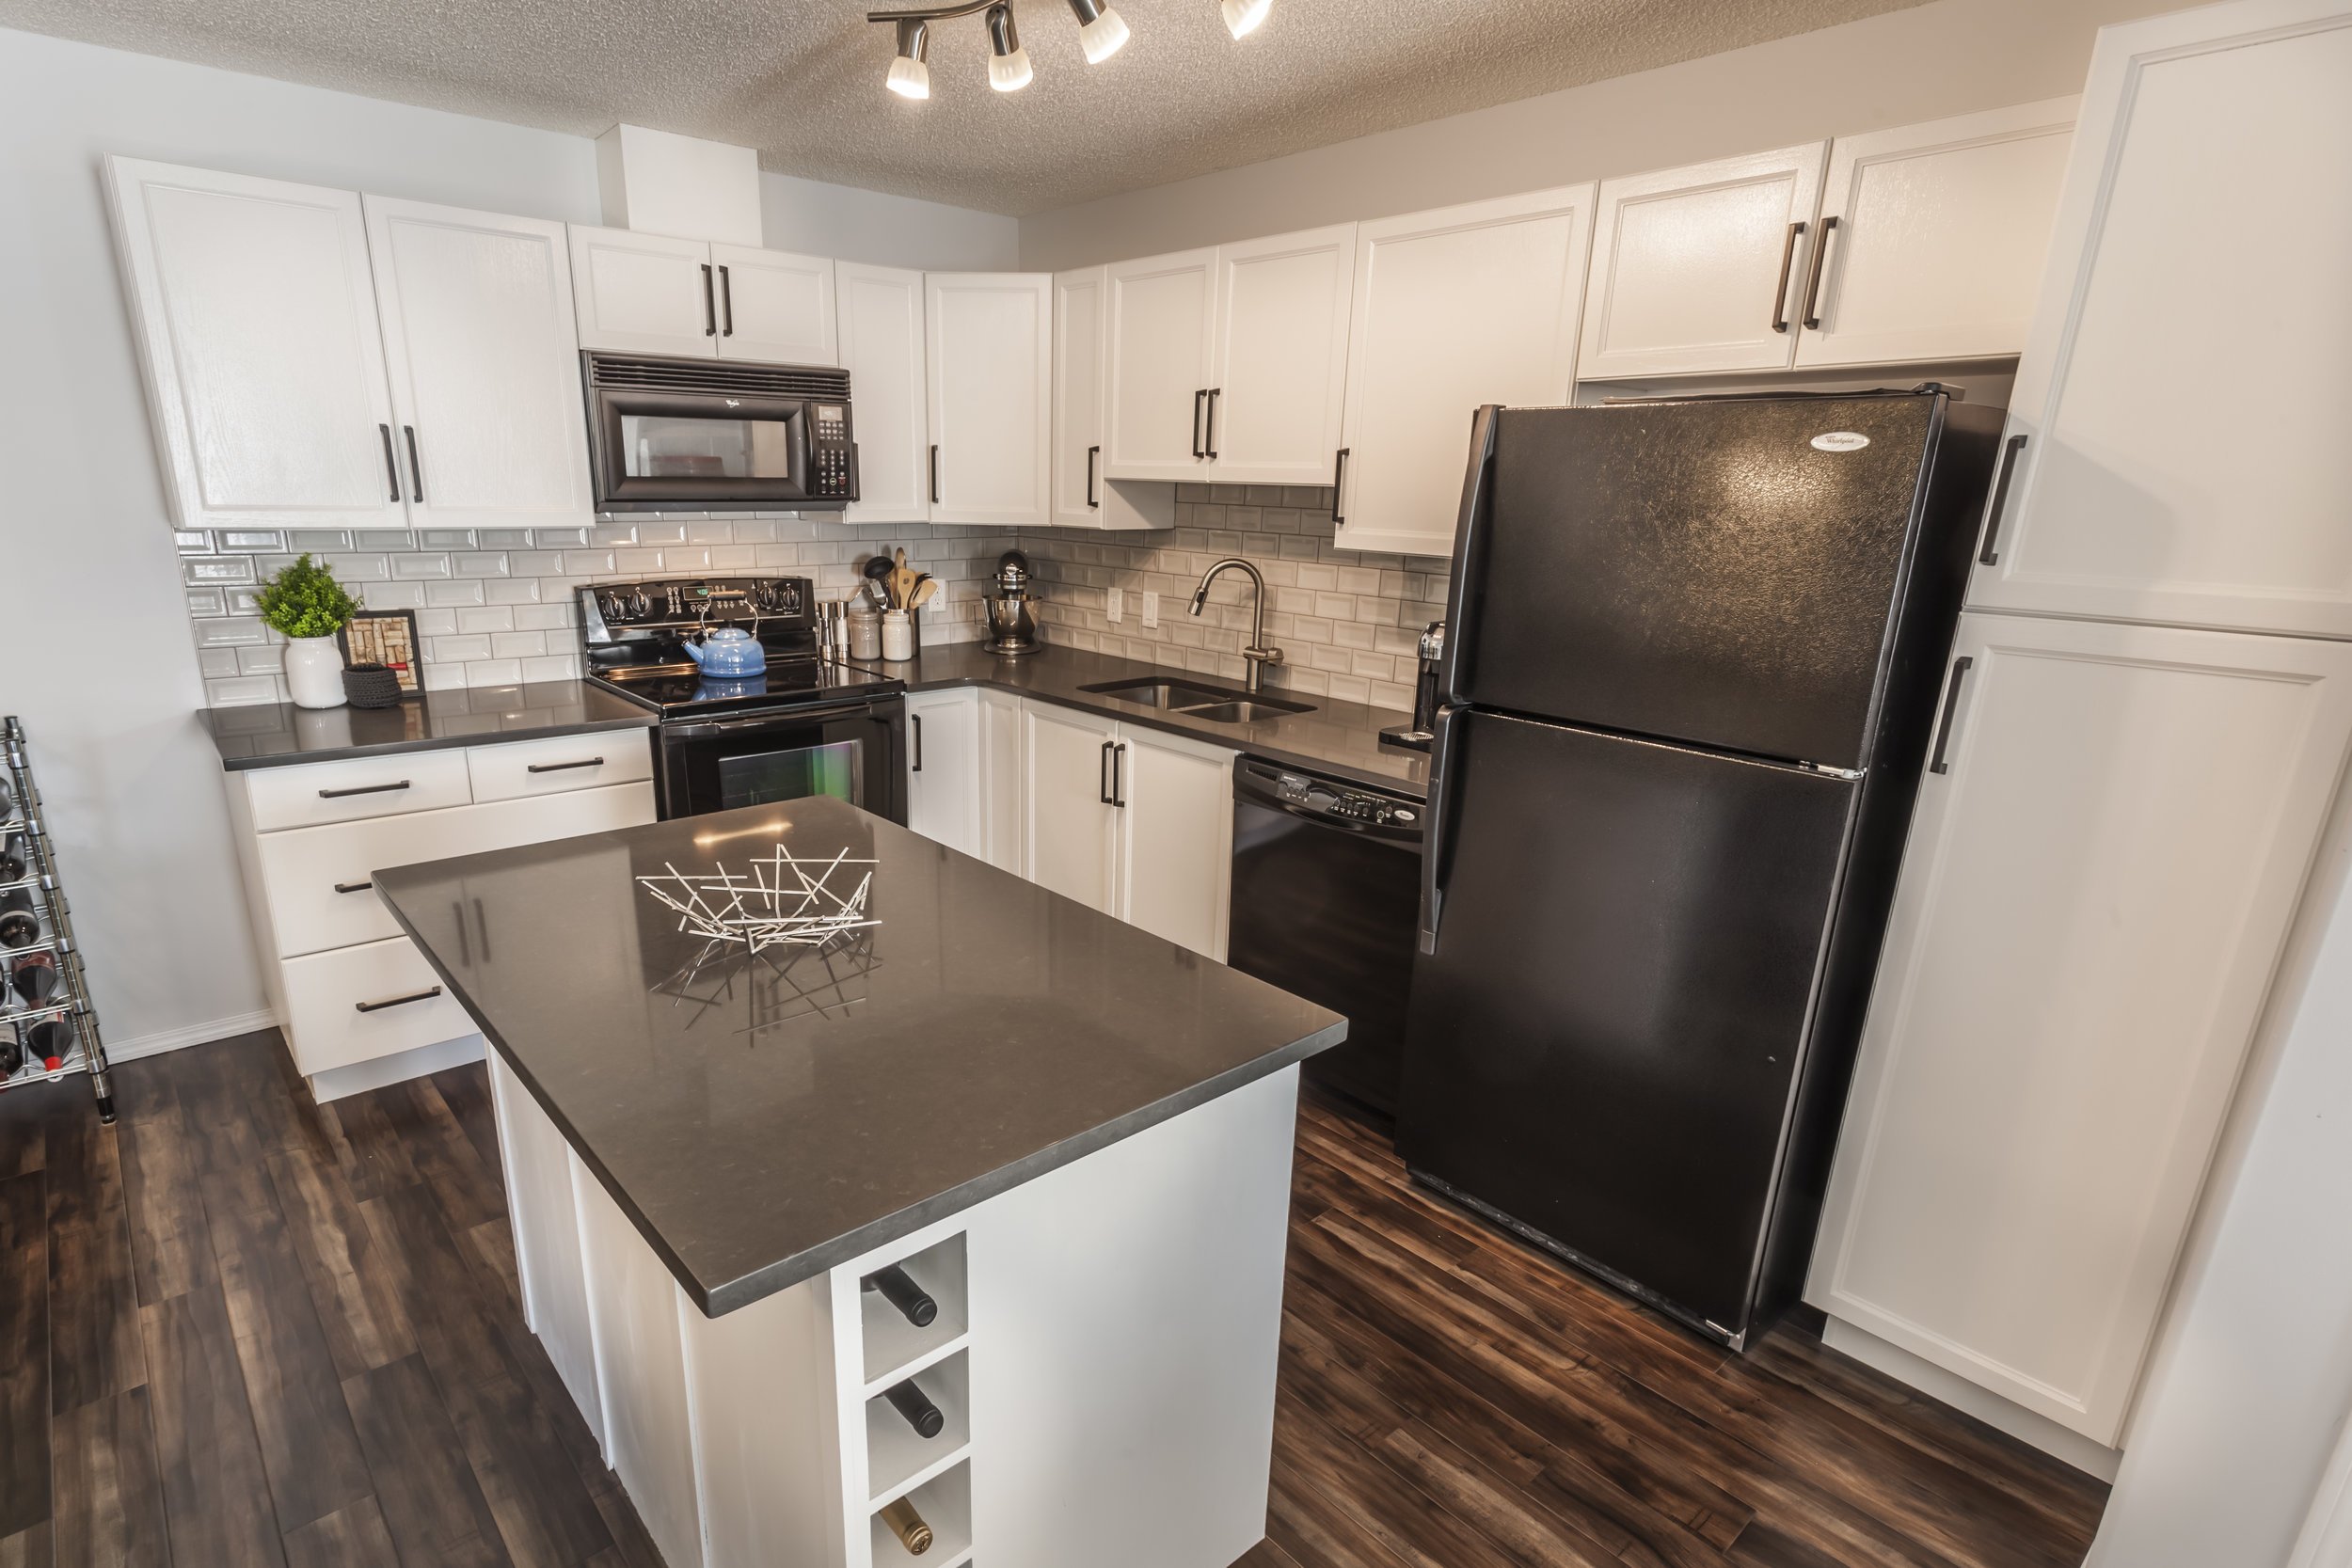
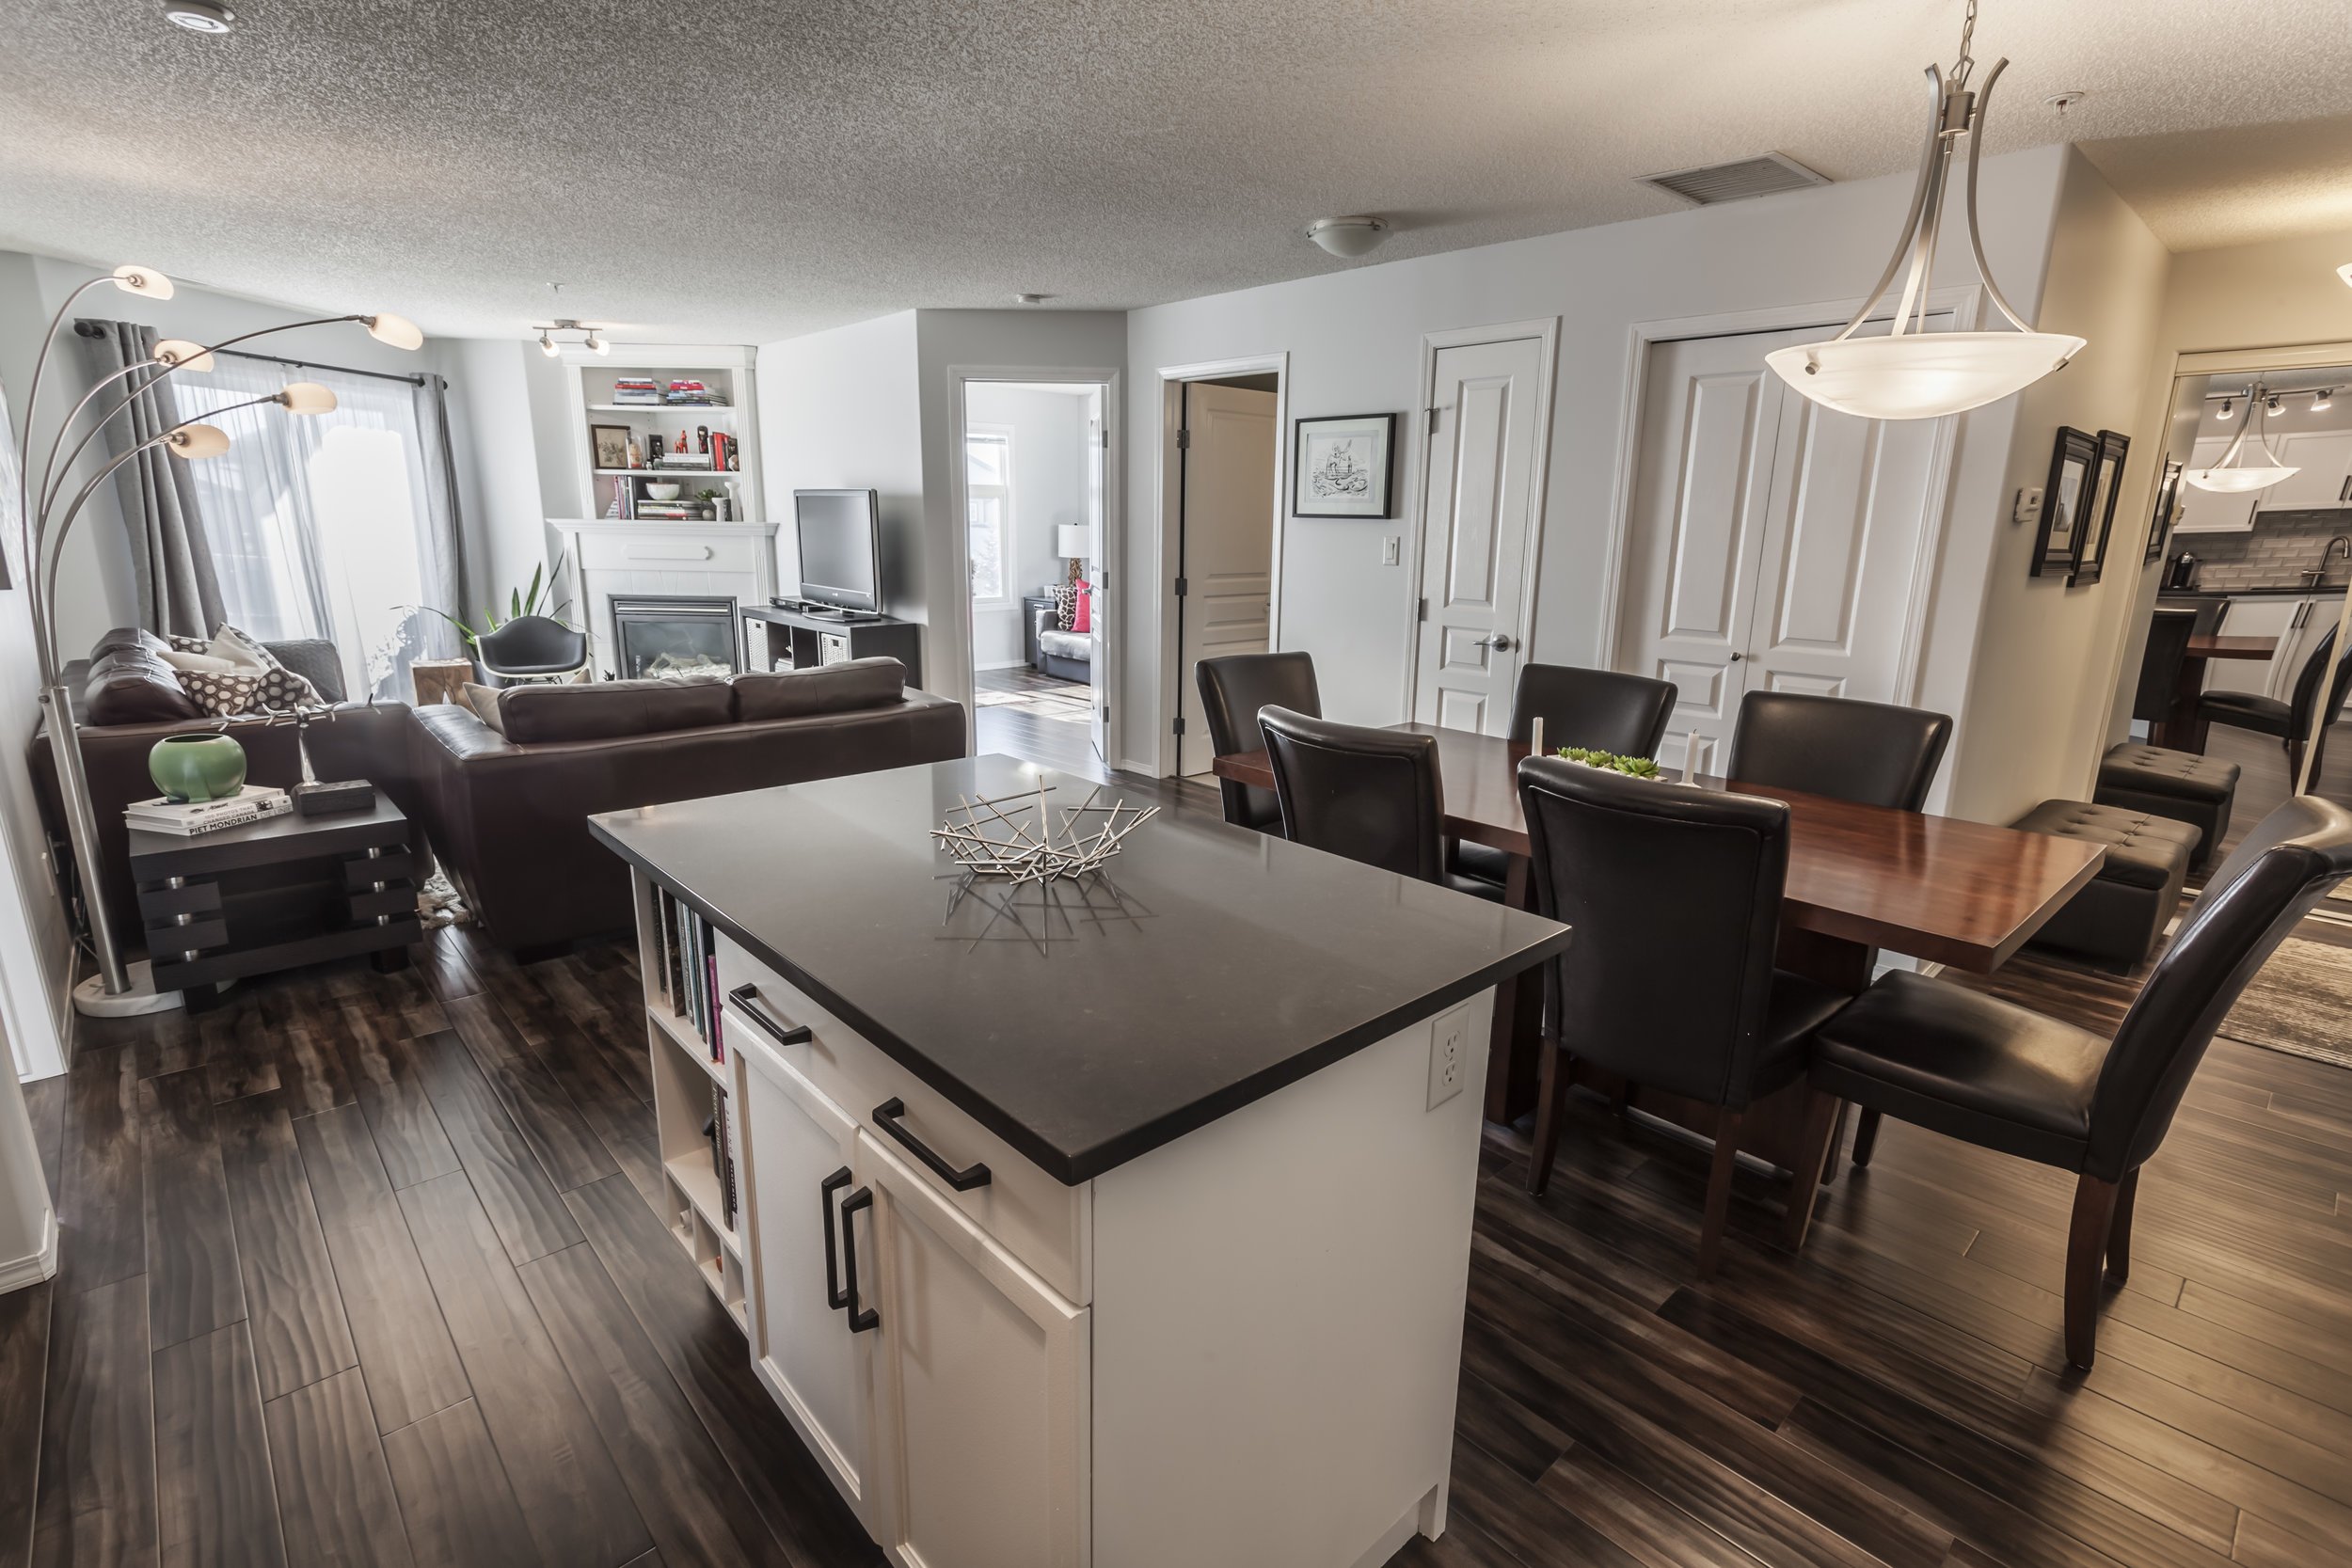
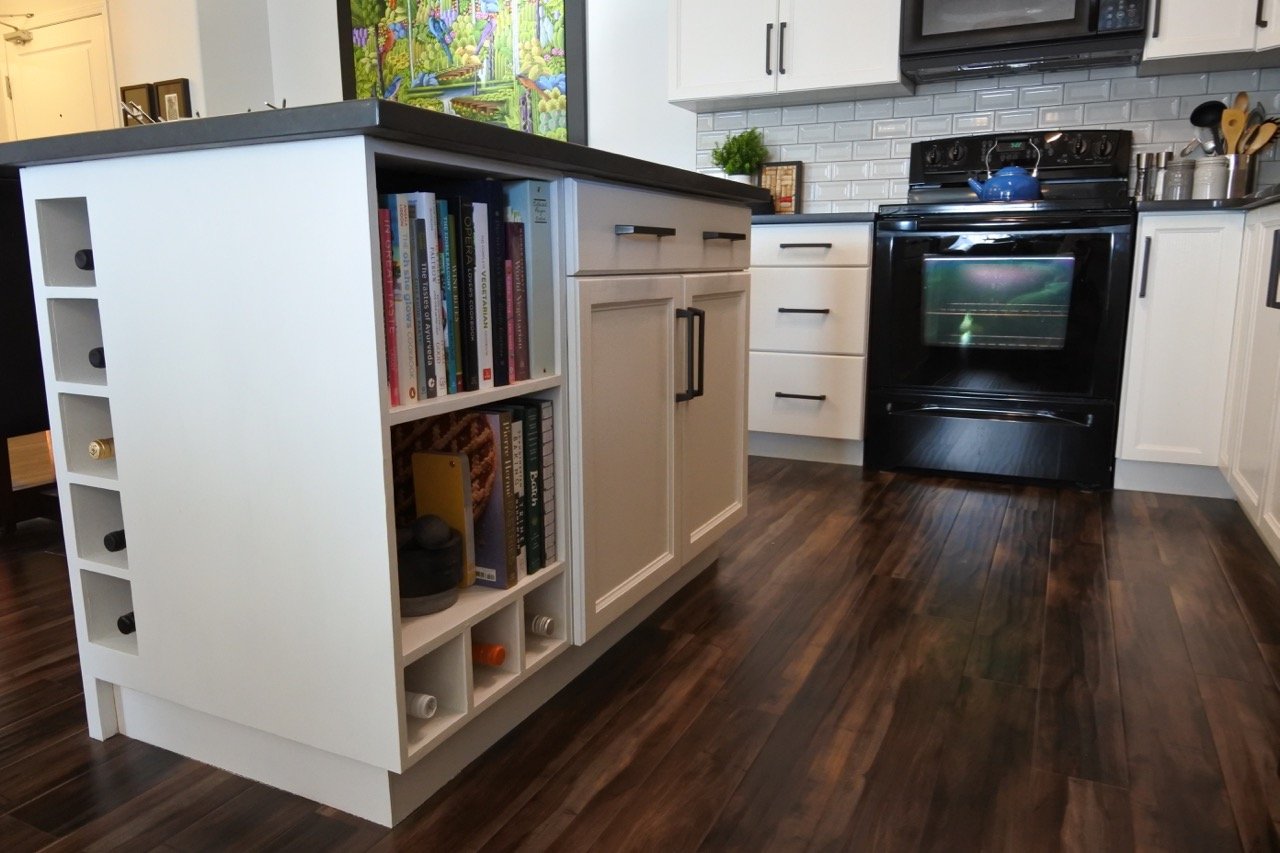
One of the other changes was the island. It was originally a kind of puny cabinet with an oversized top. Because of the layout of the space, there wasn't enough room to have both a dining table and barstools so the overhang that faced the dining room just got in the way. In order to maintain the most amount of prep / surface space, we decided to custom build an extension to the island; adding additional storage and allowing the countertop to still provide a good sized surface but without the useless overhang. This rather small adjustment made a huge impact allowing the space to flow better and look better.
Island Progress


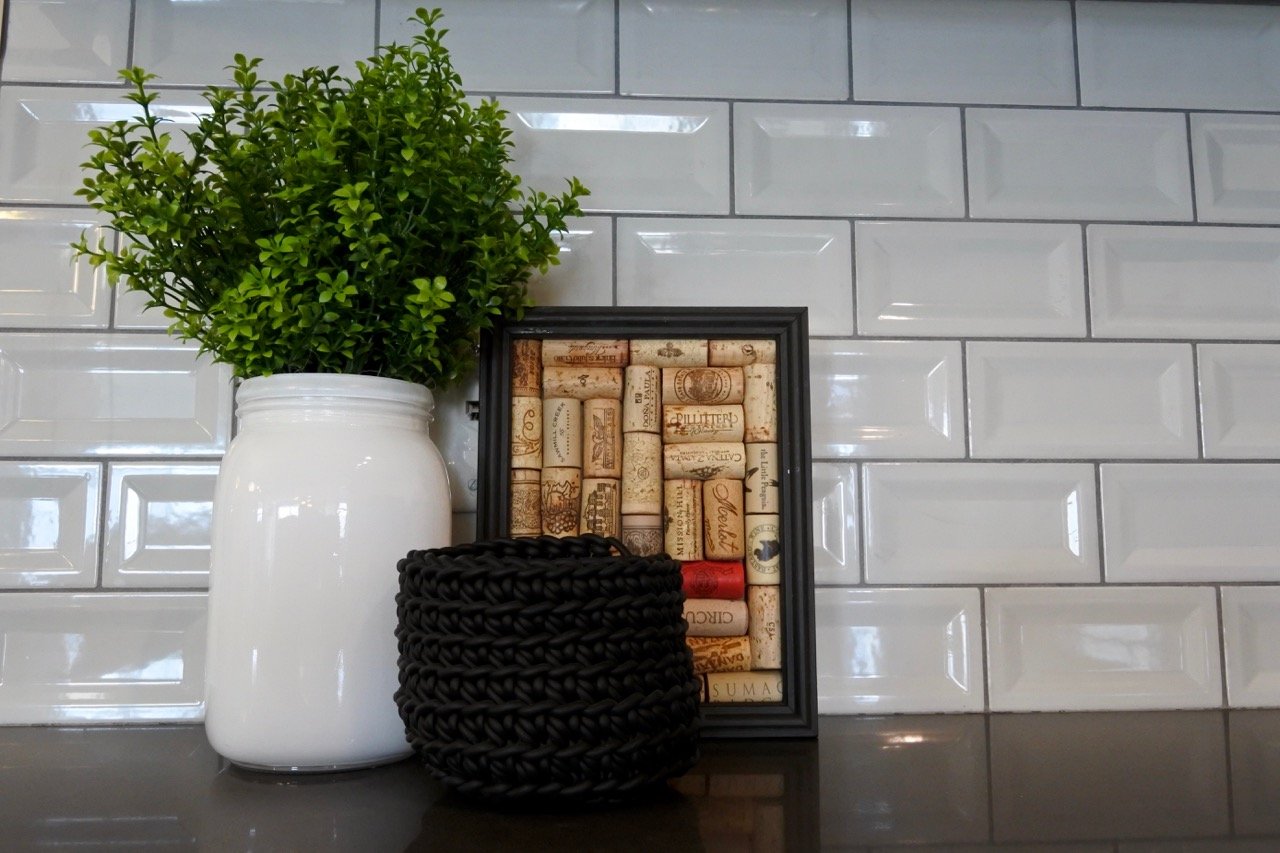
Because the appliances were in great condition, we incorporated them into the design so that they felt purposeful, but at the same time, we designed it in such a way that if the new owner decided to go stainless, the look would still work. A light grey inverted subway tile with a darker grout helped to tie in the darker countertop and appliances with the lighter cabinetry.
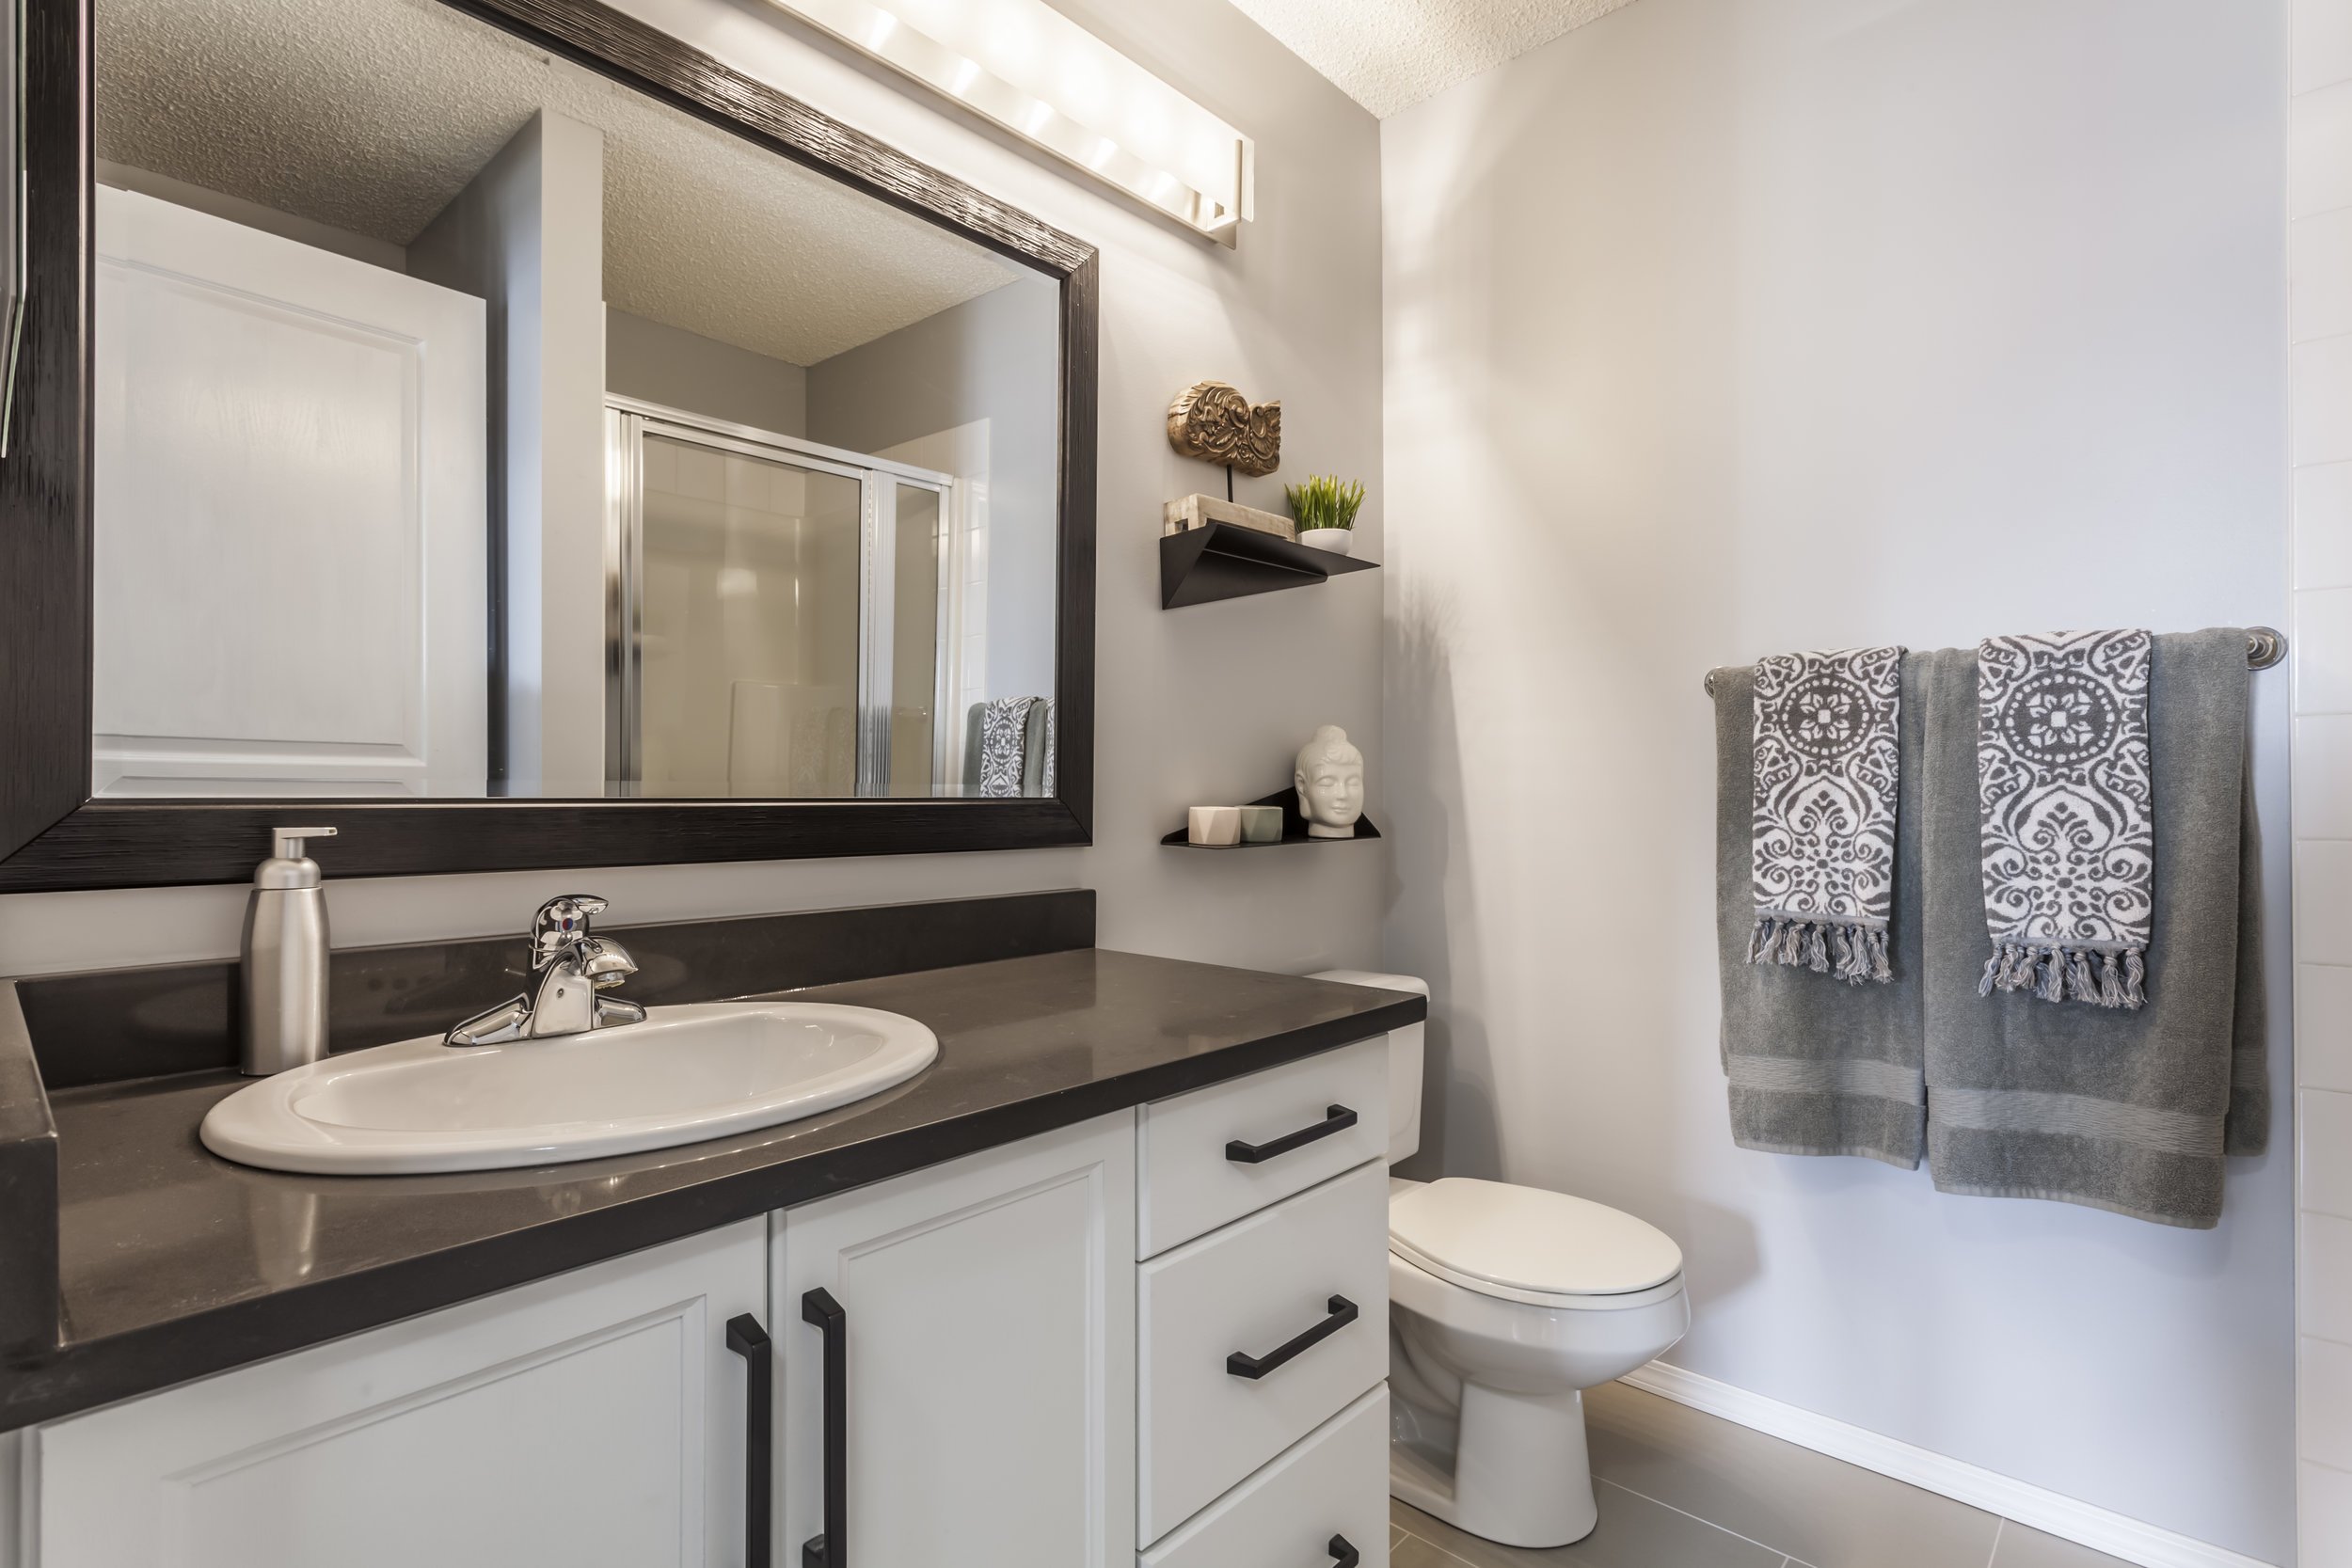
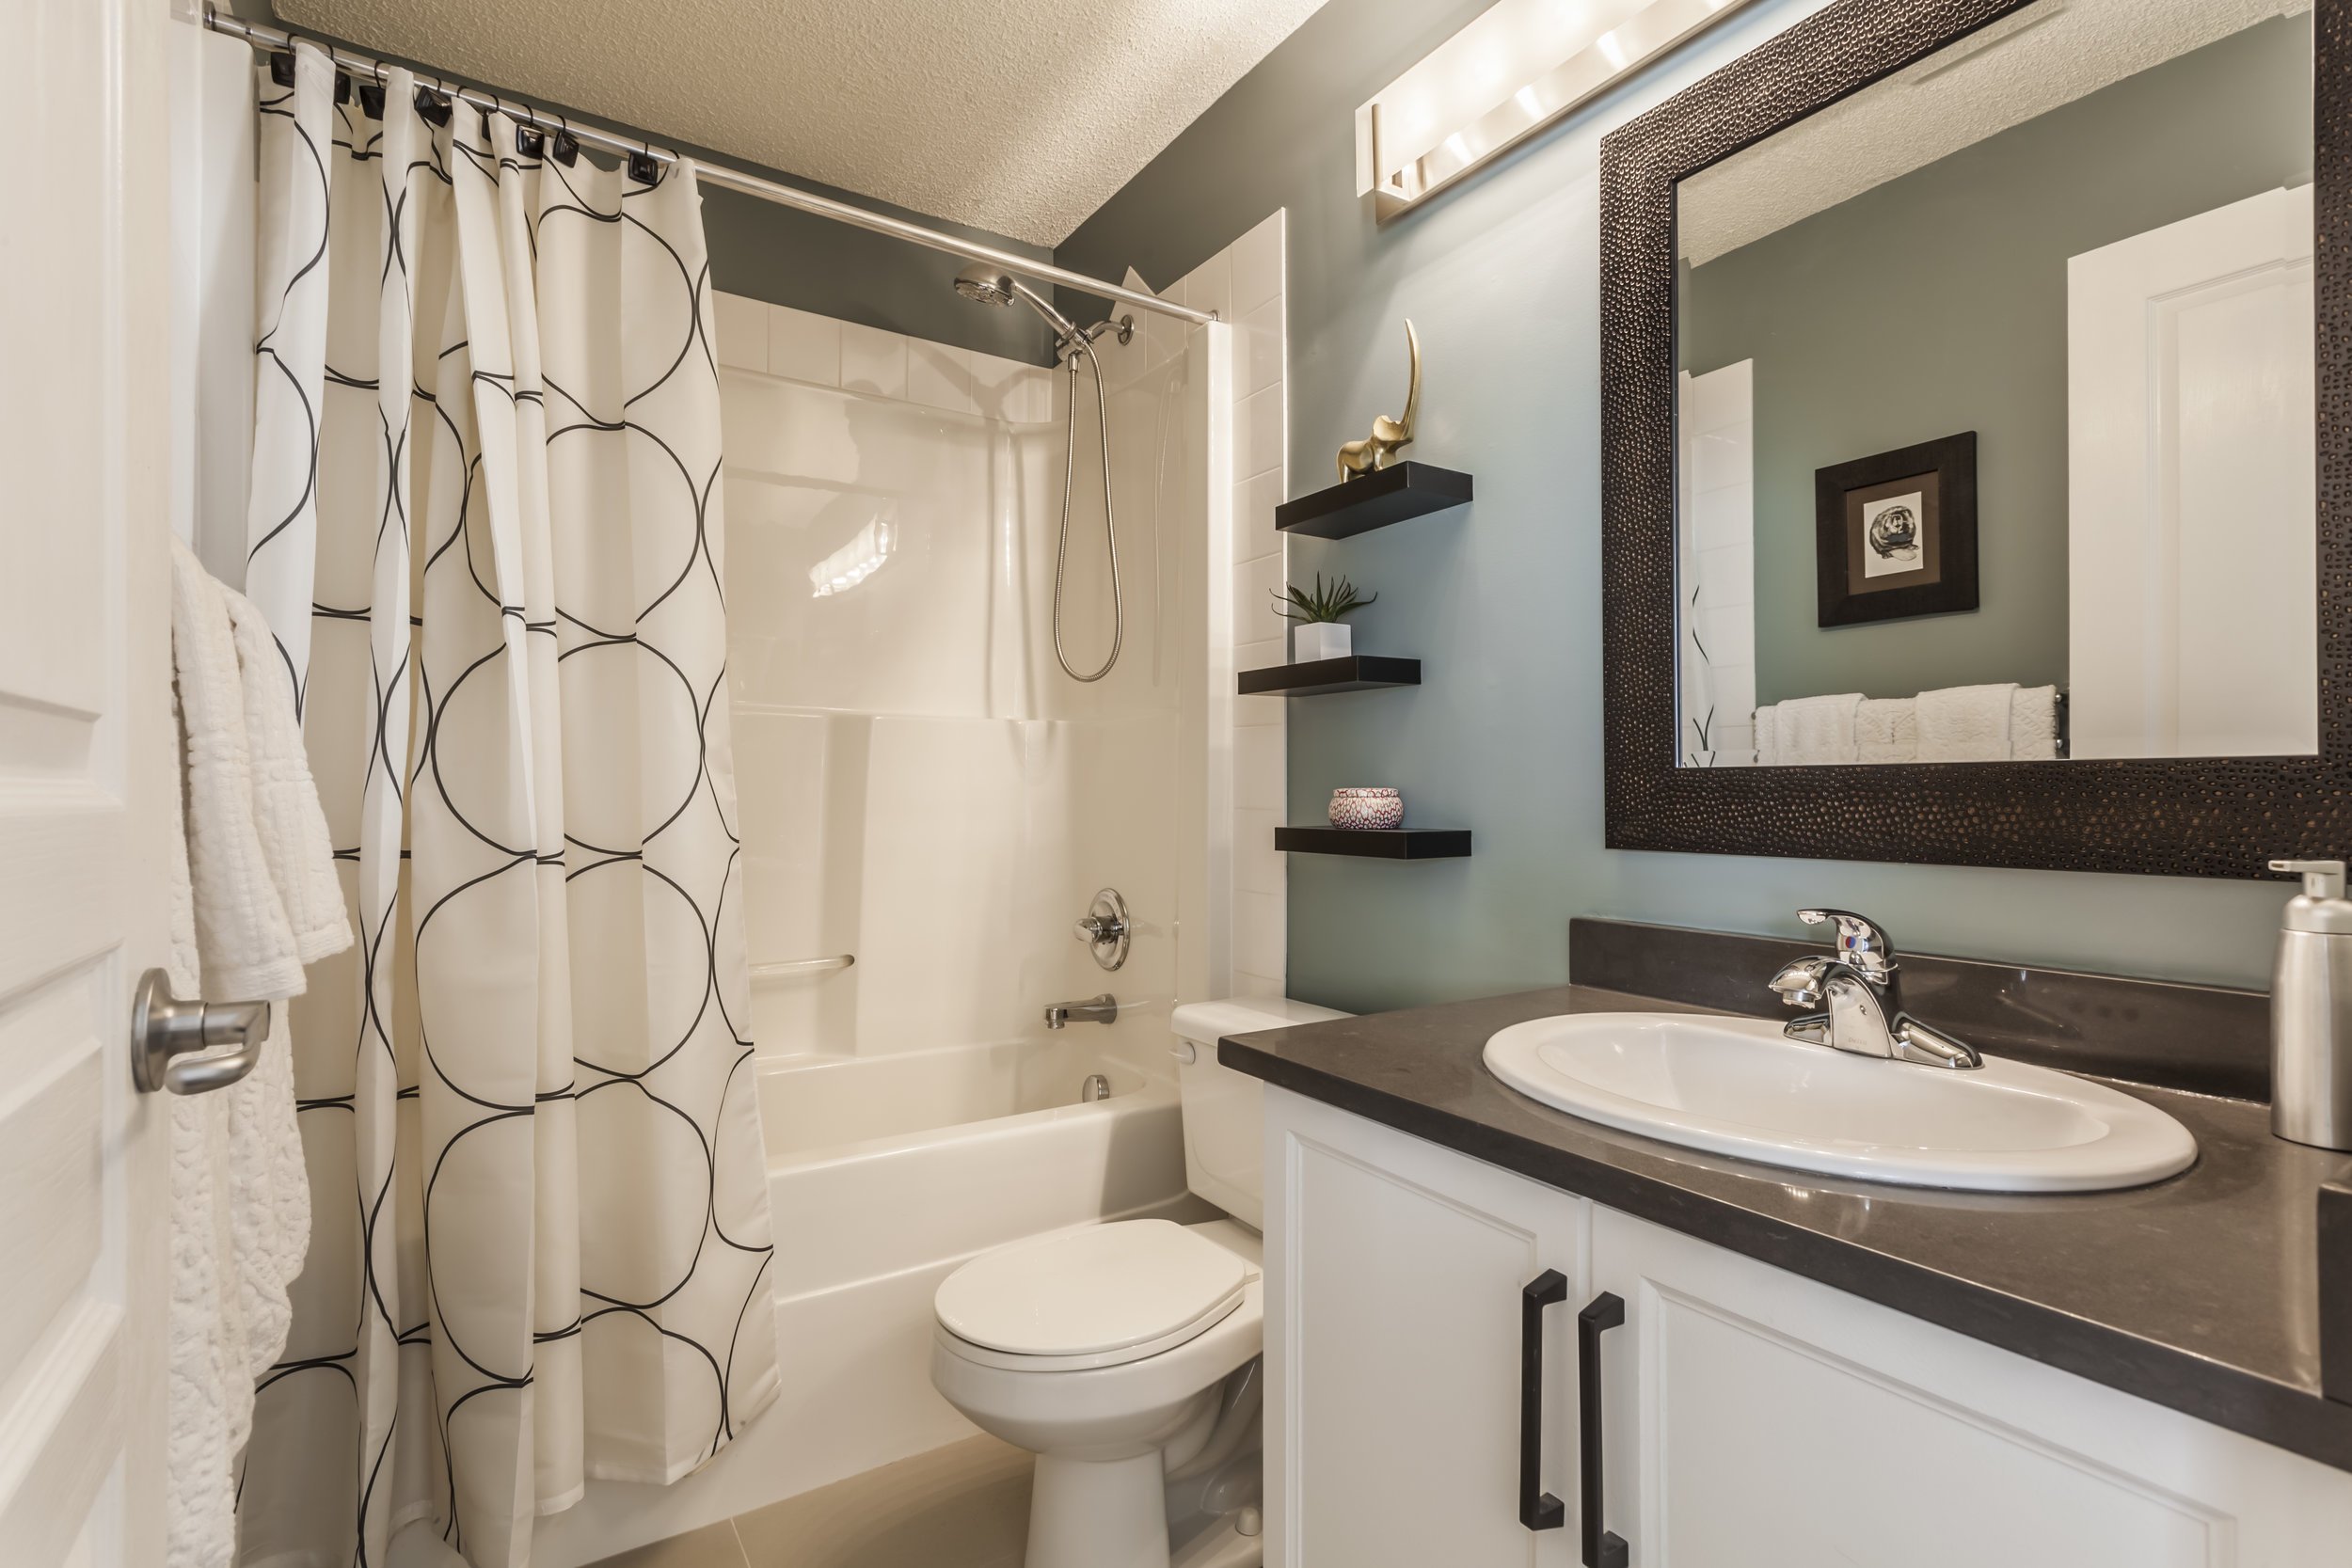
Both bathrooms needed some extra modernization. Originally the countertop continued, at a smaller depth, above the toilets and the mirrors took up the whole wall. We changed the countertops so that they were just on the counter, switched to framed mirrors, put in a more modern vanity light fixture and added floating shelves above the toilets for extra storage / decor opportunities.
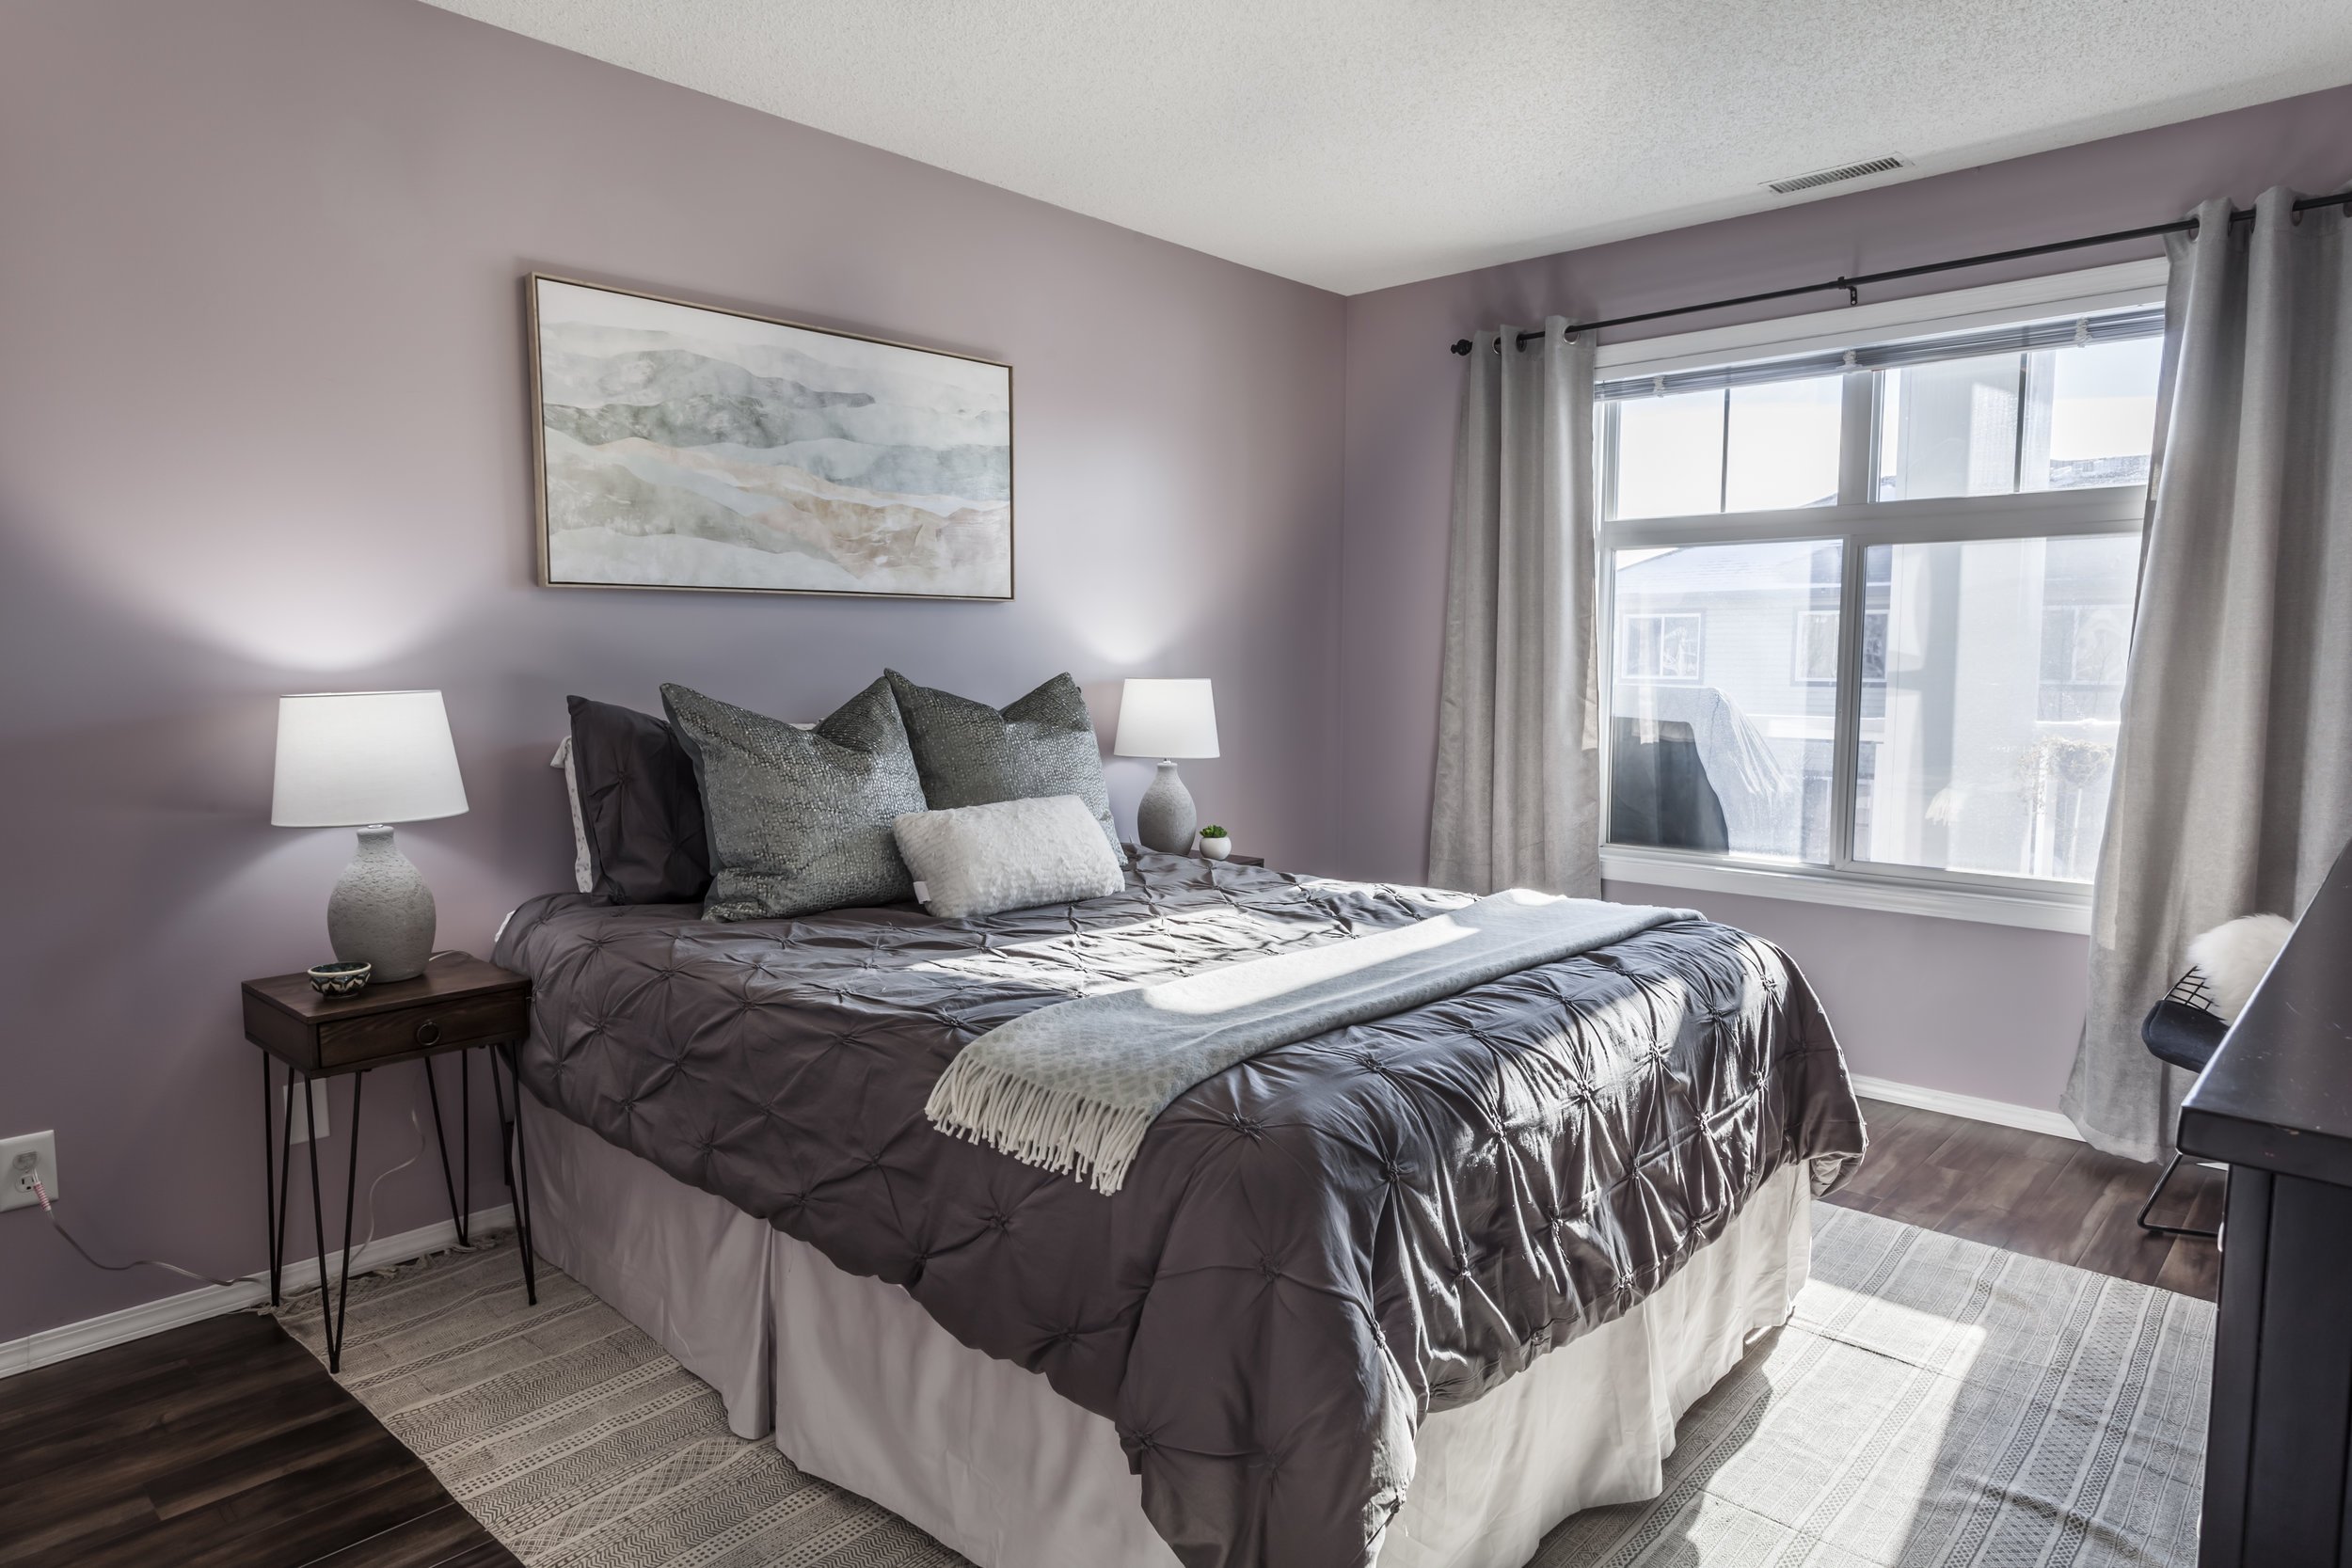
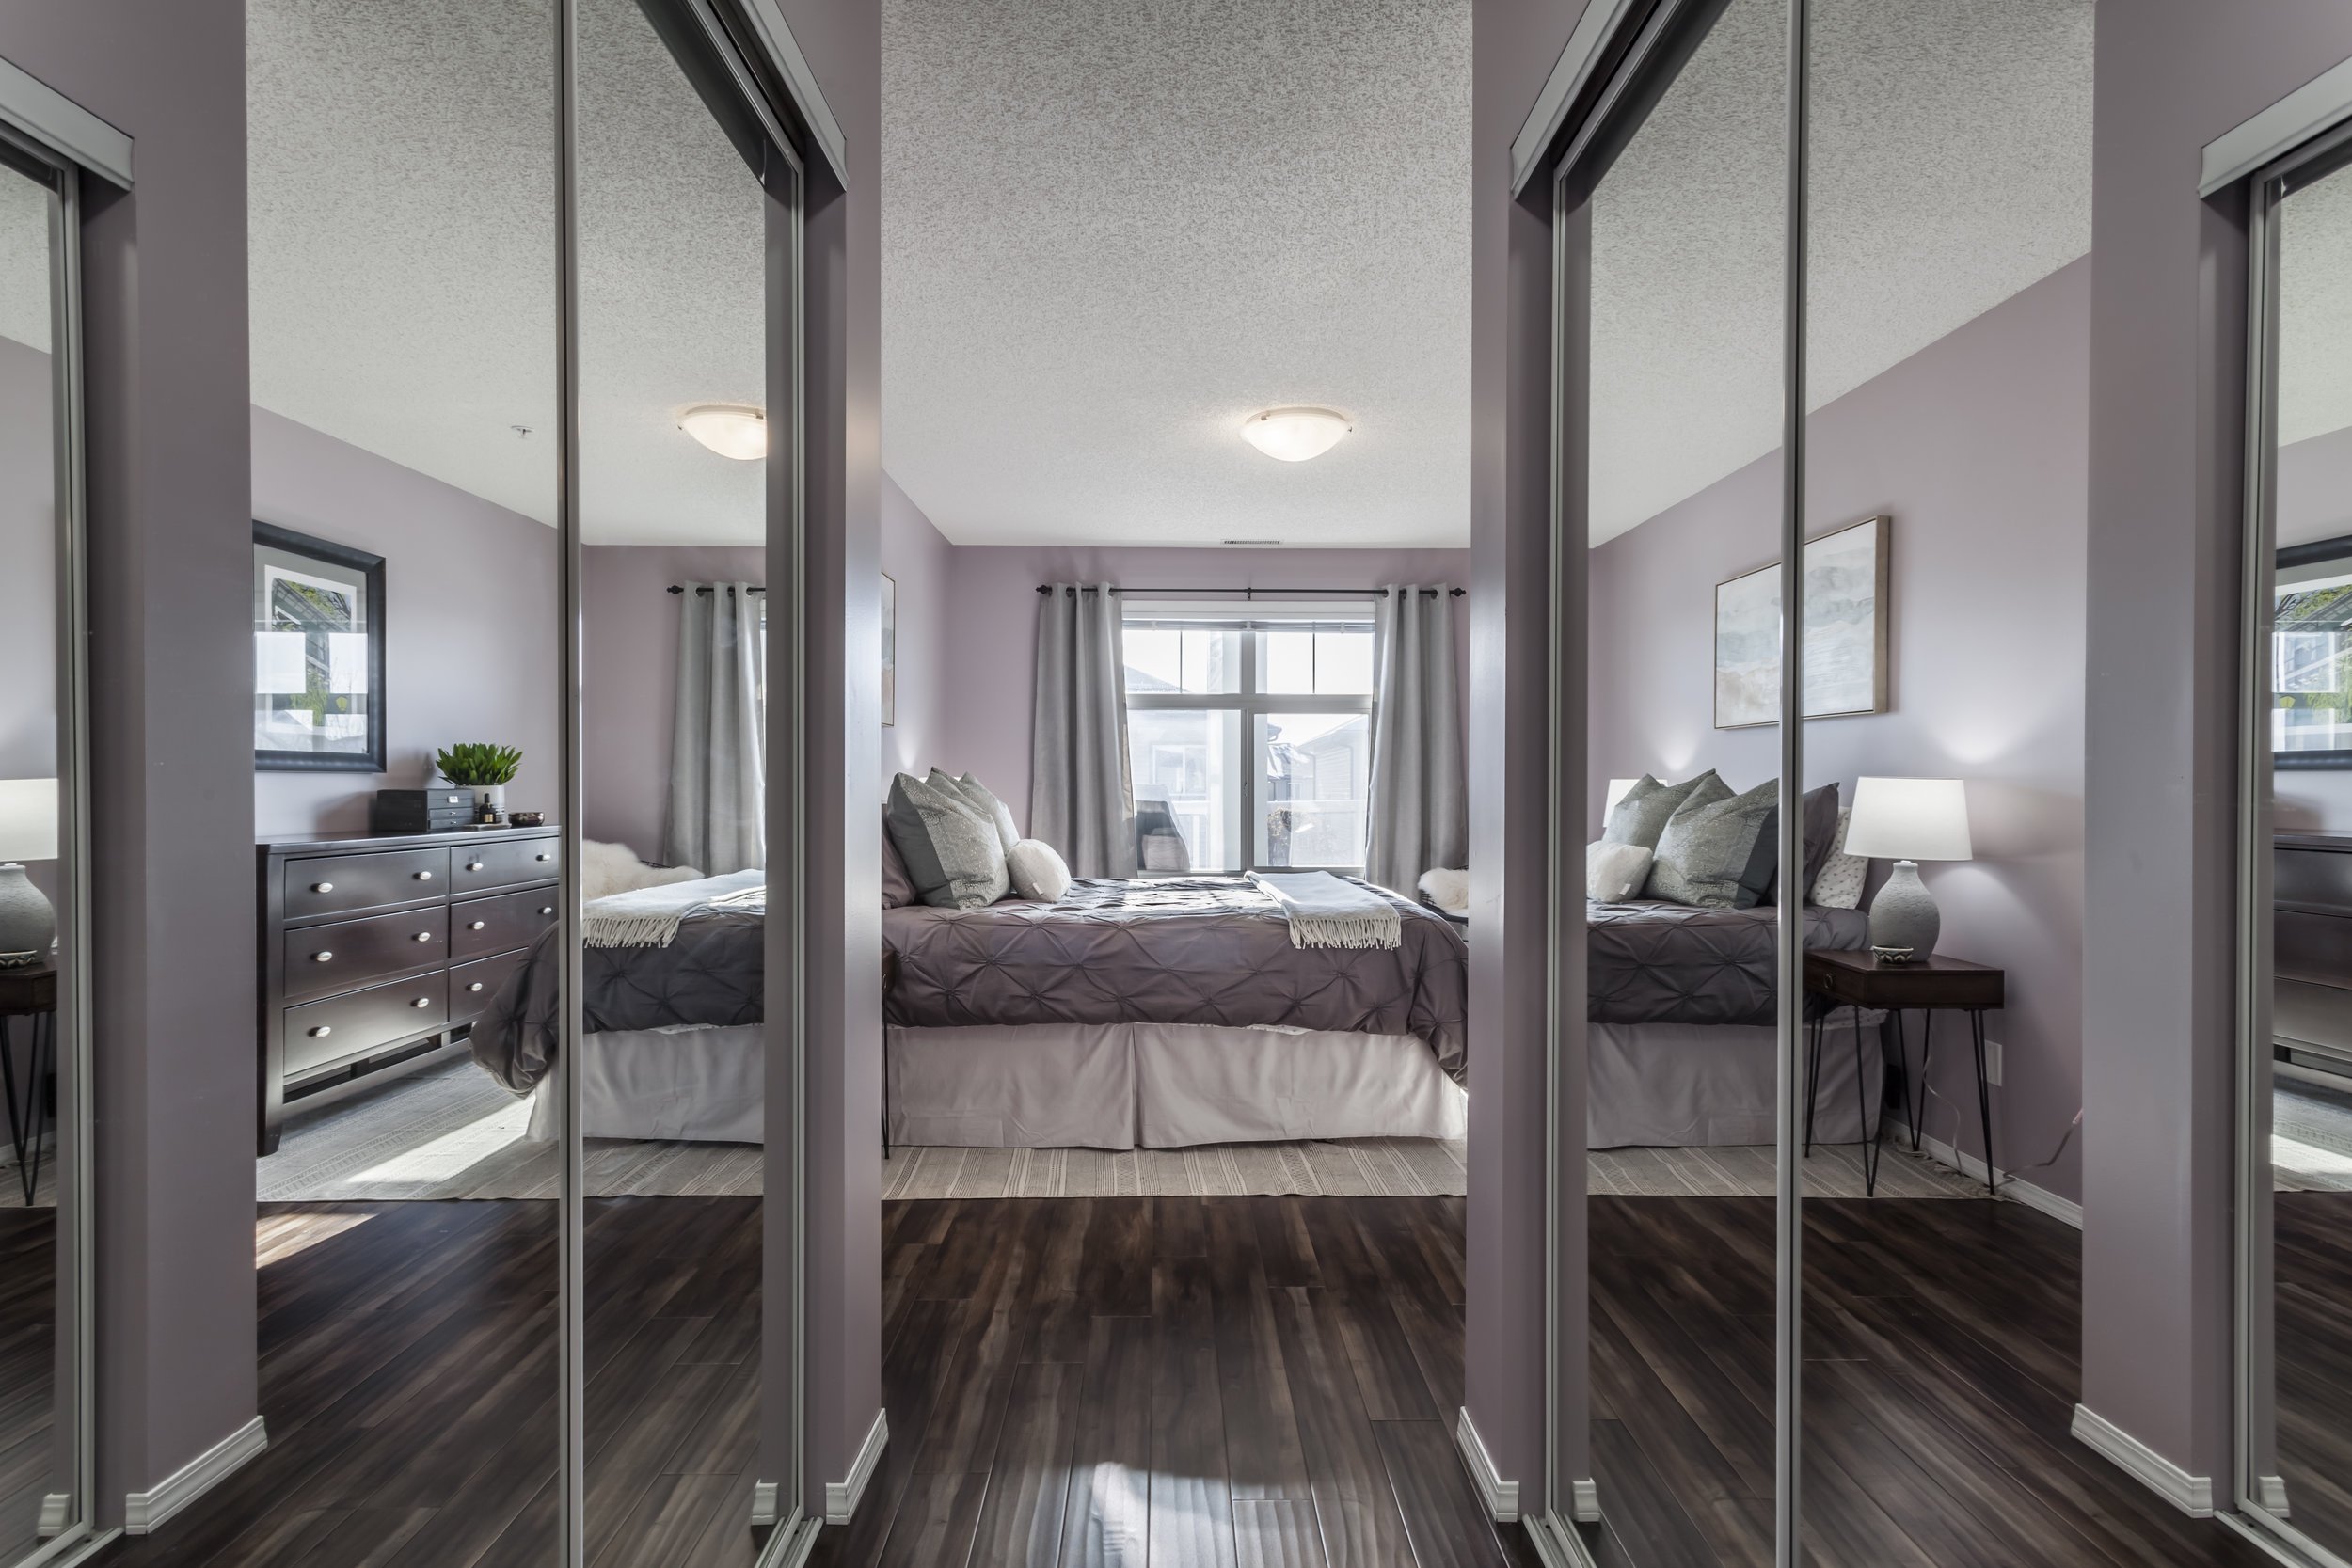
The home was further prepped for sale with some pre-packing prior to it being staged using the existing furniture and supplemented by a few new pieces.
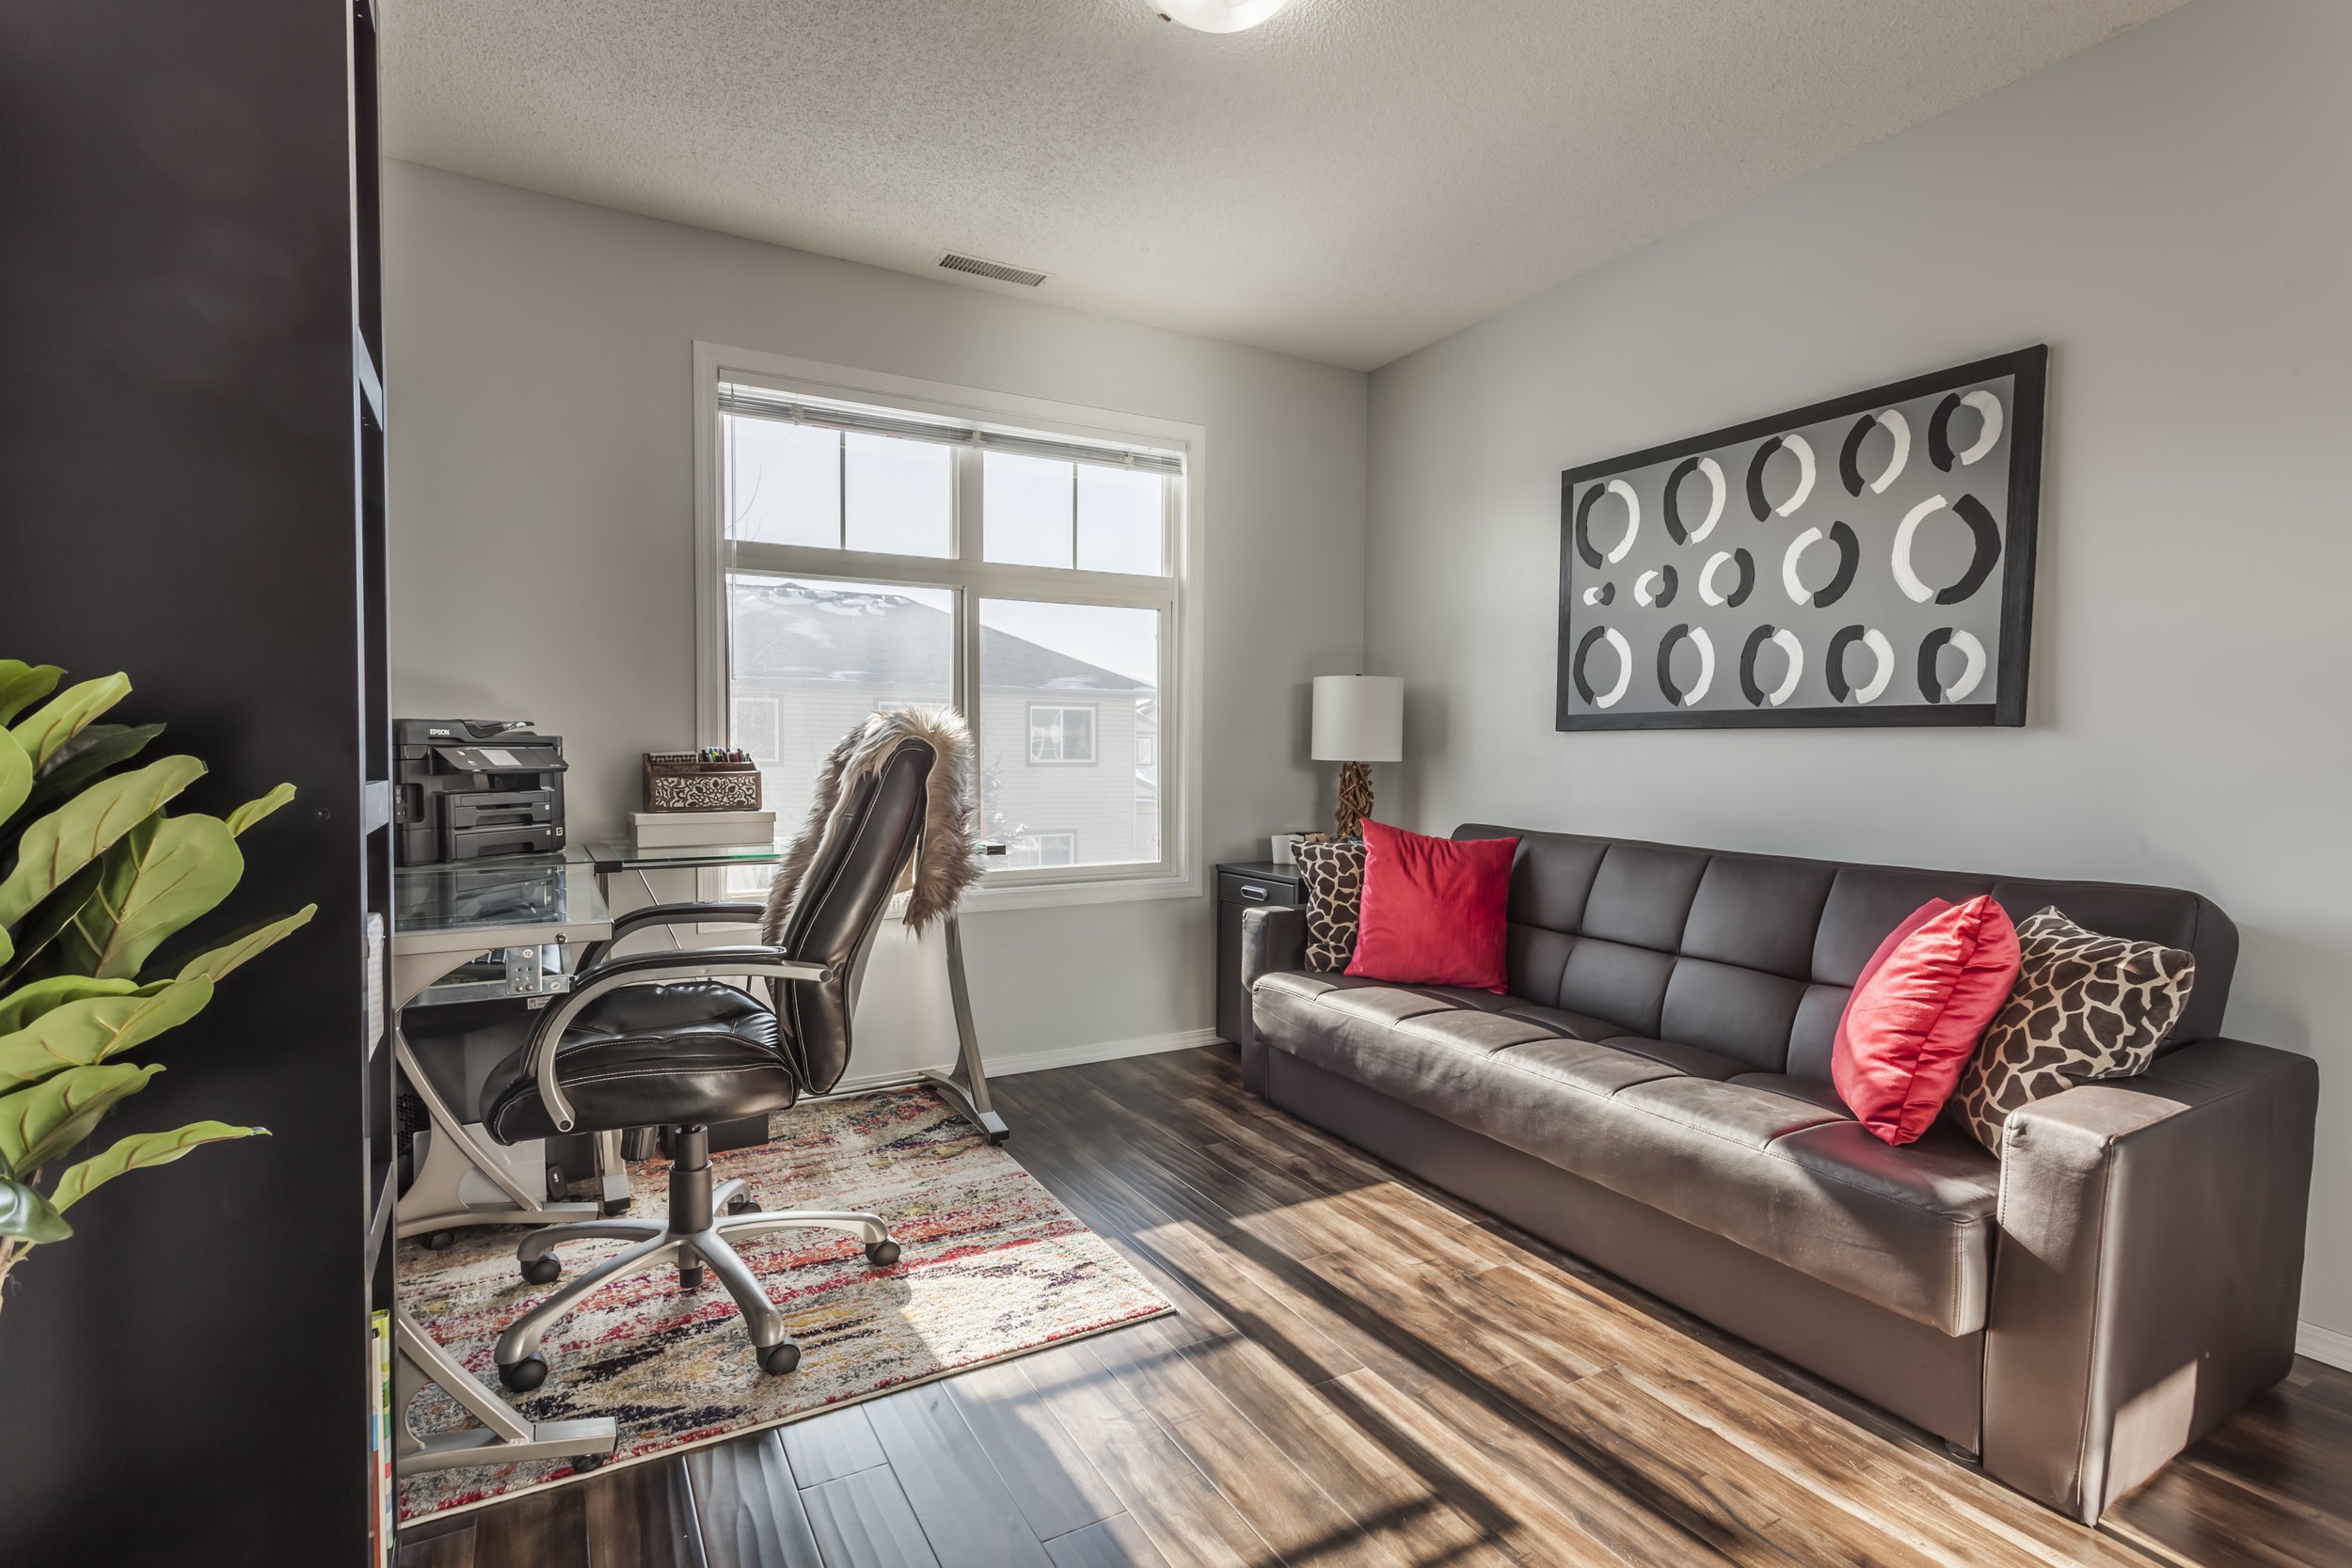
Here are the after photos! Enjoy!

Source List:
Floor Tile: Casa Roma Stone Elements II in Cloud Grey
Laminate Flooring: Desert Dunes Acacia Natural
Countertops: Caesarstone Raven
Backsplash Tile: Euro Tile Inmetro Series, Light Grey
Cabinetry Colour: Sherwin Williams Pure White
Hardware: Lee Valley Blackrock